views
Sketching a Realistic Lion
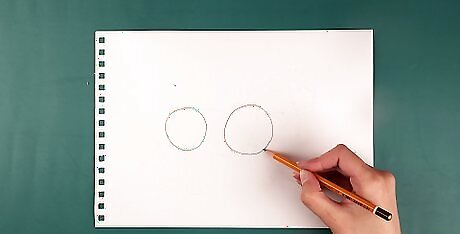
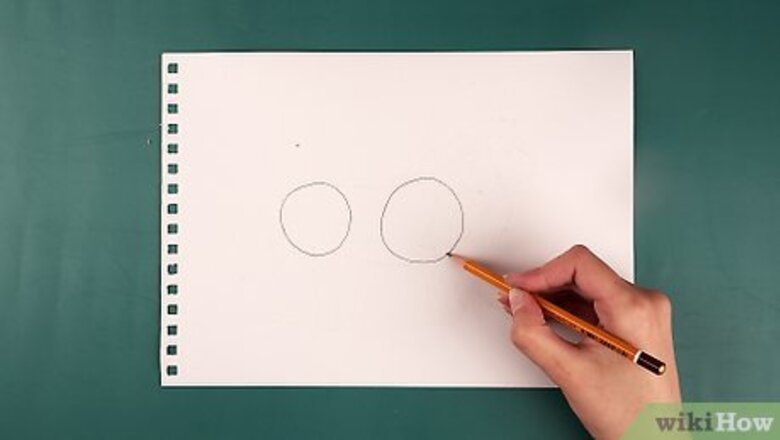
Sketch 2 circles to make the guiding shapes for the lion's body. Draw a large circle where you'd like the lion's chest to be. Leave a gap that's half as wide as that circle, then sketch a smaller circle to the left—this will be the lion’s rear so sketch it about 3/4 the size of the large circle. Sketch your guiding circles lightly so you can go back and erase lines as needed. If you’re having trouble drawing a circle freehand, find any round object and trace it for the perfect circle.
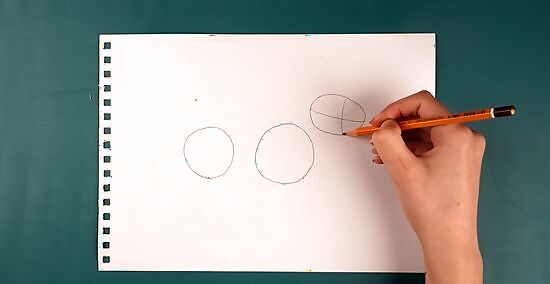
Draw an egg shape with guidelines above the large circle to make the head. Place the egg shape near the upper right hand side of the circle, leaving a space that’s as big as you want the lion’s neck to be. Sketch the wider end of the egg shape on the left side, then taper the egg down on the right to make the lion’s muzzle. To make facial guidelines, lightly draw a horizontal and vertical line that crosses through the head (the egg-shape). The guidelines will help you position the facial features later on, but feel free to leave them out if you feel comfortable drawing freehand.
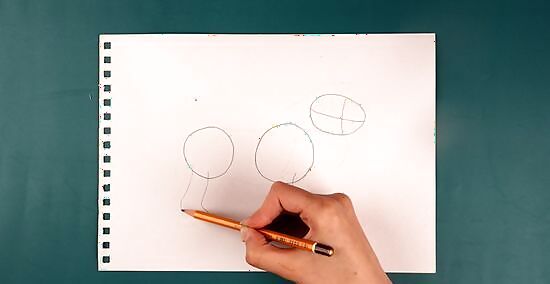
Draw 3 angled lines that extend from the circles to make guidelines for the legs. To make the hind legs, draw 2 parallel lines that come down from the smaller circle, sketching them going to the left and then down to the right (almost like an overstretched “L”). For the front leg, draw a line coming down from the larger circle, curving it slightly to the right. One of the front legs will be hidden by the one beside it, so there’s no need to draw 4 lines.
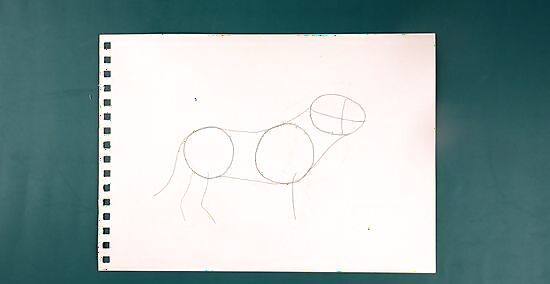
Connect the 3 circles and make the outline of the tail on the small circle. To make your outline look more like a lion, draw a line that connects the top of the circles with the head. Sketch the line so it dips down towards the chest. Then, draw a line across the bottom of the circles that curves up to the right. Connect this line to the tapered end of the head. To make the tail, draw a line coming out of the left side of the small circle, curving it in an "S" shape. You now have a basic outline for the lion.
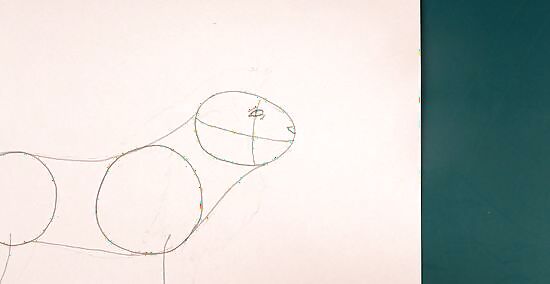
Sketch the eye and triangular nose in the top right quadrant of the head. To create a detailed eye, draw a small, slightly curved triangle halfway above the horizontal line (within the egg shape). Then, sketch a slightly curved, vertical line in the middle of the eye to create the iris. For the nose, draw a small upside-down triangle at the tapered end of the head. You can draw a small circle within the iris and fill it in to create a pupil, or shade in the nose to make it darker. Make the eye and nose as detailed or simplistic as you like!
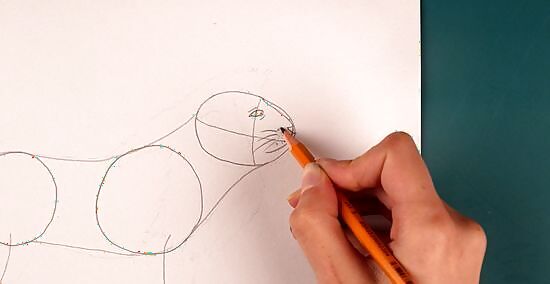
Create the lion's muzzle and whiskers. To create the muzzle, draw a line from the bottom of the nose and curve it down towards the bottom right quadrant of the head. Make a handful of dots right below the nose, then draw 4 or 5 light whiskers extending away from the nose. To make the lion's chin look more realistic, make the space underneath the muzzle jut out a little so it's more pointed than round.
Define the head and draw the ear. Using the egg shape as a guide, lightly sketch the top of the head with loose strokes to make the area narrow between the eye and the nose. For the lion’s ear, sketch a small arc in the upper left quadrant, then add short, quick strokes to make it look fuzzy. For a more realistic lion, look at a reference photo when you’re adding details to your drawing.
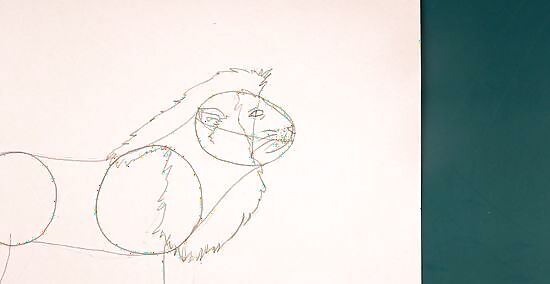
Add a mane if you're drawing a male lion. Since the large mane surrounds the head and covers the back, make lots of quick, hair-like strokes from the top of the head down to the end of the large circle. Draw the mane so it frames the lion’s face and covers the chest, then sketch a rough line to connect the mane from the top of the lion’s back to the front of the chest. Skip this step if you want to draw a lioness. Think about how the hair falls around the lion's face and make the hair near the top of the head point up more before it curves down to the side. Then, draw the hair near the bottom of the mane vertical since it’s hanging.
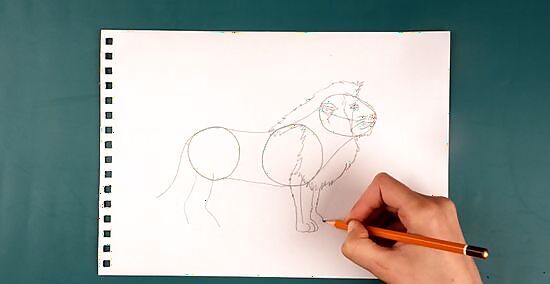
Draw the lion's legs and make them look furry. To make a leg, draw 2 parallel lines on the opposite sides of the leg guideline. Make the legs wider near the torso and narrow near the foot. Sketch 3 half-circles in a horizontal line at the base of the foot to create a paw. Then, go back and sketch short, quick lines that look like shaggy hairs coming off of the legs. For the hidden front leg, draw a parallel line close to the visible front leg, then stop when the line is slightly above the base of the paw (to add dimension). Draw 2 half-circles in a horizontal line at the base of the hidden foot to create the hidden paw.
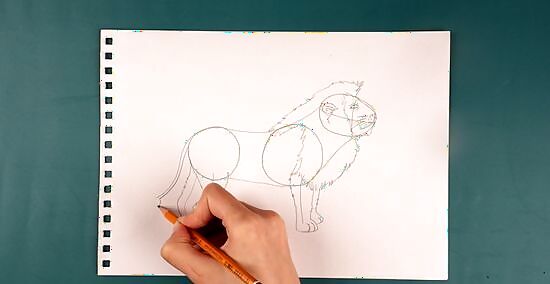
Define the shape of the lion's body and make the outline look furry. Go back and add short lines along the end of the tail to make it fuzzy. If you'd like your lion to look statuesque, make the bottom line that connects the circles indent up near the small circle and then push down towards the big circle. Erase the guidelines and circles once you're done with this step or leave them if you want the lion to have a sketched look.
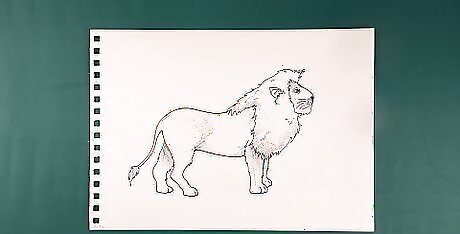
Add some shading to bring your lion to life. Use cross hatch marks to add depth and dimension to your drawing. Pick an area for the sun and use it as a guide when shading so your shadows are consistent. For instance, if the sun is in the upper right hand corner of your drawing, you would shade underneath the tail, the underside of the hind legs and belly, behind the ear, and the entire area underneath the lion (to act as a shadow). You can also pull out your colored pencils, markers, or crayons to color the lion however you like! For a traditional lion, color the body yellow and the mane brown. Then, feel free to draw a few trees or patches of grass in the background.
Drawing a Cartoon Lion
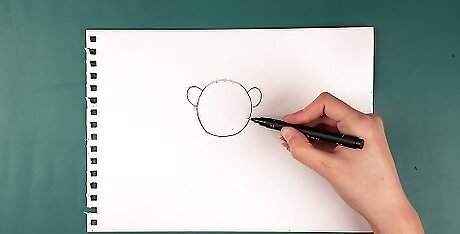
Draw a circle for the lion's head and make 2 half-circles for ears. Sketch a circle that's as large as you want the lion's head to be. To create the ears, draw a small half-circle on the top of the circle towards the left side. Then, make another half-circle on the opposite side. If you're struggling to draw the half-circles, sketch a small circle where you want each ear to go. Then, erase the bottom half of each circle so you're left with perfect half-circles on top of the head.
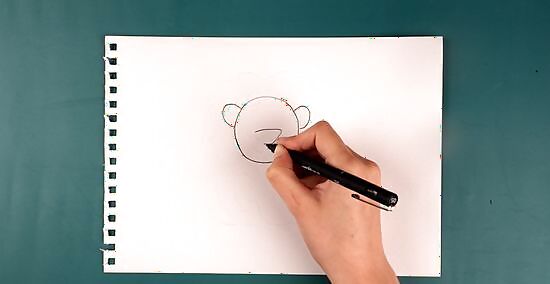
Sketch a triangular nose in the middle of the face. Since you're making a cartoon, you can exaggerate the size of the lion's nose. Draw a horizontal line in the center of the circle and make it as long as you like. To make this into a triangular-shaped nose, draw a "V" coming down from the ends of the line. Keep the triangle pointed, or round the edges to make a smoother looking nose.
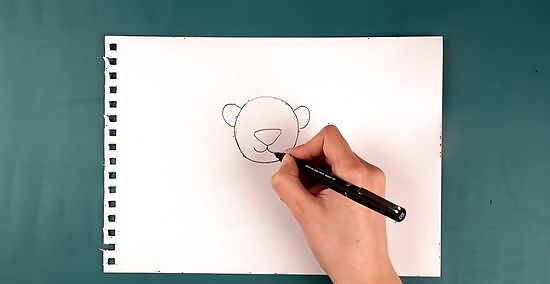
Draw a curved mouth coming down from the nose. Place your pen or pencil at the bottom point of the nose and draw a curved line like a half-circle at the bottom of the straight line. Make the half-circle curve up in both directions. The upward curves make your lion look like it's smiling.
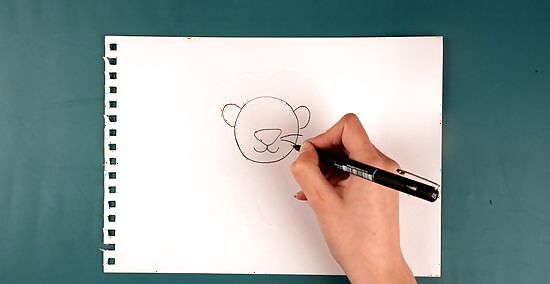
Make 3 long lines extend from the side of the face to create whiskers. To make your cartoon lion look whimsical, add 2 or 3 horizontal lines going away from each side of the nose. You can make the whiskers as long as you like. If you're drawing a lioness, leave out the whiskers and make dots above the mouth.
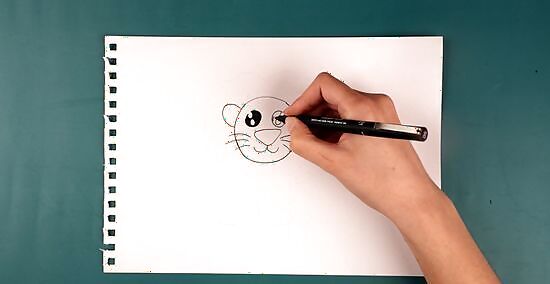
Draw 2 circular eyes in the top half of the lion's head. Decide how large you'd like the lion's eyes to be and make 2 circles halfway between the nose and top of the head. Leave a gap that's the size of one eye in between the eyes. Shade in most of the circles, but leave 2 tiny dots to represent the pupils. Make the eyes as expressive as you like. You could leave the circles very simple or sketch eyebrows and eyelashes to add character.
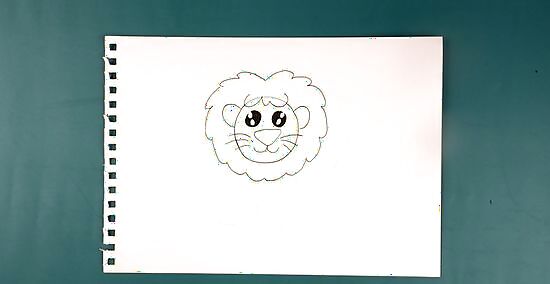
Add a bushy mane around the head if you're drawing a male lion. Draw a scalloped edge around the lion's entire head. To make a large mane, leave a wide gap between the mane and the face. Skip this step if you're drawing a lioness. If you just want to draw a lion’s face, stop drawing after this step. You can go back and redefine any light lines, or get creative and add some color to your drawing.
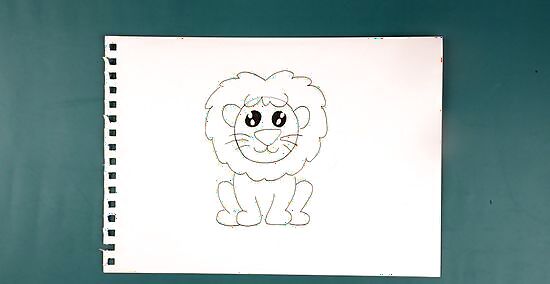
Draw the lion's legs if you want to show it sitting on its haunches. Sketch 2 lines from the bottom of the mane that curve down towards the center. To make the paws, draw a half circle at the bottom and bring the lines back up to make the lion's legs. Then, make 2 taller legs that stick out from the sides of the lion so it looks like the lion is sitting on its haunches. Keep in mind that you won't see most of the lion's body in this position. You can also draw two short lines towards the bottom to the lion’s paws to create toes.
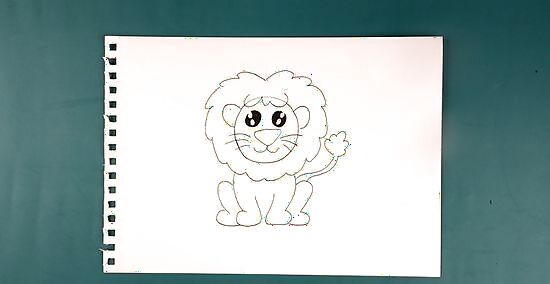
Create a tail that sticks out from one side of the lion. Draw a thin line coming from the lion's back leg and make it curve upwards. Sketch another parallel line to make the thin tail look 3-dimensional, then add a bushy circle at the end of the tail. If you prefer, draw the tail so it lies in front of the lion on the ground.
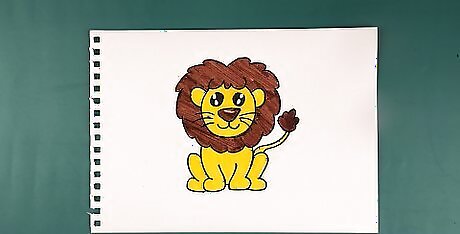
Color your cartoon lion to add more personality. Use colored pencils, crayons, or fine-tipped markers to bring your lion to life. For a cute lion, color the body yellow and the mane orange, then use a pink shade to add color to the cheeks. If you decide to go with colored pencils, you can blend colors together to add more depth to your drawing. Just start with the darkest color first, then layer on the lighter shades on top. Draw something every day and take your time to study how things are. One challenging thing about drawing can be to draw things as they are rather than how we think they are. Learning to draw is really about learning to see.


Comments
0 comment