
Inserting 3D Models

Open a document in Microsoft Word. Microsoft Word is available to download on Windows and Mac. You can add 3D objects from your own file or from Microsoft's online library.
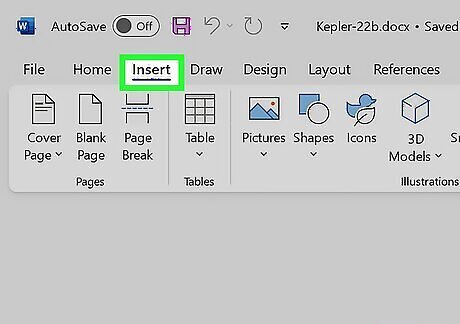
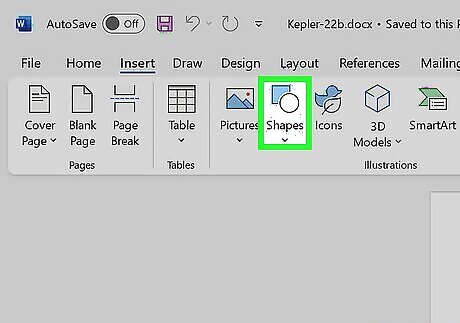
Click Insert. This is in the top toolbar.
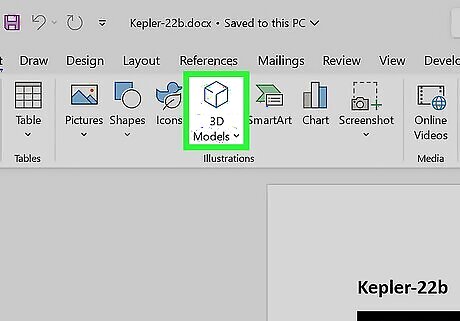
Click 3D Models. You can find this in the Illustrations section. This will open Microsoft's online library. If you want to upload an image from your computer, click the down-arrow next to 3D Models and select This Device…. Click your file, and then click Insert.
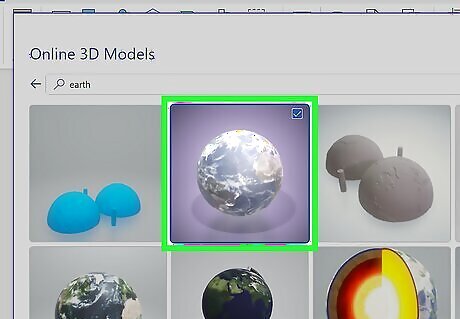
Select a 3D model. You can enter keywords into the search bar at the top or click one of the listed categories below. Click one or more models to select it.

Click Insert. This will add the 3D model to your Word document.
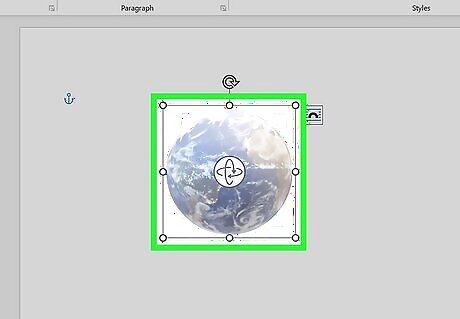
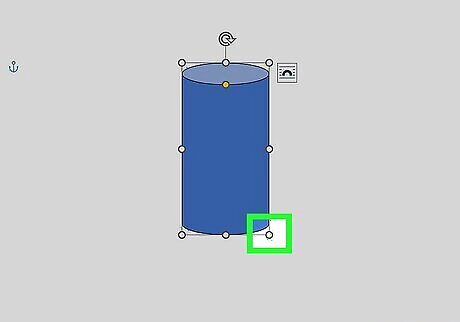
Adjust the 3D model. Use one of the circles on the border to adjust its size. To move its position, click the and drag the two looping arrows icon in the center. The model will rotate and tilt with your mouse. Let go to save its position.
Drawing 3D Objects

Open a document in Microsoft Word. You can draw 3D objects with the Shapes menu.

Click Insert. This is in the top toolbar.
Click Shapes. You can find this in the Illustrations section. Mac users will see a menu of shapes appear on the right side of the screen. Windows users will see a drop-down menu of shapes.
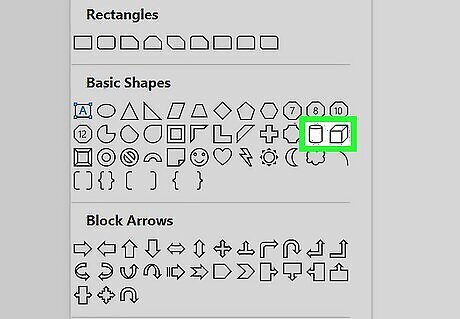
Select a 3D shape. You'll see a cylinder and a cube in the Basic Shapes section.
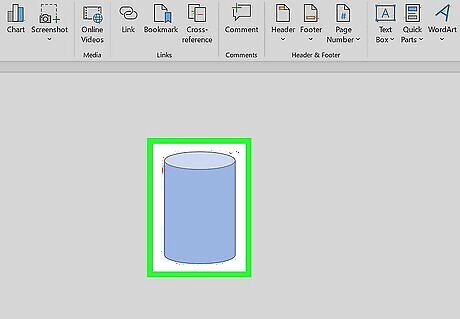
Draw your 3D shape. Click a blank area on the document, and then drag your cursor to the opposite corner. The size will depend on how far and wide you drag.
Modify your shape. Click on it to reveal the circles. Click and drag any of the circles to adjust its size.
Converting 2D Objects to 3D
Open a document in Microsoft Word. You can convert 2D drawing to 3D objects with the Shapes menu.

Click Insert. This is in the top toolbar.

Click Shapes. You can find this in the Illustrations section. Mac users will see a menu of shapes appear on the right side of the screen. Windows users will see a drop down menu of shapes.
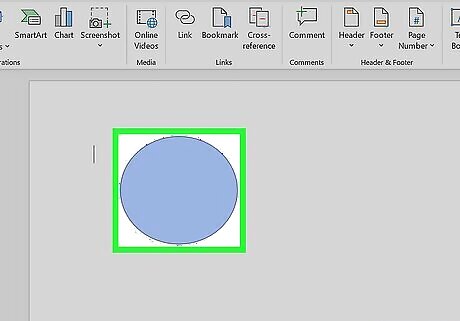
Draw a shape. Select a 2D shape from the list. Click a blank area on the document, and then drag your cursor to the opposite corner. The size will depend on how far and wide you drag.
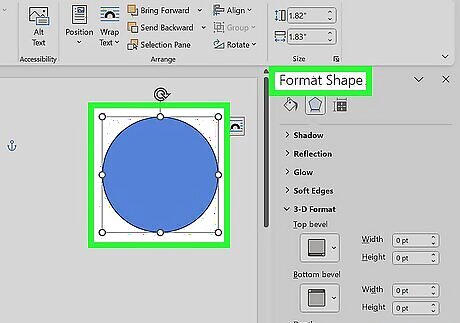
Double-click the shape. This will open the Shape Format menu.

Add depth to the shape. You'll see the Format Shape panel on the right. Click the Effects tab. Expand the 3-D Format section. Adjust the size of the Depth. Click the paint bucket icon to change its color.
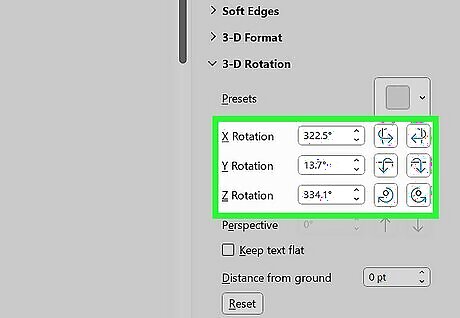
Rotate the shape. You'll see the Format Shape panel on the right. Click the Effects tab. Expand the 3-D Rotation section. Adjust the X, Y, and Z rotation. You need to rotate the shape along the X or Y axis to see the depth you are about to add.
Adding 3D Effects to Text and WordArt

Open a document in Microsoft Word. You can create 3D text and WordArt with the Format Shape menus.
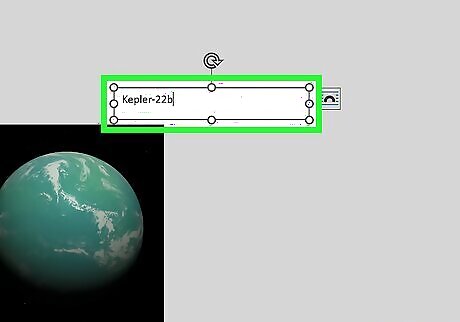
Add text. You can create a textbox or insert WordArt. To add a textbox, click the Insert tab. Click Text Box and enter your text. To add WordArt, click the Insert tab. Click WordArt and select the style you want. Enter your text.
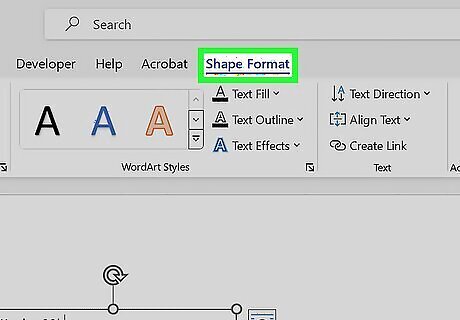
Select the text and click Shape Format. This is the tab at the top.
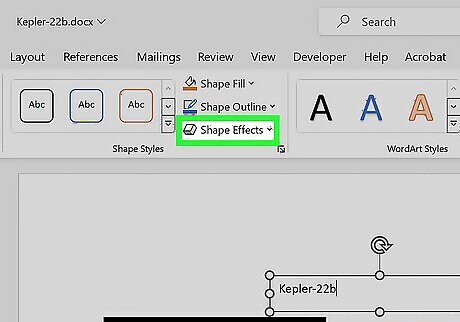
Click Shape Effects. You can find this in the Shape Styles section.
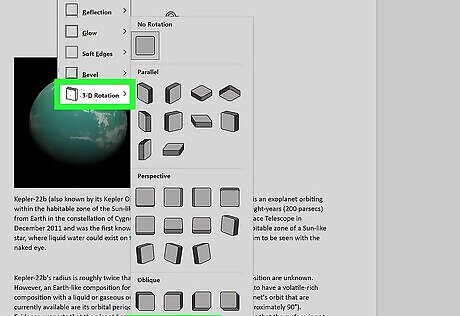
Hover over "3-D Rotation" and select 3-D Rotation Options. This is at the very bottom of the drop-down menu.
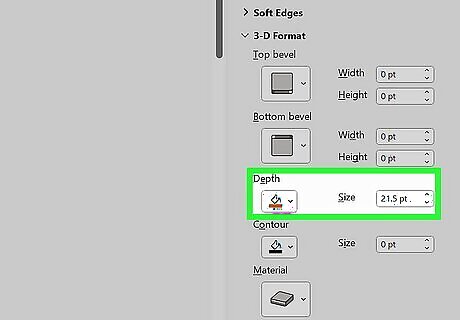
Adjust the 3-D Format and Rotation. Click the Effects tab of the right panel. Expand the 3-D Format section. Adjust the size of the Depth. Click the paint bucket icon to change its color. Expand the 3-D Rotation section. Adjust the X, Y, and Z rotation.


Comments
0 comment