
views
- Enable Live Photos in "Settings" → "FaceTime" → switch on "FaceTime Live Photos."
- Make sure you have enough free storage to save new photos.
- Restart FaceTime and your device. Update it to the latest available version.
Enable Live Photos

Open the Settings app. This is the gray cog icon. If you're using FaceTime on a Mac, open FaceTime's menu and click Preferences. All participating FaceTime users must have Live Photos enabled to take or save photos.

Tap FaceTime. You can find this underneath Messages. If you're using a Mac, skip this step.
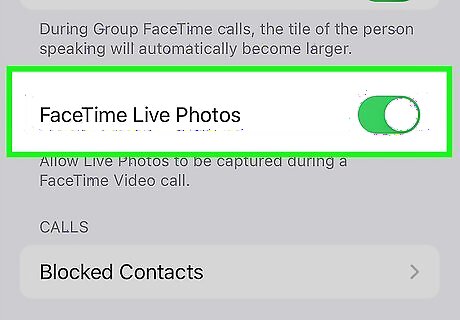
Toggle off iPhone Switch On Icon "FaceTime Live Photos". You may need to scroll down to find this option. On Mac, this will look like Allow Live Photos to be captured during video calls.
Check Your Storage Space

Open the Settings app. This is the gray cog icon.
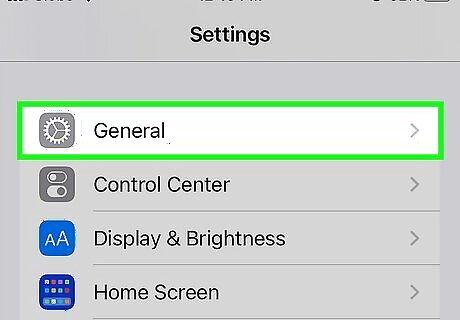
Tap General. You can find this below Screen Time.
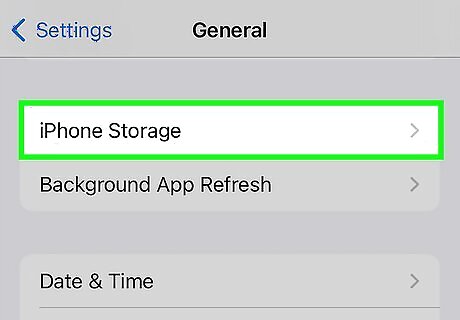
Tap iPhone Storage. A new page will open with a detailed chart of your iPhone's storage. You'll see the available space in the top-right corner of the chart. If you don't have space on your iPhone, you won't be able to save any more photos. To free up storage space, you can transfer files from your iPhone to your computer. You can also use a cloud service, such as iCloud or Google Photos to store your photos and videos.
Check Privacy Settings

Open the Settings app. This is the gray cog icon.
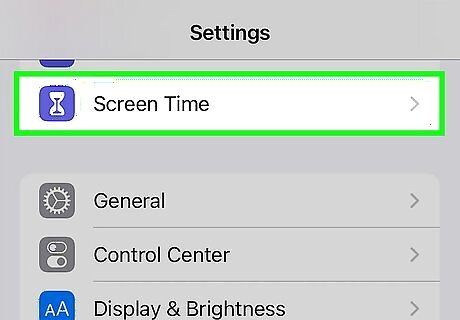
Tap Screen Time. You can find this underneath Focus.

Tap Content & Privacy Restrictions. This is below Always Allowed.
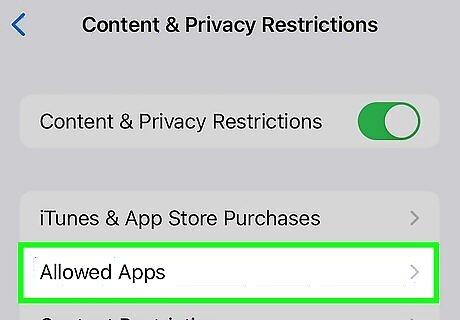
Tap Allowed Apps. You can find this towards the top of the page.

Enable "Camera" and "FaceTime." The switches should be green.
Restart FaceTime

Open the Settings app. This is the gray cog icon.
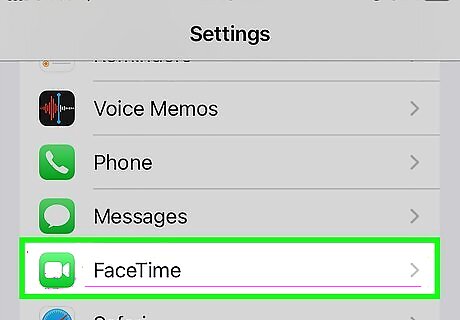
Tap FaceTime. You can find this underneath Messages.
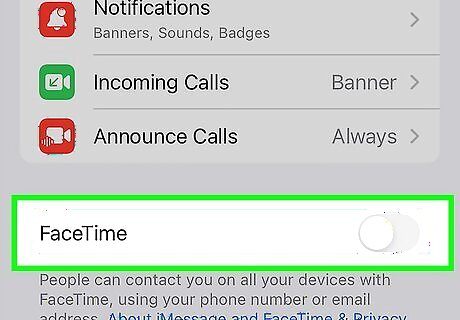
Toggle off iPhone Switch Off Icon "FaceTime". The switch will turn grey.
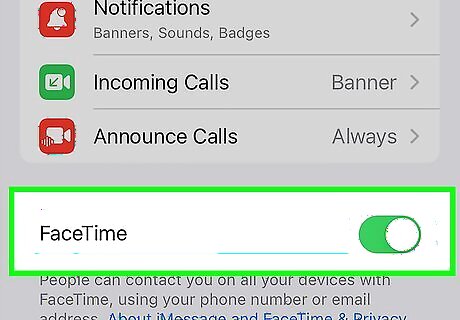
Toggle on iPhone Switch On Icon "FaceTime". The switch will turn green. Try to retake FaceTime photos.


Comments
0 comment