
Cleaning a Hot-Air Popcorn Machine
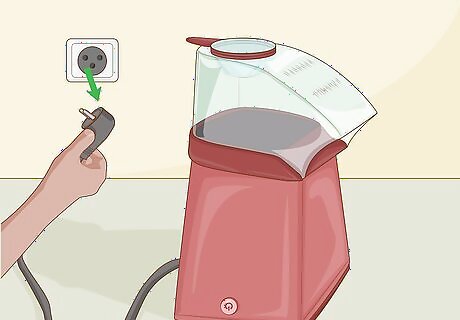
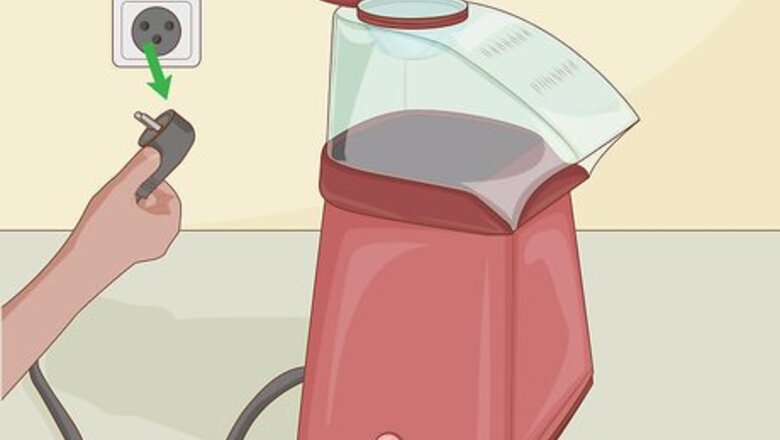
Cool the unit. Before cleaning, allow the unit to cool entirely with all components in place. The unit should be allowed to cool on its own. Do not introduce water or other agents to help cool the machine. Unplug the machine while allowing it to cool. While many machines can cool in as little as an hour, it may be advisable to let the machine sit for a few hours or overnight to allow it to cool completely.
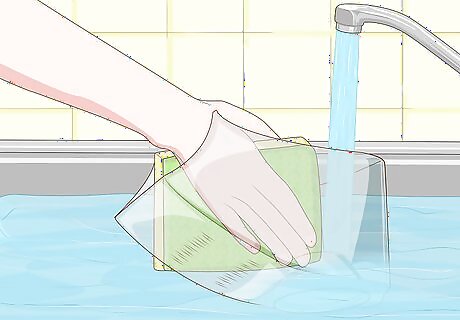
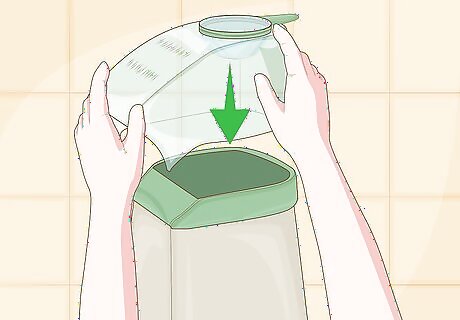
Wash the cover and melter. Wash the cover, the butter melter cup, and any other removable components with dish soap or a mild detergent and warm water. Unless the manufacturer’s manual specifically states the components are dishwasher safe, wash all components by hand. Do not wash any electrical or non-removable components with water, as this could cause damage to the maker. Use a sponge or washcloth to wash the removable components. Do not use steel wool or other scouring instruments. Allow the components to dry completely on a drying rack or on the counter before replacing them.
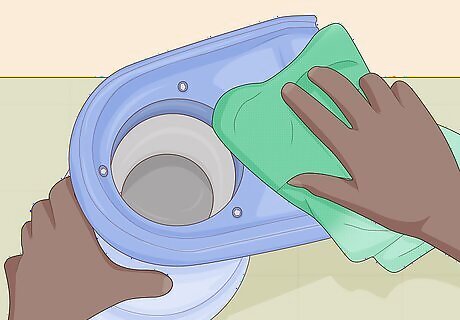
Rinse the chute with a damp cloth. If the chute is not removable, use a damp cloth to wipe it down. Avoid rinsing inside the popping chamber, as this could cause problems with the electrical equipment. Clean out debris from the popping chamber by using a dry cleaning cloth such as a microfiber cloth or fleece cleaner.
Replace all components and store. Once all components are clean and dry, place them back in their appropriate spots on the popcorn maker. Store the maker in a dry place such as a cabinet or shelf in the kitchen. Make sure that the cord is wrapped properly and not hanging down when the maker is stored to help prevent damage to the plug.
Cleaning a Stovetop Popcorn Maker
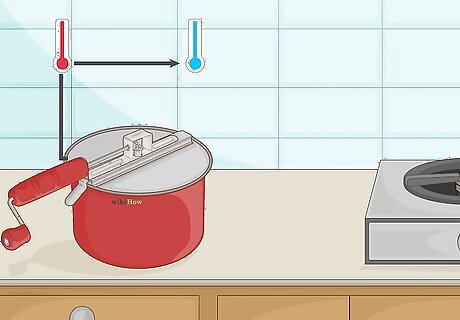
Allow the maker to cool. Before cleaning your stovetop popcorn unit, allow it to cool completely. The unit should be cool to the touch before handling it. It is also advisable to remove all unused or unconsumed pieces of popcorn and kernels before beginning to clean the unit.
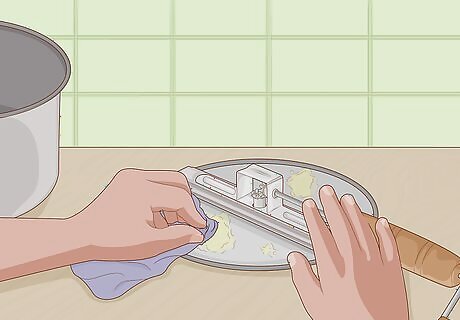
Wipe away oil and butter. Use a dry rag or a paper towel to wipe away any excess oil or butter on the interior of the popcorn maker. Do not use any cleaning agents, just use the towel to remove any excess fats. Some prefer to only wash their maker every four to five uses. Even if you decide to not fully wash your maker, oil and butter should be wiped away after every use.
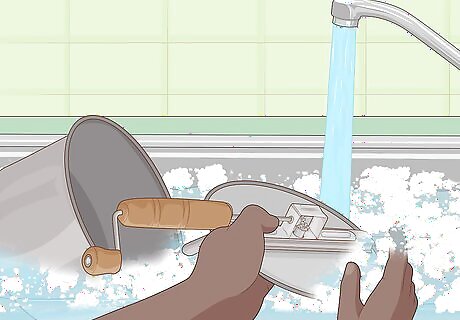
Wash the unit in warm, soapy water. Hand wash your stovetop unit in warm water with either dish soap or a mild detergent. Since most stovetop popcorn makers don’t have electrical components, they can be fully submerged. Be sure to rinse away any soap or detergent with clean, fresh water before allowing to dry.
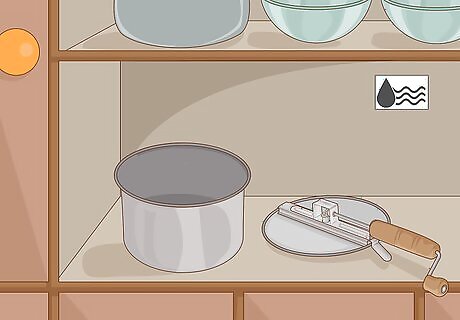
Dry on a rack or counter. Allow the unit to air-dry on a dish rack or on a countertop before storing. Store the unit together in a dry place such as a kitchen cabinet in between uses. Store the lid with the pot of the maker for easier use.
Cleaning a Commercial Popcorn Maker
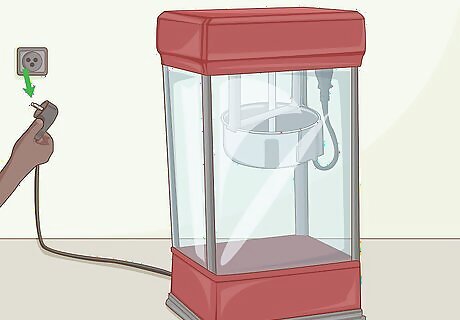
Turn off and unplug the machine. Before starting, make sure all of the lights and heating components are turned off, and that the machine is completely unplugged. Allow the kettle to cool for at least an hour before beginning cleaning. All popcorn and kernels should be removed from the kettle before beginning the cleaning process. The kettle should be cool to the touch. Hover your hand near the kettle without making contact with the metal. If you can feel heat radiating off the kettle, it is too warm to start cleaning.
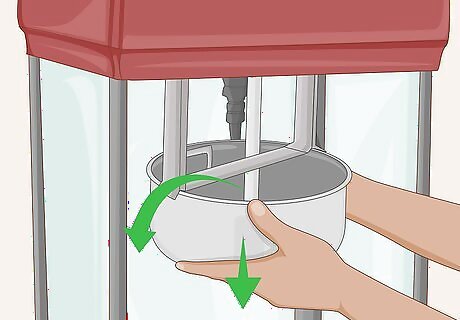
Remove the kettle from the unit. Unplug the kettle and remove it from the larger unit so that it can be easily wiped down. Use a damp sponge or towel to wipe down the kettle on the inside and the outside. Do not submerge the kettle, as this could cause damage. Once the kettle has been wiped down, reinstall it back in the machine.
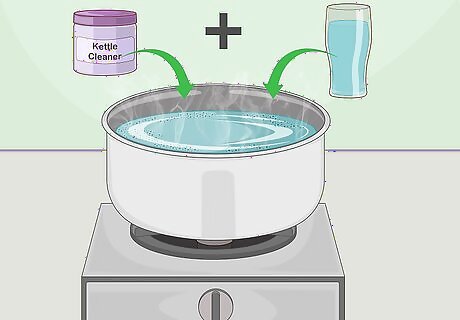
Boil out the kettle. Once a week to once a month depending upon use, boil out the kettle using a specially-formulated kettle cleaner, available from most kitchen supply stores. Mix the cleaner concentrate with the necessary amount of water as specified by the packaging, and bring it to a boil in the plugged-in kettle. Once the cleaning solution is at a boil, unplug the whole unit and allow the solution to sit for the amount of time specified on the packaging of the cleaning solution concentrate.
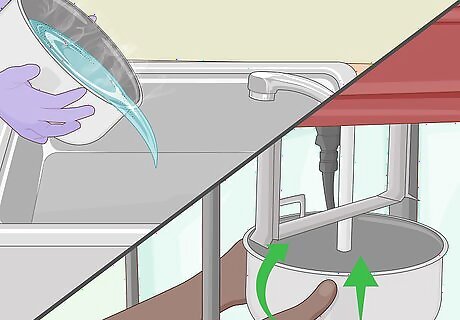
Drain and rinse the kettle. Drain the liquid out of the kettle over the sink. Once the kettle has been drained, rinse it out fully using a wet cloth or sponge. It may take several passes with the sponge to fully rinse the kettle. Once the kettle has been rinsed, place it back in the unit.
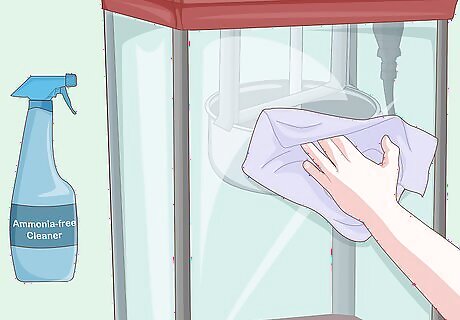
Use a non-ammonia based cleaner to wipe the glass. Look for a food-safe, non-ammonia based cleaner to wipe down the glass and the interior metallic surfaces. Use a towel to wipe away the cleaner, and allow the surface to fully dry before turning the machine back on. Read the instructions on the cleaner carefully before use. It should be safe for both metal and glass surfaces. The label should also tell you whether you need to rinse the surface with water after use. Food-safe cleaners are typically available from kitchen supplies retailers, as well as online.
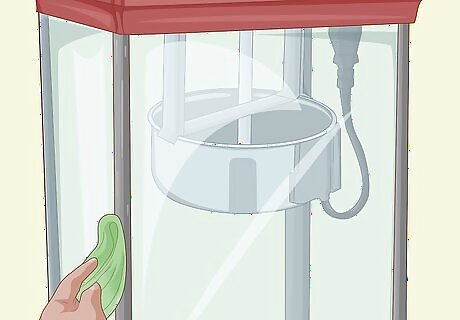
Clean the outer surface. Wipe down the outer surfaces with a damp towel. If there are spots such as fingerprints or oil slicks, use a food-safe glass cleaner to remove the marks and debris. Exterior metal surfaces can generally be cleaned with warm water and typically don’t require a specialized cleaner. Dish soap and warm water can help remove any spots on metallic surfaces.


Comments
0 comment