views
On Desktop
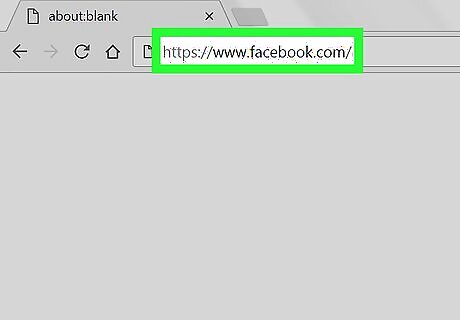
Open Facebook. Go to https://www.facebook.com/ in your web browser. This will open your News Feed page if you're logged into Facebook. If you aren't logged into Facebook, enter your email address (or phone number) and password before proceeding.
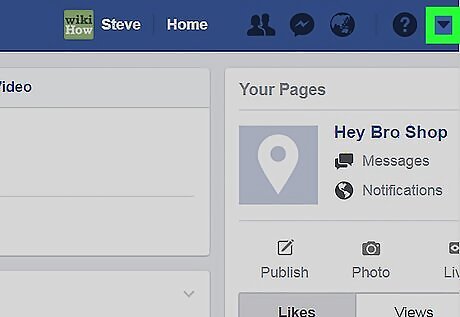
Click the "Menu" icon Android 7 Dropdown. It's the triangle-shaped icon in the upper-right side of the Facebook page. A drop-down menu will appear.

Click Manage Pages. You'll find this option near the middle of the drop-down menu. Doing so opens a list of your pages.
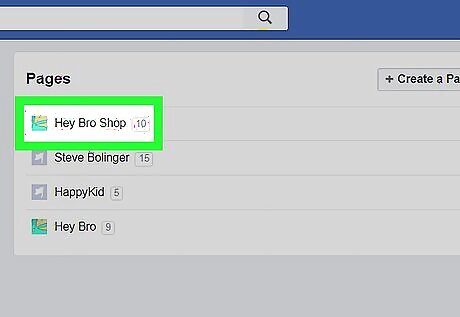
Select your page. Click your page's name in the "Pages" section to do so. This will open your page.
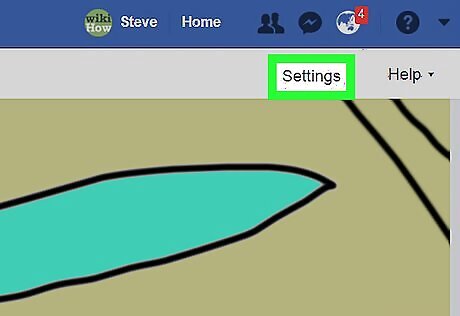
Click Settings. It's in the upper-right side of the page. Doing so opens the page's settings section.
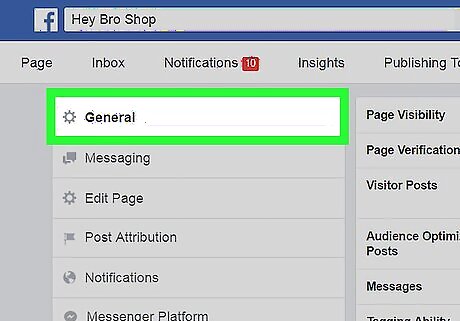
Click the General tab. You'll find this in the upper-left side of the page.
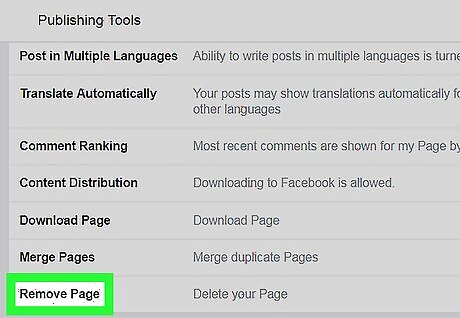
Scroll down and click Remove Page. This heading is near the bottom of the page. Clicking it causes the heading to expand.
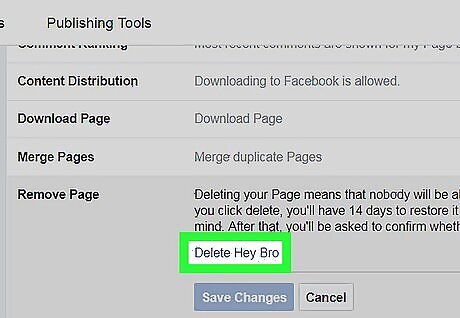
Click the Delete [Page] link. It's below the Remove Page heading. The [Page] section of the link will be replaced by your page's name. For example, if your page's name was "Porpoises for Hire", you would click Delete Porpoises for Hire here.
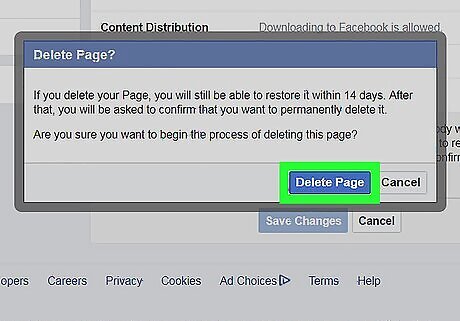
Click Delete Page when prompted. Doing so will schedule your business page for deletion. After 14 days pass, you'll be able to delete your page. You can also check the "Unpublish page" box in this prompt to remove the page from public searches.
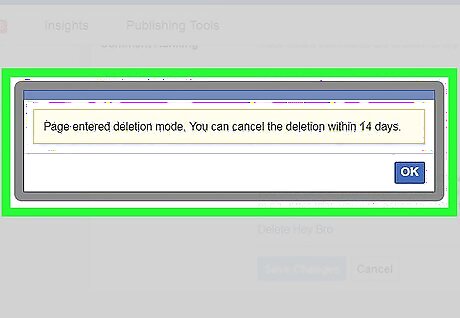
Delete your page after two weeks. Once 14 days have passed, re-open your page and do the following to permanently remove it from Facebook: Click Settings Scroll down and click Remove Page Click the Permanently delete [Name] link. Click Delete when prompted.
Using the Facebook App
Open Facebook. Tap the Facebook app icon, which resembles a white "f" on a dark-blue background. If you aren't logged into Facebook, enter your email address (or phone number) and password before proceeding.

Tap ☰. It's either in the bottom-right corner of the screen (iPhone) or the top-right corner of the screen (Android). A menu will appear.
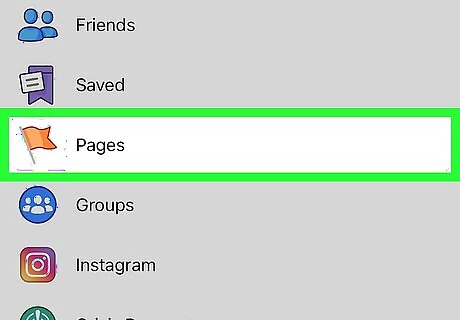
Tap Pages. You'll find this option in the menu, though you may need to scroll down to find it. On Android, just scroll down until you find your page's name, tap it, and skip the next step.
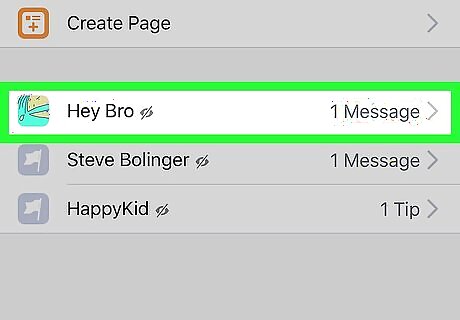
Select your page. Tap your page's name to do so. This will open your page.
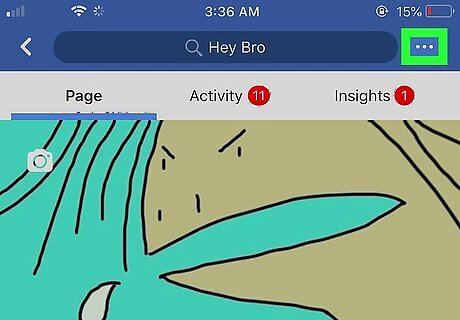
Tap ⋯. It's in the top-right corner of the screen. A menu will appear. On Android, you may have to tap ⋮ here instead.
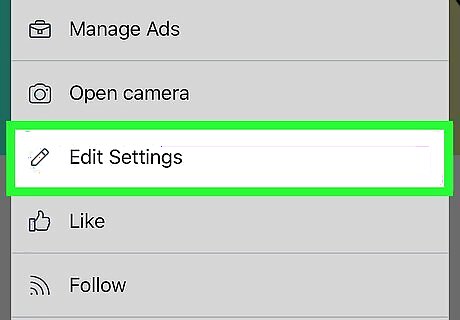
Tap Edit Settings. This option is in the menu.
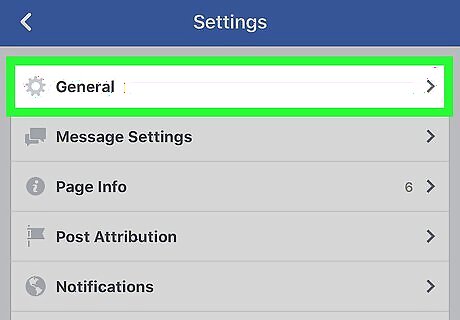
Tap General. It's near the top of the page.
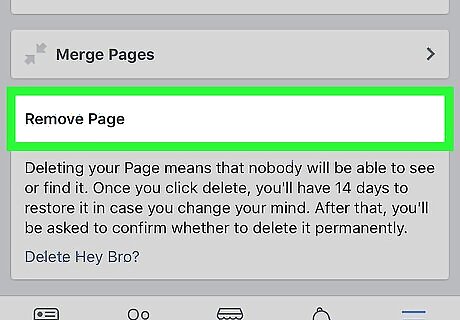
Scroll down to the "Remove Page" section. This section is near the bottom of the page.
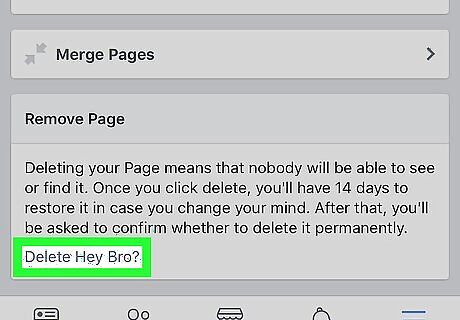
Tap the Delete [Page Name]? link. It's in the "Remove Page" section. The [Page Name] section of the link will be replaced by your page's name. For example, if your page's name is "In Broccoli We Trust", you would tap the Delete In Broccoli We Trust? link.
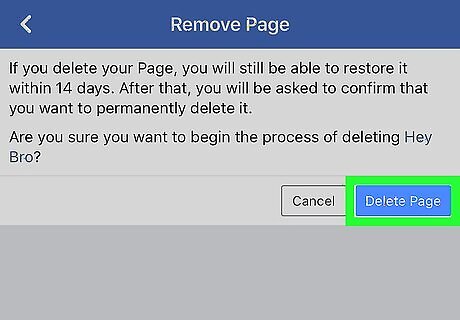
Tap Delete Page. It's a blue button in the upper-right side of the page. Doing so will confirm your decision and schedule the page for deletion. You'll still have to wait for 14 days to pass before you can delete the page.
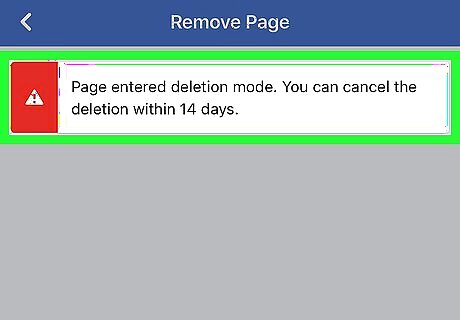
Delete your page after two weeks. Once 14 days have passed, re-open your page and do the following to permanently remove it from Facebook: Tap ⋯ or ⋮ Tap Edit Settings Tap General Scroll down and tap Permanently delete [Name] Tap Delete Page when prompted.


Comments
0 comment