
Using QuickTime 7 Pro to Export and Convert
Install QuickTime 7 Pro. It is no longer possible to activate QuickTime Pro from within the QuickTime Player included in macOS. You'll need to download the older version of QuickTime 7 and then enter your Pro registration key to activate Pro features. Use the following steps to download QuickTime 7 Pro and enter a registration key. Download QuickTime 7 from Apple and install it. You can download it here. Open the Utilities folder and launch QuickTime Player 7. Click the "QuickTime Player 7" menu and select "Registration." Enter your Pro registration key to unlock the Pro features.
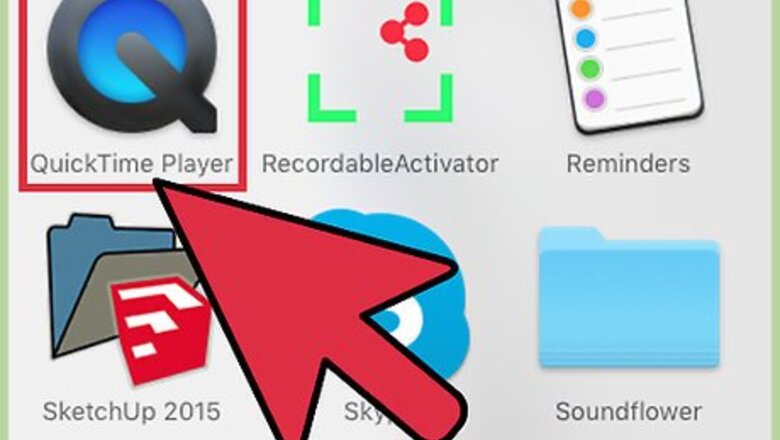
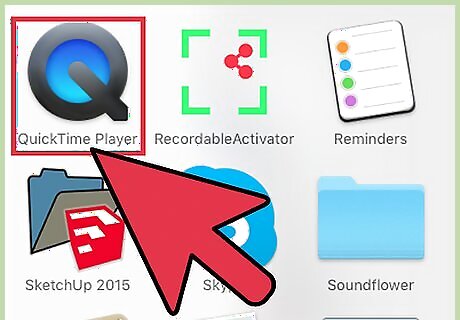
Open the MOV file in QuickTime 7 Pro. Use the following steps to open a video in Quicktime Pro 7: Right-click the video file you want to convert. Hover over Open with... Click Quicktime Pro 7
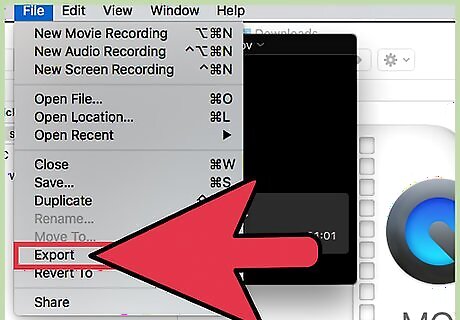
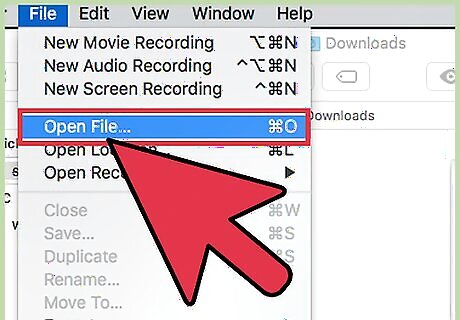
Click the File menu. It's in the menu bar at the top. This opens the file menu.
Click Export. It's near the bottom of the File menu.
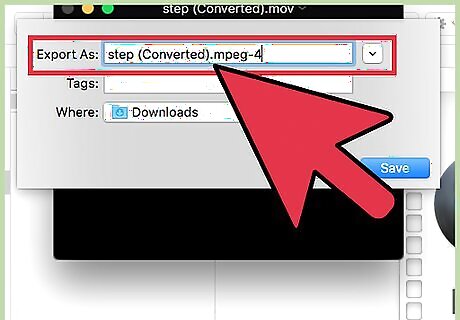
Click the "Export" menu and select Movie to MPEG-4. It's the menu at the bottom next to "Format". This will allow you to save the video in MP4 format.
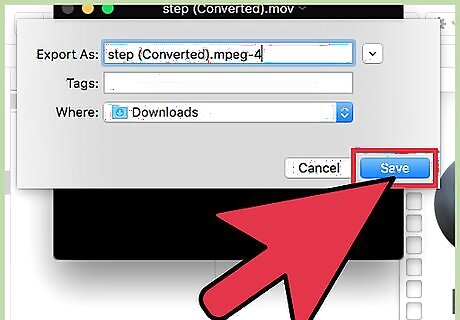
Click Save to make an MP4 copy of the file. The file will export to MP4, which may take a few minutes for larger movies.
Downloading a Free Converter
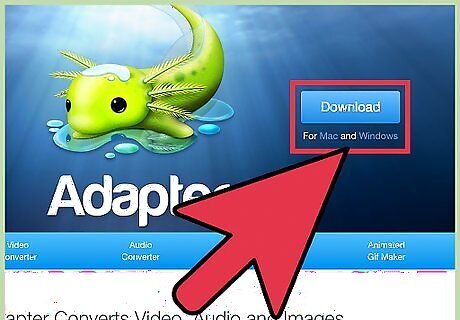
Download and install Adapter from Macroplant. This is a free, ad-free program that will convert your video files into different formats. It is available for Windows and Mac. Use the following steps to download and install Adapter: Go to https://macroplant.com/adapter in a web browser. Click Download Adapter. Open the install file in your web browser or "Downloads" folder. Follow the on-screen instructions to complete the installation.
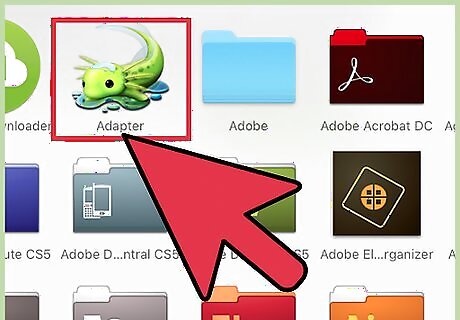
Launch Adapter after installing it. It has an icon that resembles a fish. You'll find it in your Start menu (Windows) or in your Applications folder (Mac). It may have started automatically after installation finished.
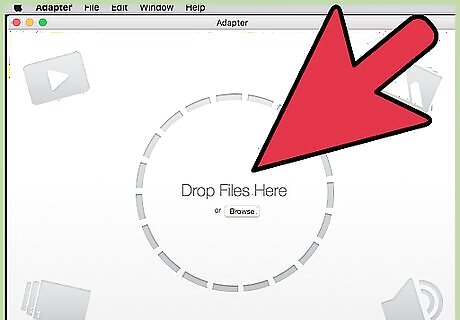
Drag your MOV file into the Adapter window. This will add it to the conversion queue. You can also click the "Browse" button in Adapter and navigate to the file. Sometimes Adapter may say "Error" when adding a file. You can ignore the video
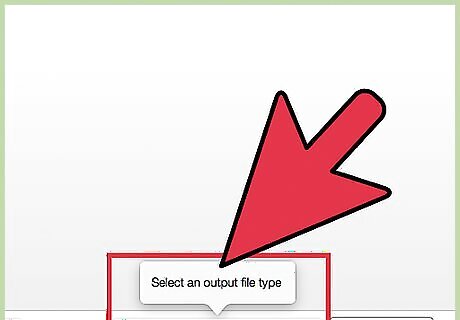
Click the drop-down menu at the bottom of the Adapter window. This will let you choose different formats to convert to.
Click the drop-down menu at the bottom of the screen. It's in the center at the bottom of Adapter. This displays some conversion options.
Select Video. It's the first option that appears when you click the drop-down menu at the bottom of Adapter. This displays a submenu for video options.
Click General. It's in the submenu that appears when you click Video. Alternatively, if you're converting the file for a specific device, you can select it from the Video menu instead.
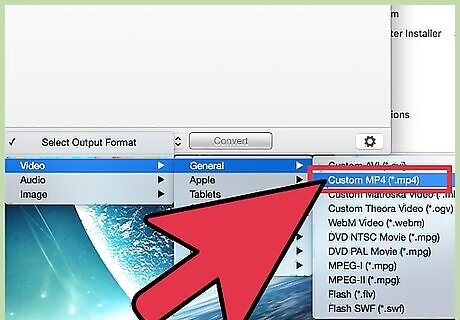
Click Custom MP4. This is the general format for MP4.
Select your quality settings (optional). You can select the video and audio quality in the Settings menu. Low quality will produce a smaller file size. Larger quality will produce better image and audio quality, but a higher video quality. Use the following steps to change the video quality: Click the Gear icon in the lower-right corner Click the drop-down menu next to "Quality" below "Resolution". Select the video quality. Click the drop-down menu next to "Quality" below "Audio". Select the audio quality.
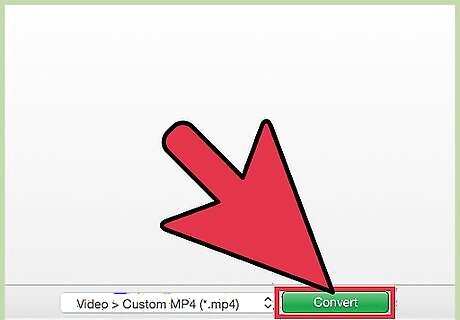
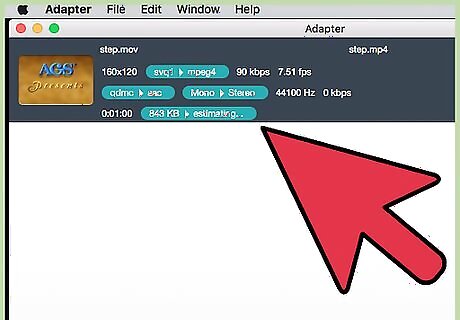
Click Convert to convert the MOV file to MP4. It's next to the drop-down menu at the bottom of the Adapter. The time this takes will vary depending on the size of the original video. By default, the new file will be located in the same folder with the same file name and the new MP4 extension. The original file will not be altered.


Comments
0 comment