views
Creating an Outline Around a Line or Stroke
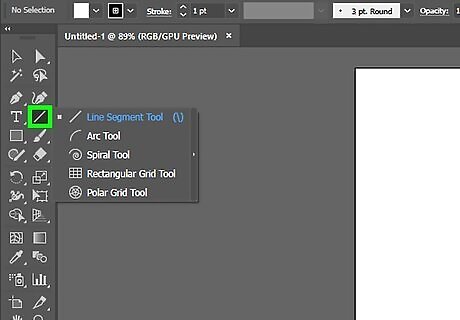
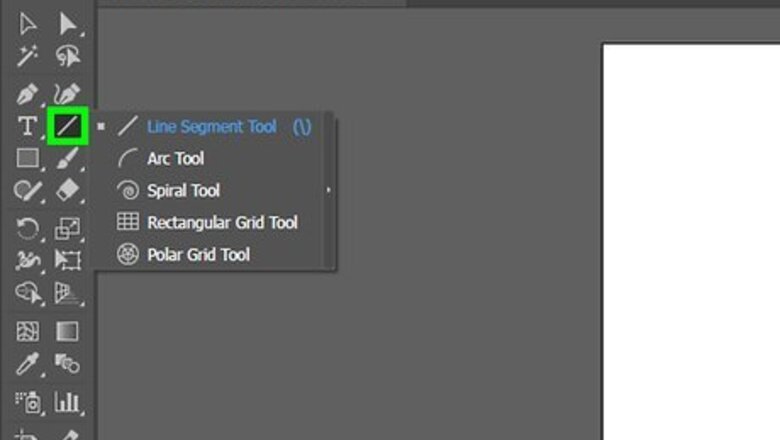
Select a tool. The toolbar is to the left in Adobe Illustrator. Use the line tool to create a straight line. Use the Pen, Pencil, or Brush tools to create curved lines. You can also use one of the shape tools to create a shape with a line around it.
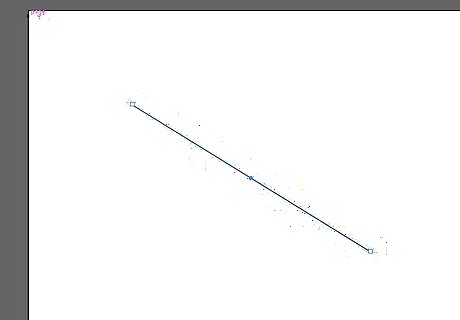
Create a line or shape. After selecting a tool, click and drag to create a line or shape. To add a line around a shape, select the shape and click the box with a thick colored square in the upper-left corner. Then select a color from the swatches. You can also use this box to change the color of a line.

Click the select tool. It's the icon that resembles a black mouse cursor arrow. It's at the top of the toolbar. Use this tool to select objects in Adobe Illustrator.

Select the line you want to create an outline for. Using the select tool, click the a line or shape to select it.
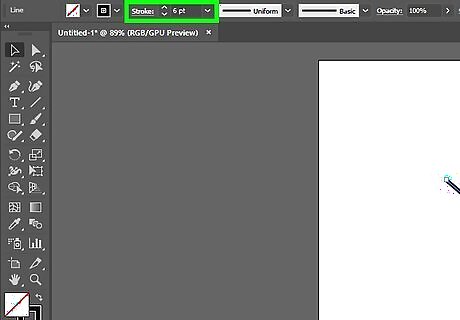
Adjust the line thickness and style. After you create an outline around a line or stroke, you will not be able to edit the line thickness and style anymore. So make sure you are happy with the line thickness and style before you convert it. Use the following steps to adjust the line thickness and style: Use the first drop-down menu next to "Stroke" to select the line thickness. You can also type the point size in the drop-down menu box. Use the second drop-down menu next to "Stroke" to select the variable thickness profile. This drop-down menu displays a variety of variable thickness profiles. Select one to see how it looks. The thicker your line is, the more pronounced these profiles will be. Use the third drop-down menu to select the brush type. This drop-down menu displays a variety of brush types and line types. Click one to see how it affects your line.

Select the line or shape. After you are happy with how the line looks, use the select tool to select your line or shape. Before creating an outline around your lines and shapes, you may want to copy and paste it to the side of your artboard. This gives you an editable version you can use if you decide you want to change it later on.
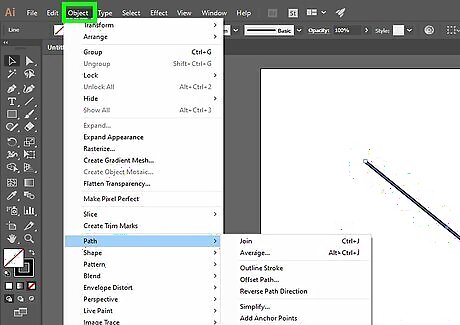
Click Object. It's in the menu bar at the top of the screen. This displays a drop-down menu below "Object".
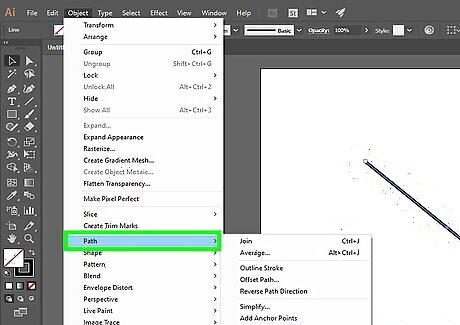
Select Path. It's a little more than halfway down the "Object" menu. This displays a submenu to the right side.
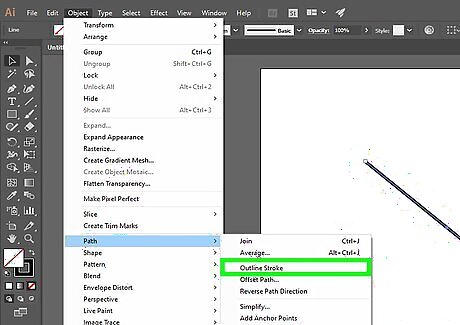
Click Outline Stroke. This converts the line into shape. You can edit it like you would any other shape. To adjust the color of the line after it's been outlined, click the solid square box in the upper-left corner and select a color from the swatches. After you create an outline around a line, you can add a stroke around your outline using the second color box in the upper-left corner. It's like adding a stroke around a stroke.
Creating an Outline Around Text
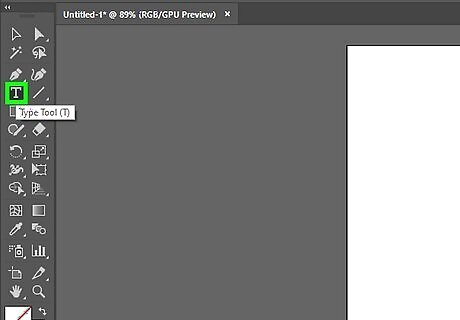
Click the text tool. It's in the toolbar to the left. It has an icon that resembles a "T".
Create text. To add a single line of text with the text tool, click anywhere and start typing. To add a text box, click and drag to create a box. Then type within the box. Use the solid color box in the upper-left corner to select a color for your text. You can also use the box that resembles a thick colored square to add a stroke around your text.
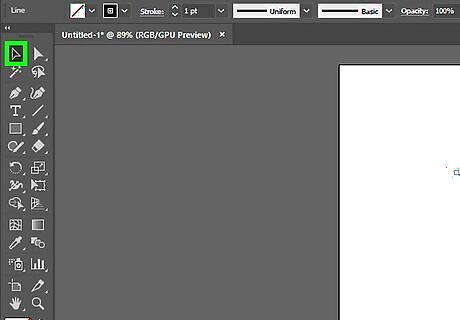
Click the select tool. It's the icon that resembles a black mouse cursor arrow. It's at the top of the toolbar. Use this tool to select objects in Adobe Illustrator.
Select your text. Use the select tool to select your text. It's the icon that resembles a black mouse cursor arrow in the toolbar to the left.
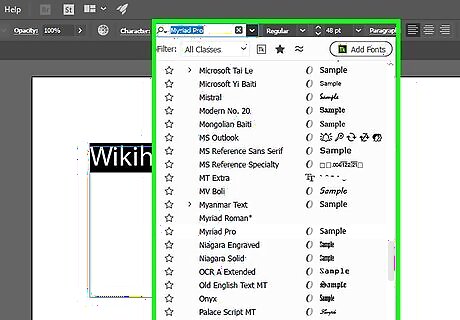
Adjust your spelling and typography. Once you create an outline around your text, you will not be able to edit it. Make sure your spelling is correct, and set your typography before creating an outline. Use the following steps to adjust your typography: Use the drop-down menu next to "Characters" to select a font. It's at the top of the screen below the menu bar. Use the second drop-down menu next to "Characters" to select a font style (i.e. Bold, Italic, Regular, etc). Use the third drop-down menu next to "Characters" to select the font size. You can also type a point size in the drop-down menu box. Click Characters at the top of the screen to display more characters options. This menu allows you to adjust the leading, kerning, line spacing, character spacing, vertical scale, and horizontal scale. Use the icons with lines next to "Paragraph" to align your text to the left, right, or center.

Select your text. Once you are happy with how your text looks, use the Select tool in the toolbar to select your text. Before converting your text to outlines, you may want to copy and paste it to the side of your artboard. That way you have an editable copy, in case you want to change it later.
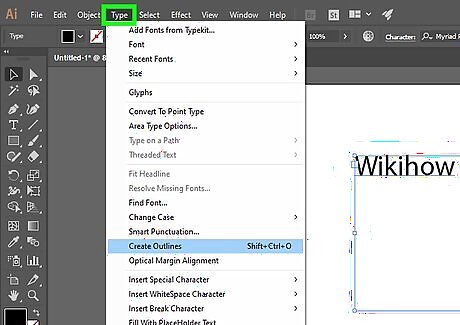
Click Type. It's in the menu bar at the top of the screen. This displays a drop-down menu.
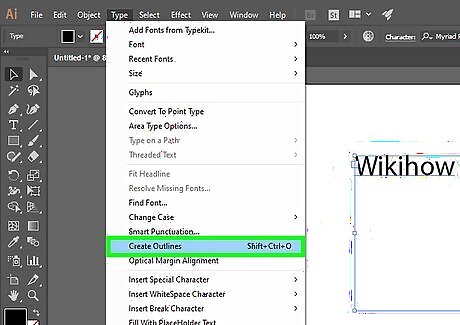
Click Create Outlines. This converts your text into a vector graphic. As a vector graphic, the text will appear on any computer. Even if it doesn't have the font you chose installed. After converting your text into outlines, you can change the color using the solid colored square in the upper-left corner. If your font has a stroke, you will need to use the steps in Method 1 to create an outline for the stroke. After you convert the stroke into an outline, you can add another stroke to the outline.


Comments
0 comment