views
Mac
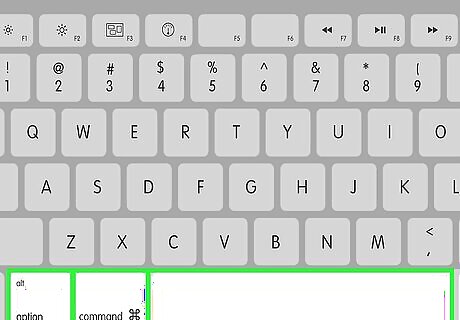
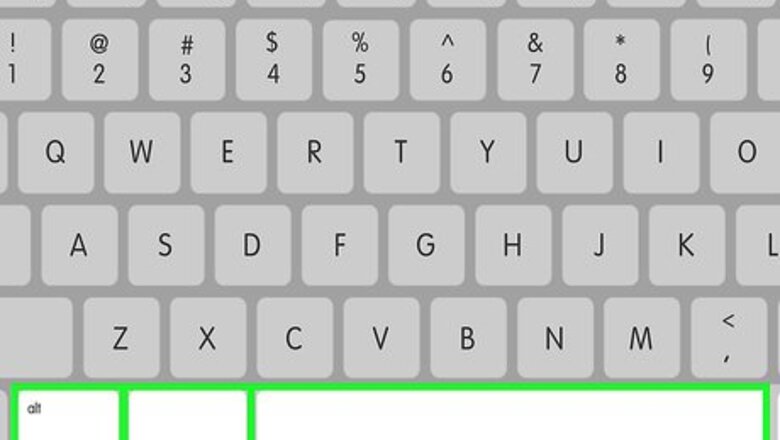
Press ⌥ Option+⌘ Cmd+Space. Doing so will bring up the Finder window.
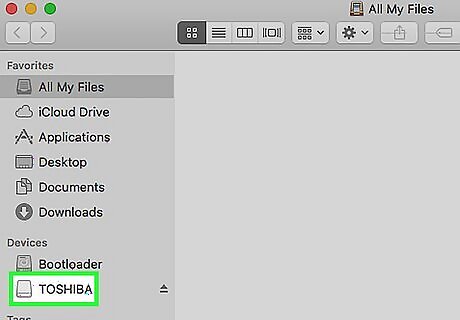
Click on your External Hard Drive. It appears under the "Devices" section on the left side of the Finder window.
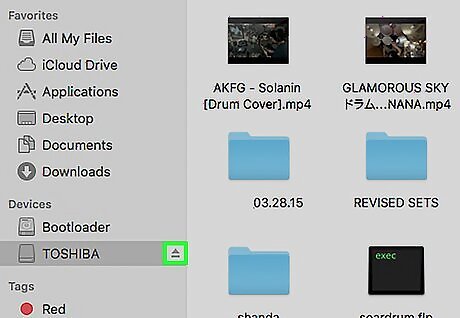
Click ⏏ next to your device. Doing so will safely eject the device from your computer, allowing you to remove it from the USB cable. If you see your device icon on the desktop, you can drag it over the trash can icon to eject it. When the trash icon turns into an eject button, release your hold and it will be ejected.
Remove the device from the USB port. If you encounter any errors when ejecting the device, make sure that apps that are reading files on your computer are closed and that no files are being transferred between your device and your computer.
PC
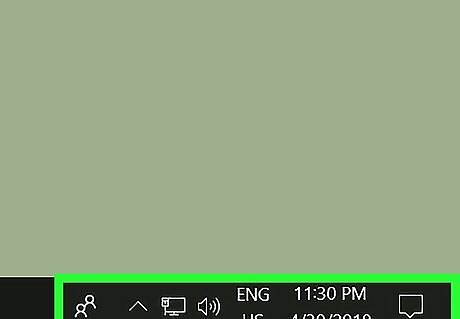
From the desktop, locate the notification tray. It's at the bottom-right corner of the desktop screen.
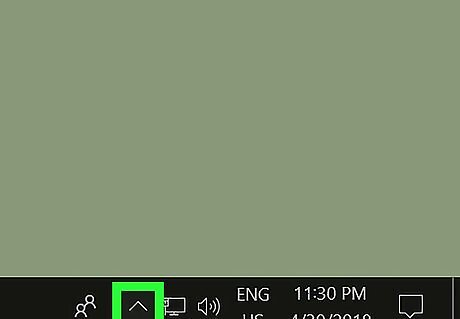
Click ⌃. Doing so will reveal a popup menu.
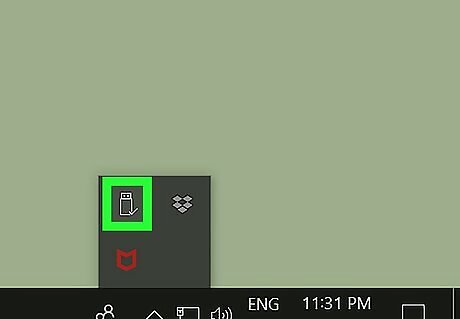
Click Safely Remove Hardware and Eject Media. It's a tiny icon with a usb plug and a green check box. Depending on your menu configuration, this icon is sometimes found directly on the notification tray itself rather than within the popup menu.
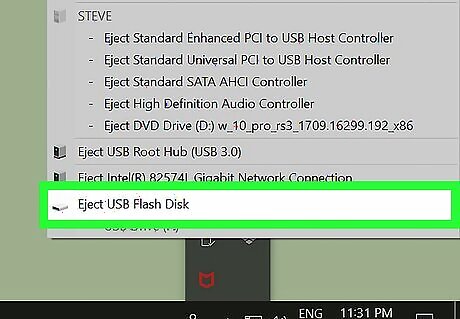
Click Eject [Device Name]. Doing so will safely eject the device from your computer, allowing you to remove it from the USB cable. On Windows, if you see your device listed in the File Explorer, you can right-click on it and hit "Eject" to eject it.
Remove the device from the USB port. If you encounter any errors when ejecting the device, make sure that apps that are reading files on your computer are closed and that no files are being transferred between your device and your computer.


Comments
0 comment