
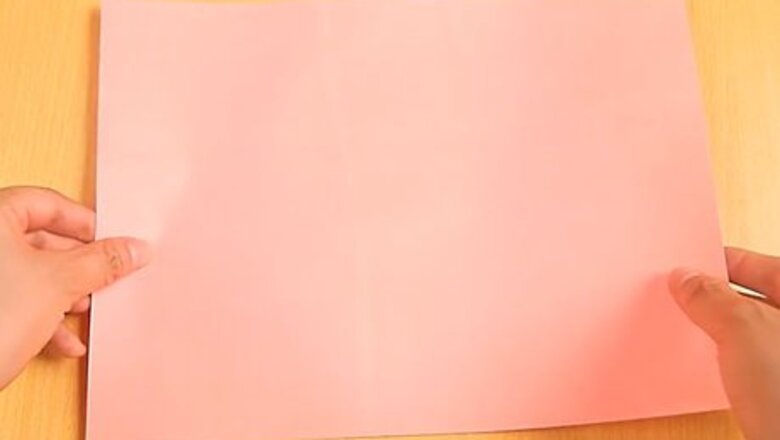
Start off with a regular A4 sheet of paper (Regular printer paper). You may use any color you like depending on the sculpture you will be making.
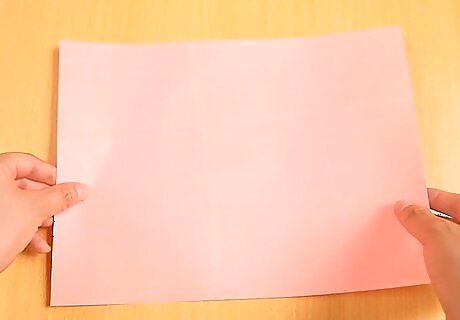
Starting with the paper with the shorter side on the bottom, fold the paper in half.
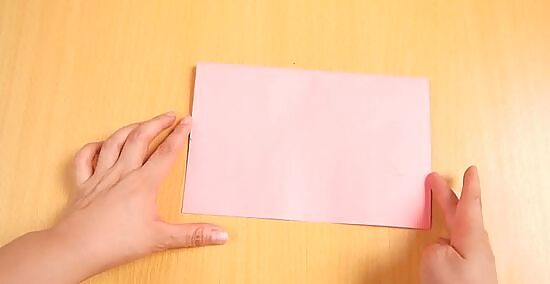
Fold in half again.
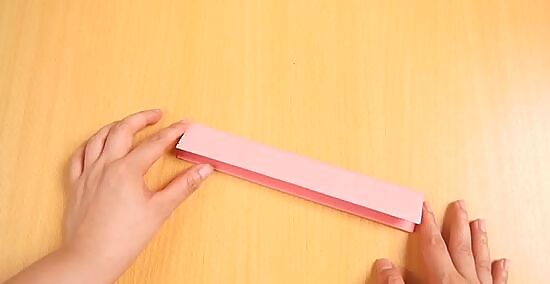
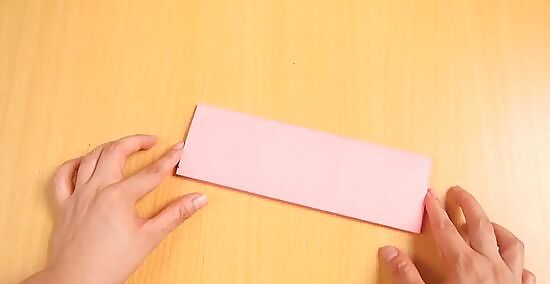
Fold in half one last time.
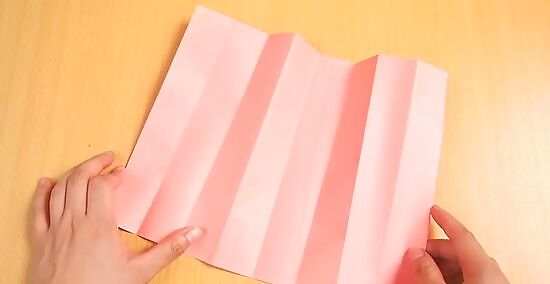
Unfold the paper and rotate so the longer side is on the bottom.
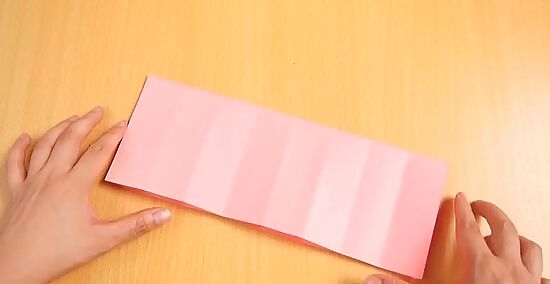
Fold the paper in half.
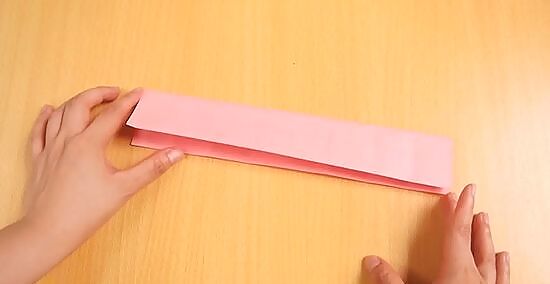
Fold in half again.
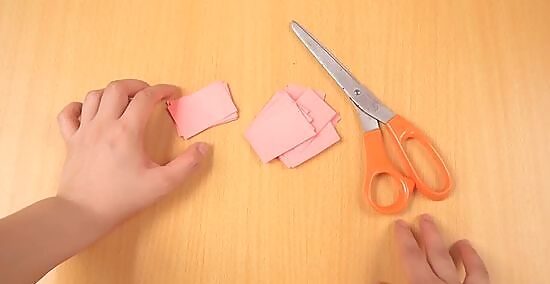
Unfold and cut on the folded lines to get 32 squares.

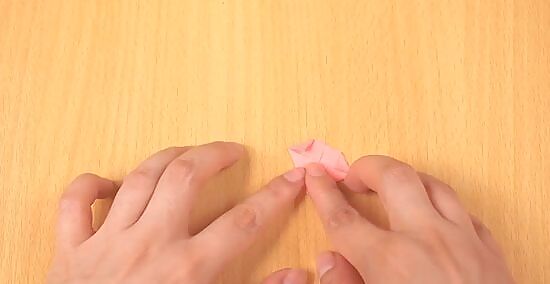
Take one of the squares and hold with the longer side on the bottom.
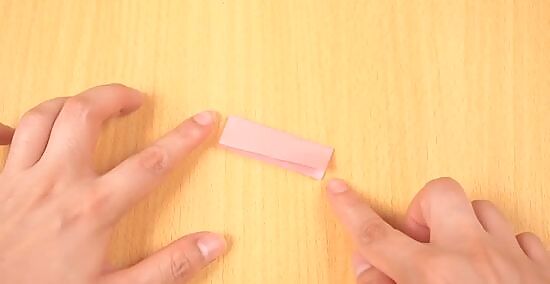
Fold in half from the bottom to the top.
Fold again from left to right but don't press the fold very hard.
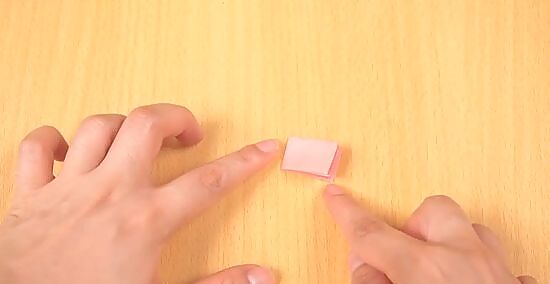
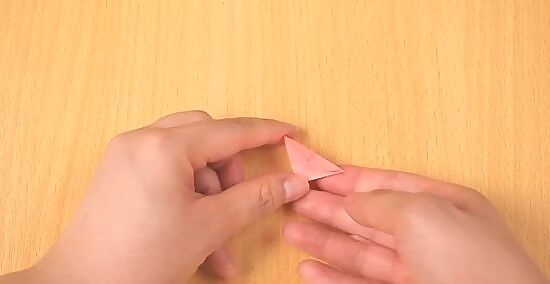
Fold the right side of the paper to the fold line in the middle then do the same to the left side. This should now look like an upside down house.
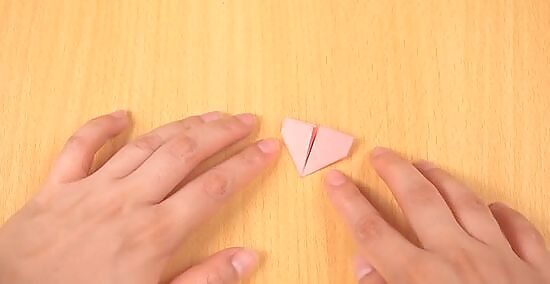
Turn over. Fold down outside corners.
Fold the top 2 flaps down. You'll end up with a triangle.
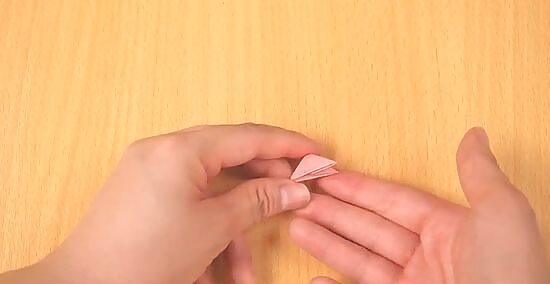
Fold in half and you are done.
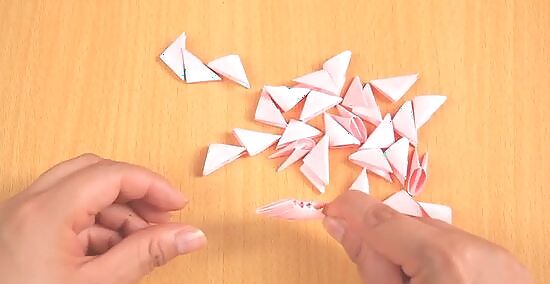
Once you make many triangles stack them together to use when needed.
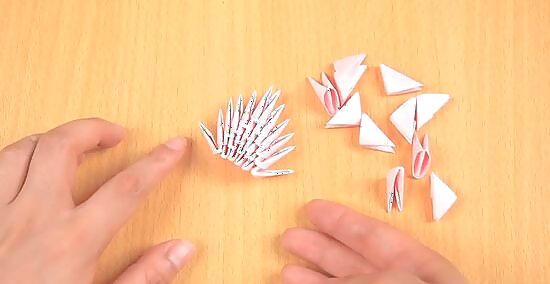
Finished.


Comments
0 comment