
Note: Read all Ingredients first, because if you either don't like an item or don't have enough - you'll be better prepared to make something you'll be able to make and enjoy.
Serves: 4 people (Disney's recommendation)[1]
X
Research source
Assembly time: 15-20 minutes (with inexperience, expect 20-25 minute preparation time)
Preparation
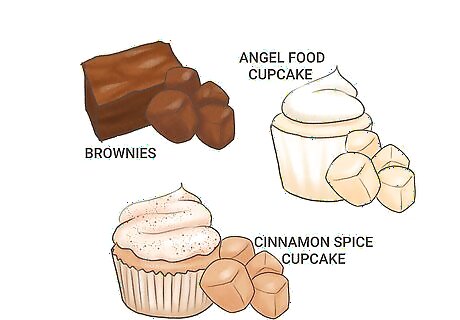
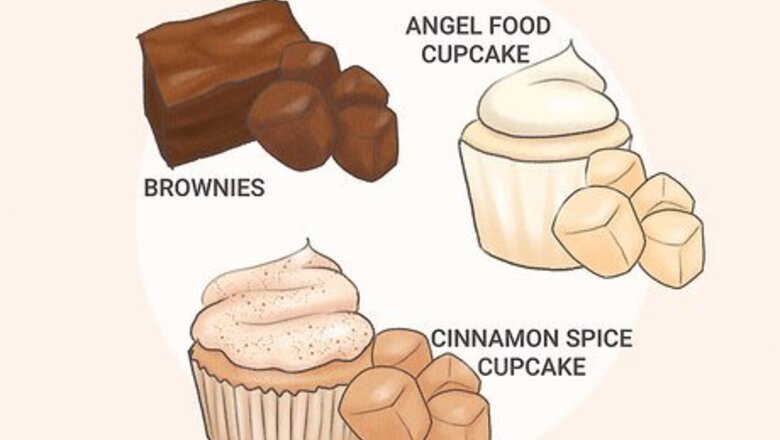
Prepare all baked items which might not be found at stores pre-baked. You'll need to make three items - including the brownies, cinnamon spice cupcakes, and angel food cupcakes. For most of these, recipes can be found online and on the back of some product boxes, as long as you grabbed a package of the mix that can make these items.
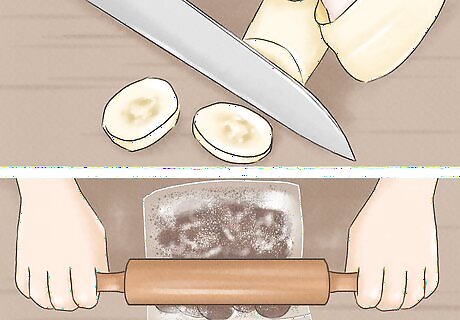
Bring all necessary items to the preparation area. Make sure to not forget all the ice cream and toppings, and that all packages are open enough so all you'll need to do is reach in and dig out the proper amounts - before preparing the recipe. Certain items may need to be further prepared. The bananas will need to be cut, and an Oreo cookie or two will need to be crushed to dust to top the item, but some of these candies will need further preparation before you embark on making this dish. Follow the Ingredients list above to ensure every candy has been reproduced the same way that Disney makes them.
Bring over a large serving dish. Ice Cream Sundae and banana split sundae dishes won't hold enough of the dessert to make it anywhere near as close, nor will an average cereal dish. However, larger serving plates should hold this, as Disney's looks like a Kitchen Sink (complete with unconnected faucet handles overtop of the ice cream). You can eliminate the looks of the official dish design from Disney if you want to prepare this on a "normal" homemade level.
Ice Creams
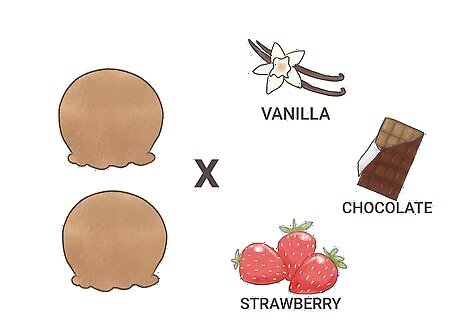
Scoop two scoops of each of the traditional ice creams - including vanilla, chocolate, and strawberry ice cream, and place them into the dish. Try not to get too much from another flavor into each circular ball that you'll form if you are using a Neapolitan ice cream box/container - and you might find it easier to purchase and scoop from single ice cream boxes instead.
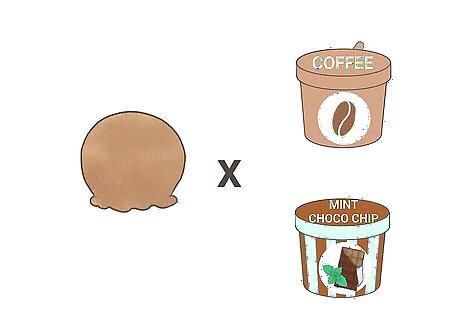
Scoop one scoop of each of the specialty ice creams. Disney uses mint chocolate chip and coffee, but if you have a preference for two specialty flavors that you have available, go ahead and use those instead.
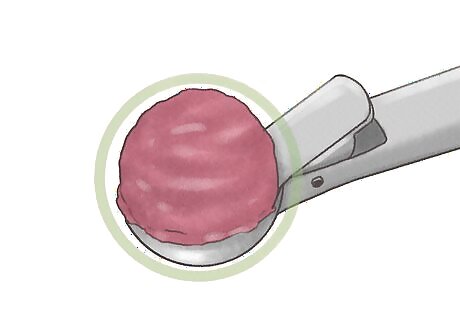
Make the ice cream into balls, as best as possible. Disney may know the tricks to make the best ice cream balls to perfection, but you will need to come close to form them. Disney requests a total of 4 ounces between each Neapolitan flavor (one ball will be about 2 ounces), and with the specialty flavors, form bigger balls to complete the 4-ounce serving. Disney knows how best to make them to perfection using their right scoops, but if you make them too compact, you'll end up with a mess towards the end, and either too little (to not suffice at the end) or too much leftover.
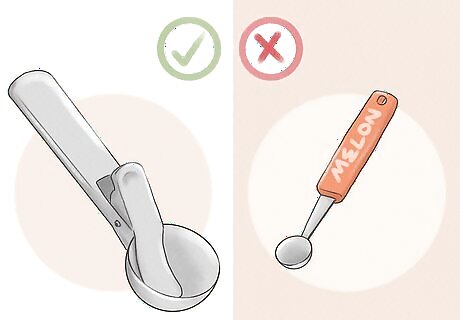
Don't use a melon baller to create the scoops. Ice cream scoops can help you form the right size ball and make it come as close as the ways how Disney makes them.
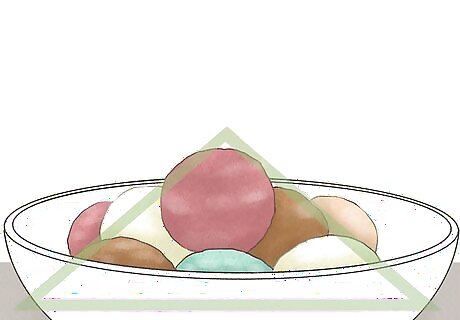
Layer the ice cream in a pyramid form with all eight ice creams. Although Disney doesn't make it known the form of how the ice cream should look when it arrives, most will find that forming a two leveled pyramid will often be enough and still give it the functionality that Disney uses. The order in which you place each ice cream is up to you. Ice cream pyramids stacked three on top of each other will become heavy to the bottom layers and often the topmost layers will fall down and onto the other snack if not eaten quickly enough.
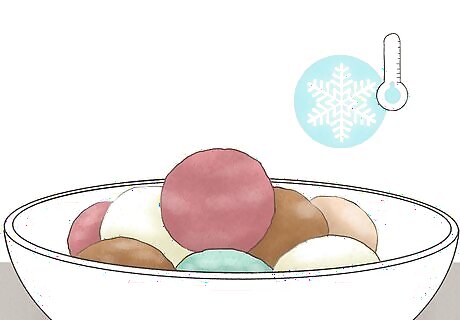
Be aware of your melting ice cream as you prepare the remainder of the dish (primarily the toppings). Prepare this in an air-conditioned area, or (for the ultimate thrill) inside a walk-in freezer (with someone standing outside the door with the key in their hands and you have some way to tell them that you've completed the dessert)! Disney gets adept at making these scrumptious desserts and you'll often find them working in air conditioning!
Toppings
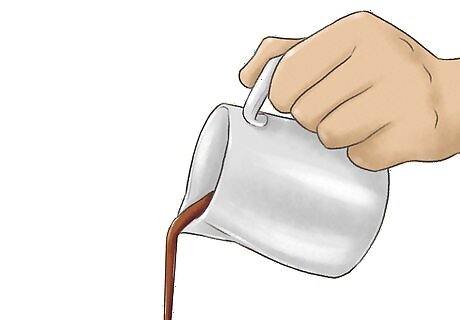
Drizzle the liquid toppings onto the ice cream balls. However, prepare for the worst disaster as some come tumbling down into the dish itself. These toppings include all the fudge, butterscotch, peanut butter, and strawberry toppings, and the chocolate syrup, and marshmallow cream. Make sure each ice cream ball has some of the toppings sprinkled onto it at first. Be aware that it'll drip back into the dish, but if it stays in the bowl, you'll be good to complete the remainder of the dessert bowl. Not all balls have to have each of the toppings on them. However, some of the toppings have to be tried to be on the balls, for this dish to be close to "complete" in Disney-sense.
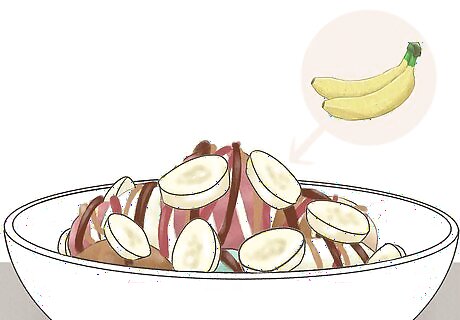
Place the bananas into the dish. Disney says to slice the bananas in ½-inch slices, but if you'd rather slice them banana split style, you can place these strips down onto the dripped liquids.
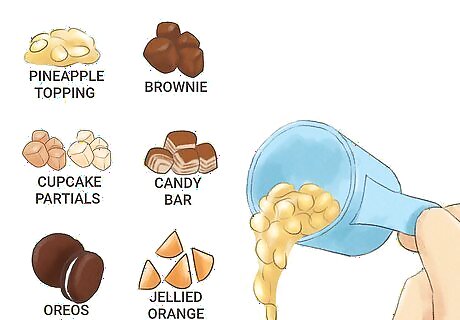
Add in the other solid toppings- using the measuring devices you'll need. Include the pineapple, cupcake partials, brownies, candy bar, Oreos, and jellied orange slices. Disney can eyeball the right amounts of the ingredients, but for the inexperienced, you will need to measure out each Ingredient before placing it into the dish.
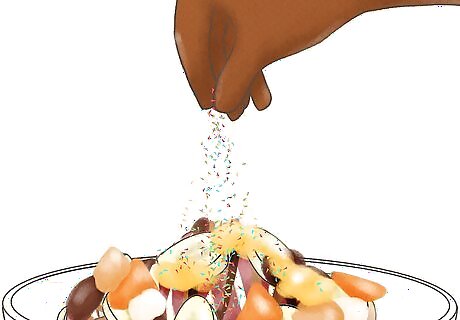
Dabble on the lighter, smaller pieces. Include those from the "Sprinkles, Shavings, and Morsels" Ingredients section above. Make sure that the almonds, chocolate shavings, milk chocolate chip morsels, peanut butter morsels, and both chocolate and rainbow sprinkles make it into this dish. If you don't like almonds, you might be able to substitute peanuts. However, if you have a nut allergy, Disney takes every precaution and ensures you know what you're getting into and you may tell them to skip out on the peanuts in lieu of more of another candy - to prevent an allergic reaction.
Finishing Up
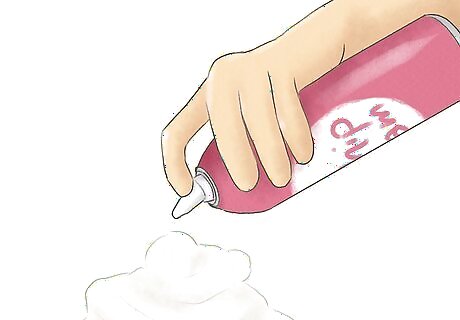
Top-off the ice cream in the dish with an entire can of whipped cream. Disney uses a spray-can variety of whipped toppings (ReddiWhip style). Cover the entire dish with one complete can. You may let the whipped cream drip into the dish of other goodies. If you don't have ReddiWhip cans of whipped cream, you may be able to use an entire container of Cool Whip instead allowing for differences in the looks of the product.
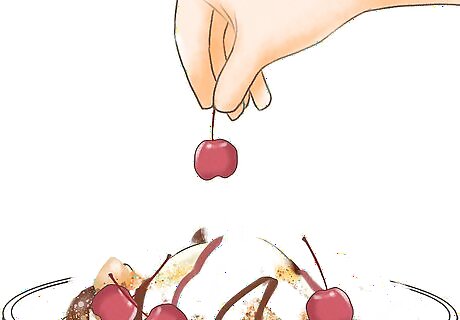
Cherry-top this dessert off with the half cup of maraschino cherries. Place a cherry or two on the whipped cream at the top of the heap, and let the remainder of the cherries settle into the remainder of the mixture.
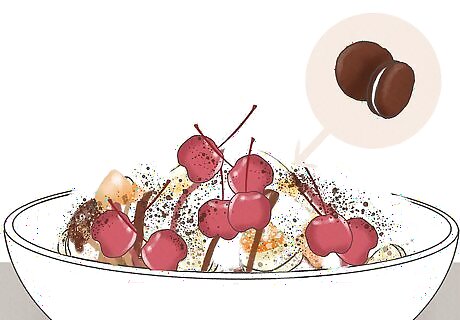
Sprinkle onto the whipped cream the remainder of the crushed Oreo pieces from the blended 1 tablespoon mixture you measured out.
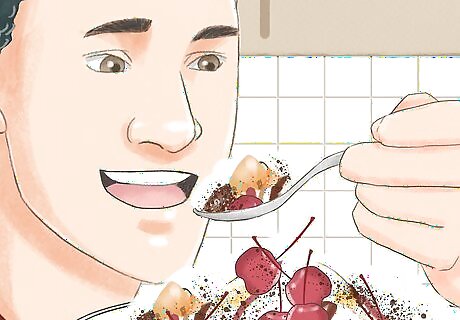
Serve and eat. Place at least 1 to 2 sundae spoons in the bowl and eat like a humungous sundae. Bon appetite. Keep this dish as frozen as possible. When you can no longer eat it, keep this dish inside a local freezer. (Don't settle for anything less.)


Comments
0 comment