
Set Up Mod
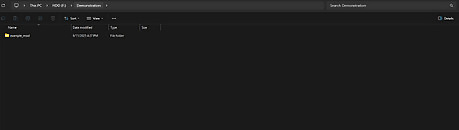
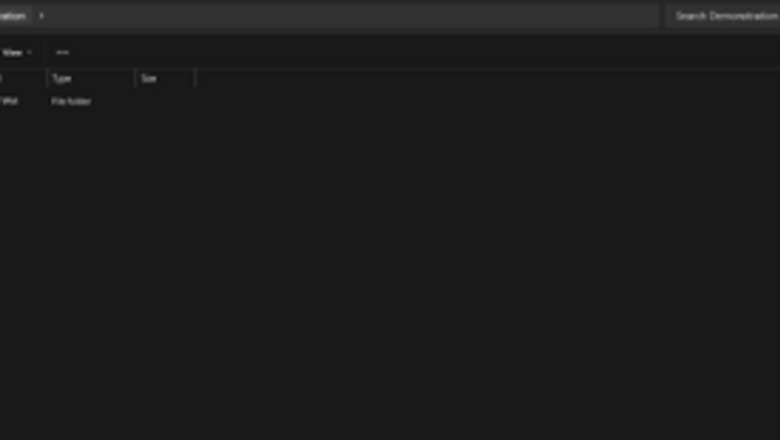
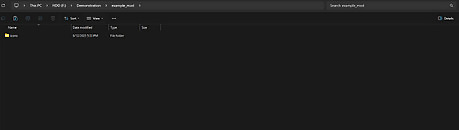
Create a main folder to contain the mod’s files. This folder should be named descriptively, typically reflecting the name of the mod being created. All mod content except for the .mod file will be contained within this folder.
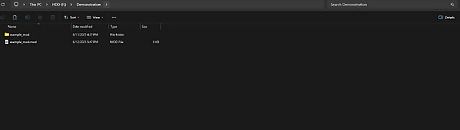
Create the mod file. Create a text file with the extension ‘.mod’ in the same folder as the mod’s main folder. You may accomplish this by creating a new text document, then changing the extension to ‘.mod’. The name of the .mod file should also be descriptive, typically reflecting the name of the mod.
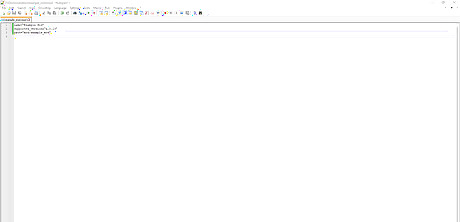
Write the mod file. The .mod file contains metadata used for Stellaris game launchers to find and load the mod into the game. Open the file in a text editor and add the required code. Add a line containing ‘name="mod_name"’. Replace mod_name with the name of your mod, spaces and capital letters are acceptable. This line will determine the name of the mod when it shows up in a Stellaris game launcher. Add a line containing ‘supported_version="version_number"’. Replace version_number with the version number of Stellaris that the mod supports. Version numbers are denoted as three numbers separated by periods, such as “4.0.19”. If the version number does not match the installed version of Stellaris, the game launcher will give a warning but the mod can still be loaded. Add a line containing ‘path="mod/mod_folder_name"’. Replace mod_folder_name with the name of your mod’s main folder. The path is the location on the computer where the game launcher can find the mod’s files. If no folder is found at this path, there will be an alert in the Stellaris launcher and the mod will not be loaded.
Create Icons
Create a folder to store icons. Icons are the images used to represent traits in-game. Create a folder somewhere within the main mod folder to store the icon images. This folder can have any name and be at any location within the main mod folder.
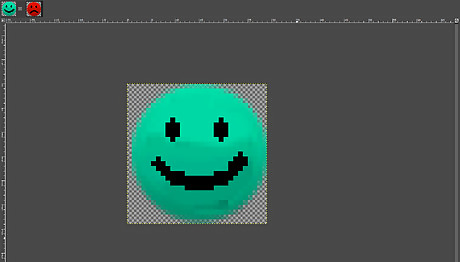
Create the icon images. Use an image editor to create a 29 by 29 pixel image for each of your traits.
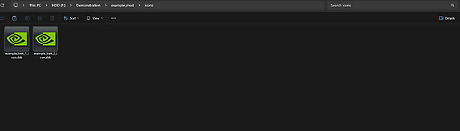
Save trait images as DDS files in the icon folder. In order to be displayed properly, trait icons must be saved as DDS files in BC7 format. Some image editors are able to export images as DDS files innately, while others require special plugins to do so. You may also save images as other file types, then convert them to DDS using external tools.
Set Up Localisation
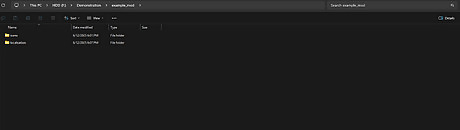
Create a folder called 'localisation' inside your mod’s main folder. Stellaris organizes files by directory (folder structure), and will look for localisation files within the localisation folder.
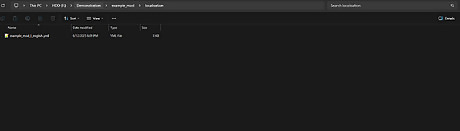
Create a yml file within the localisation folder. The naming convention for localisation files is NAME_l_language, where NAME is replaced with a descriptive name for the file, and language is replaced by the language that the file encodes for in all lowercase. For example, ‘mytraits_l_english.yml’ would be a conventional name for an English localisation of traits.
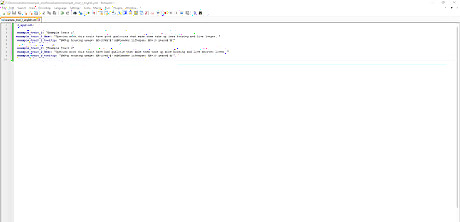
Write localisation code for your traits. Use YML to code localisation for your trait, its description, and its tooltip. At the top of the file, write ‘l_language:’, replacing ‘language’ with the language that you are coding for. To localise the name of a trait, start a line with the trait’s name, followed by a comma, then some text in quotation marks. The text will be used to represent the trait’s name in the language you coded for. To localise the description of a trait, start a line with the trait’s name, followed by ‘_desc’, followed by a comma, then some text in quotation marks. The text will be used to represent that trait’s description in the language you coded for. The description should be a qualitative explanation of what anatomy or behavior that trait represents. To localise the tooltip of a trait, start a line with a unique name for that trait’s tooltip (you may come up with a naming convention yourself), followed by a comma, then some text in quotation marks. The text will be used to represent that trait’s tooltip in the language you coded for. The tooltip should be a quantitative breakdown of every in-game effect associated with that trait, including the modifiers that trait applies. YML operators such as ‘§’ and ‘\n’ may be used to alter the appearance of the text when it is presented in-game.
Convert the yml file to use UTF-8-BOM encoding. This process varies depending on your text editor, but the file must be encoded in UTF-8-BOM to be read by Stellaris.
Define Traits
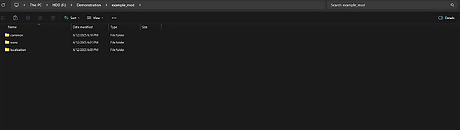
Create a folder called 'common' inside your mod’s main folder. Stellaris organizes files by directory (folder structure), and will look for trait code at a certain location within the common folder.
Create a folder called 'traits' inside the common folder. Stellaris will read trait code from any text files within the traits folder.
Create a text file inside the traits folder. This text file will contain the code for your traits. You may spread the code across multiple files as long as they are all in the traits folder and follow the correct format. This file must be encoded in UTF-8, which is the default for most text files.
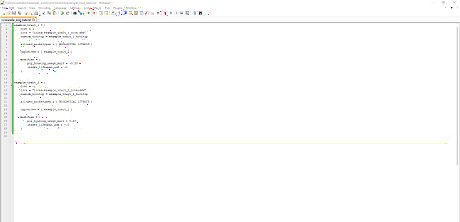
Define your traits in the text file. Open the text file in an editor and start coding. One text file may contain code for multiple traits. Start defining a trait by writing the trait’s name, followed by ‘ = { }’. All code contained within the curly braces will apply to that trait, and you may write the code over multiple lines as long as it is all within those curly braces. The cost variable is an integer that determines how many trait points a species must use to add the trait. The cost may be positive, negative, or zero. Note that traits with a cost of zero do not use trait picks when added to a species. The icon variable is the path where the image containing the trait’s icon is stored. Stellaris will look for this path inside of the main mod folder, so you do not need to have the main mod folder or its parent folders in the path. The path must be in quotation marks, and must include the file extension. The custom_tooltip variable is the localisation variable used to contain the text that is shown to explain the trait’s effects when the trait is hovered over with a mouse in-game. The allowed_archetypes variable is used to determine which kinds of species may use the trait. The content for this variable must be contained within curly braces. Multiple species archetypes may be allowed for each trait. Archetypes must be separated by spaces or lines. The opposites variable (optional) is used to determine which traits cannot be used along with the current one. The content for this variable must be contained within curly braces. Multiple opposites may be set for each trait. Any trait names entered into this variable cannot be present on a species with this trait, nor can this trait be present on any species that has its opposite traits. Traits must be separated by spaces or lines. The modifier variable (optional) is used to determine the in-game effects of the trait on a species that has it. The content for this variable must be contained within curly braces. Multiple modifiers may be set for each trait. Modifiers must be separated by spaces or lines.


Comments
0 comment