views
Online File Converter

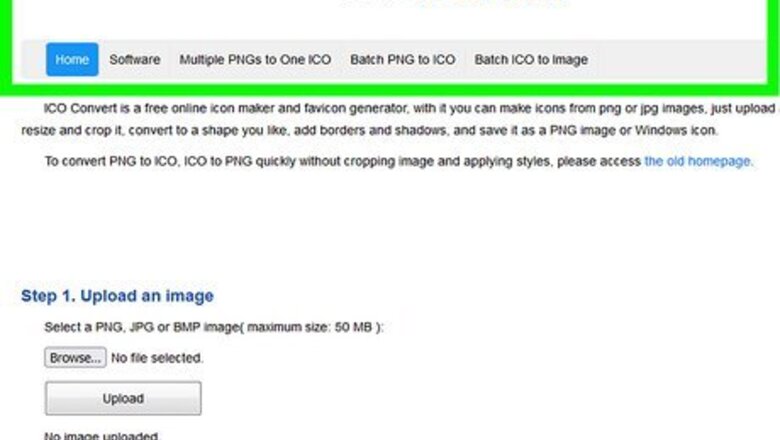
Open https://icoconvert.com/ in your internet browser. Icoconvert is a free online image converter that allows you to upload images and convert them to ICO files. It also has options for creating a style for the ICO image as well as allowing you to save the image as multiple sizes in one file. This allows the image to scale to different sizes depending on its use. Other image converter sites that work similarly include ICOConverter (https://www.icoconverter.com) and Online-Convert (https://image.online-convert.com/convert-to-ico). You can use online file converters in all desktop and mobile internet browsers.

Click the Choose File button and select an image. This button is under the "Step 1: Upload an Image" heading at the top. It will open your file navigator window, and allow you to select your image. Use the navigation window to navigate to the image file you want to select. Then click Open.
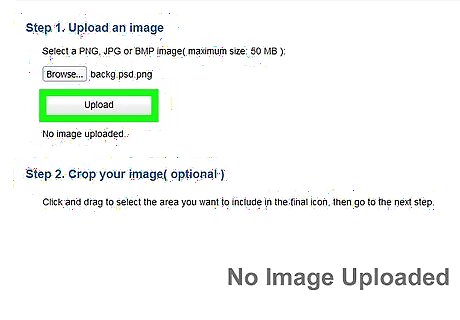
Click Upload. It's the large file below the "Choose File" button. This uploads the file to the website. Allow a few minutes for it to complete.

Crop the image (optional). You will see a preview of the image below the "Step 2. Crop your image" header. Cropping your image allows you to trim the excess areas around the image that you don't want to use. If you want to crop your image, click and drag a square around the area of the image you want to keep. You will see a dotted line around the area you want to keep.
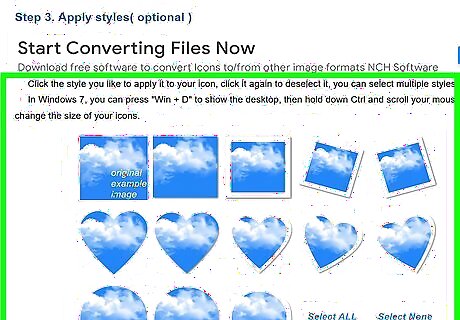
Select a style (optional). Icoconvert.com now allows you to select different styles for your ICO images. These styles are different image shapes and borders. To select a style, scroll down and click the styles you want to use below the "Step 3. Apply Styles" header. You can select more than one style.
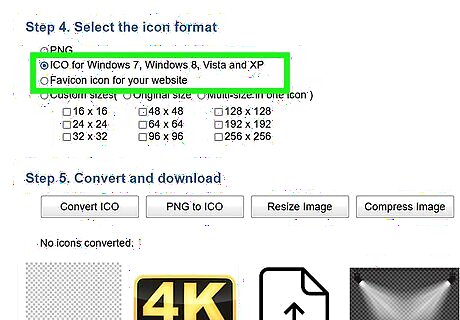
Select an icon format. Click one of the radio options below "Step 4. Select the icon format" to select a file format. Your options are as follows: PNG: Select this option if you want to convert the image to a PNG file (not an ICO file). ICO for Windows 7, Windows 8, Vista, and XP: Select this option if you want to convert the image to an ICO file for Windows applications. Favicon for your website: Select this option if you want to convert the image to an ICO file to be used in web browser tabs for a website. Custom sizes: Select this option to create a custom-size ICO image file. ICO files can be multiple sizes that scale to fit their use. If you want to keep the ICO file the same size as the image you uploaded, select "Custom sizes" and then click the radio option next to "Original Size." If you want to adjust the file size or create a scalable ICO file, click the radio option next to "Multi-size in one icon" and then click the checkbox next to all the sizes you want the ICO file to be able to take.
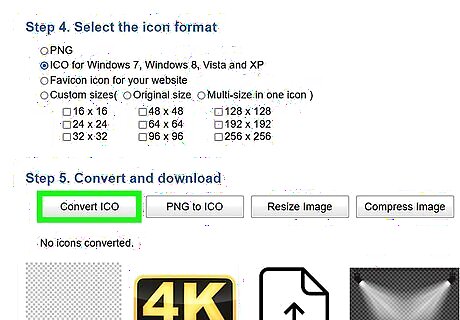
Click Convert ICO. It's the first button below "Steps 5. Convert and Download." This converts the file you uploaded to the image file that you selected. Alternatively, you can click PNG to ICO to convert a PNG file to an ICO file. Click Resize image to change the image size. Click Compress image to make the image file size smaller, and click PNG to SVG to convert a PNG file to a scalable vector graphic file.

Click Download your icon(s). It's the blue text that appears below the "Convert ICO" button when you click it. This downloads your image files in the file format you selected. You can find your image files in your "Downloads" folder.
MS Paint on Windows
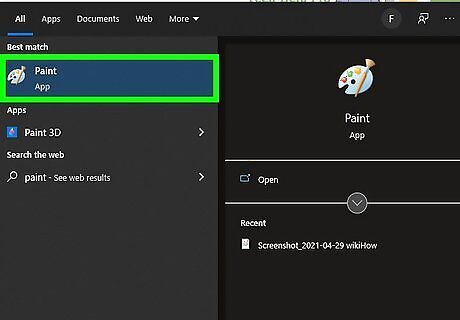
Open MS Paint. MS Paint is a basic graphics editing program that comes preinstalled on all versions of Windows, including Windows 10 and Windows 11. You can use MS Paint to create ICO files. Use the following steps to open MS Paint. Press Windows key + S to activate the search bar. Type Paint. Click the Paint icon. If you're using Windows 10 and can't find Paint, you'll need to enable it. Open Settings. Click Apps & Features. Click Optional features. Click Add a feature. Check the box next to "Paint" and click Install.
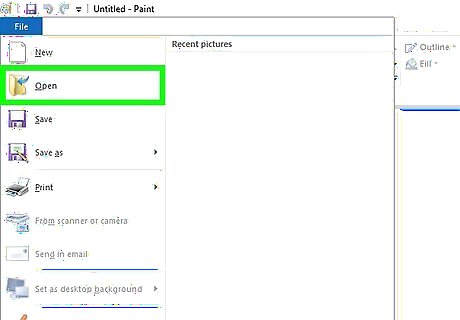
Open an image you want to use as an ICO file. Alternatively, you can use the MS Paint tools to draw your own image. Click File in the menu bar at the top. Click Open. Select a file you want to use. Click Open.
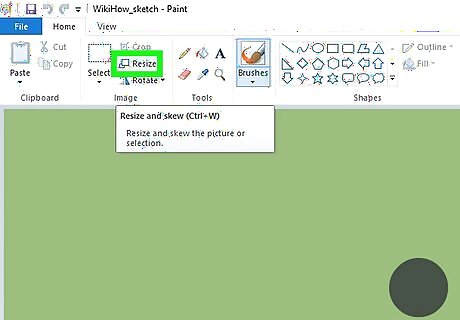
Resize the image so that is the size of an icon. Most ICO files are typically square images that are 32x32 pixels. They can be as large as 256x256 pixels, or as small as 16x16 pixels. Larger files can scale down to smaller sizes, but small files cannot be enlarged without looking pixelated and distorted. Use the following steps to resize the image: Click Resize in the box that says "Image" in the menu bar at the top. Click the radio option next to Pixels. Enter the height and width of the file in pixels (i.e. 32x32) next to "Vertical" and "Horizontal." Click Ok.
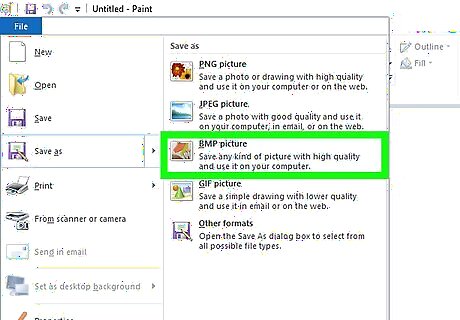
Save the File as a BMP file. You'll need to save the file as a BMP before you can convert it to the ICO format by changing its file name. Here's how: Click File menu and select Save as. If you're using Windows 11, select BMP Picture. On Windows 10, select "BMP" or "24-bit Bitmap (*.bmp; *.dib)" from the "Save as type" menu. Type a file name and select a saving location. Click Save.
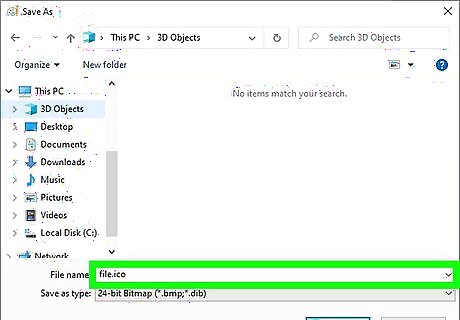
Change the file extension to the ICO format. Because you first saved the file in the BMP format, you can easily convert the file to ICO by changing the file extension from ".bmp" to ".ico." Press Windows key + E to open File Explorer. Navigate to the BMP file you saved in Paint. Right-click the file and select Rename. If you're using Windows 11, click the icon with a cursor at the top of the menu to rename. Replace ".bmp" with ."ico" and press Enter. Note that this will not work unless you initially save the file in the BMP format. You can now apply the icon as a shortcut on your desktop.
Preview on Mac
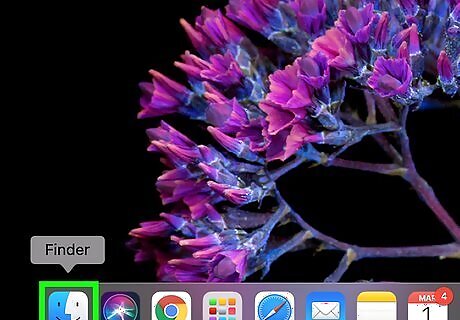
Locate an image you want to use in Finder Mac Finder. If you want to create Windows icons using a Mac, you can do so using Preview. Just keep in mind that the ICO format is Windows-specific, so you won't be able to use these icons on your Mac. Start by locating an image that you want to convert using Finder. Mac icons use the .ICNS format.
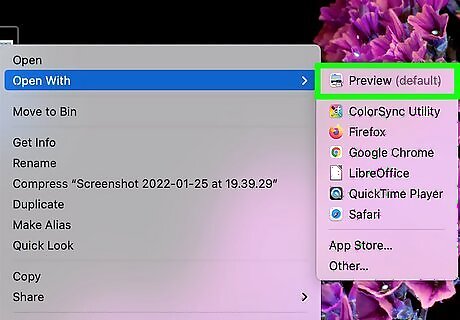
Open the image in Preview. Typically, you can open an image in Preview by simply double-clicking the file. If Preview is not your default image viewer, you can use the following steps to open an image in Preview. Right-click (or Command-click) the image. Select Open with. Click Preview.app.
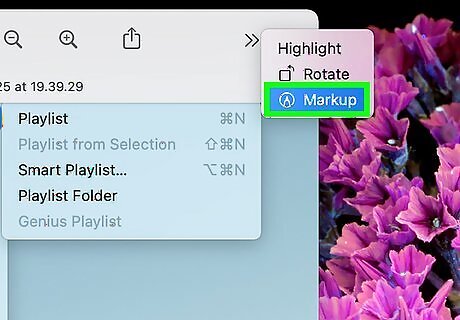
Resize the image so that is the size of an icon. Most ICO files are typically square images that are 32x32 pixels. They can be as large as 256x256 pixels, or as small as 16x16 pixels. Larger files can scale down to smaller sizes, but small files cannot be enlarged without looking pixelated and distorted. Use the following steps to resize the image: Click the Markup icon at the top (the marker icon). Click the Adjust Size button, which resembles a square with two arrows pointing to the corners. Select Pixels in the drop-down menu to the right in the "Images Dimensions" window. Enter the desired sizes into the boxes next to "Height" and "Width." Click Ok.
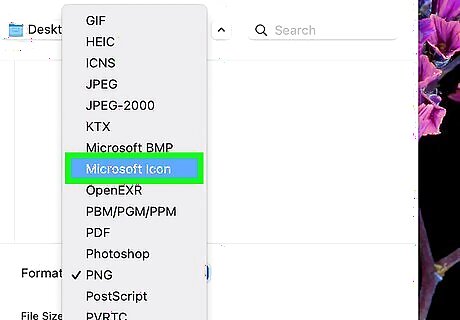
Export the image as an ICO file. When you export an image, the drop-down menu next to "Format" gives you a selection of a few different file formats to export the image as. If you hold Option and click the drop-down menu, it gives you an extended list of file formats, including the option to export the image as an ICO file for Windows icons. Click File in the menu bar at the top. Click Export. Enter a file name next to "Export as". Hold the Option key and click the drop-down menu next to Format. Select Microsoft Icon. Alternatively, if you wanted to make this a Mac icon, you could save the icon in the ICNS format. Click Save.
Photoshop
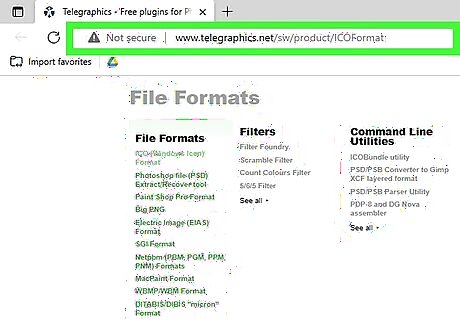
Go to http://www.telegraphics.com.au/sw/product/ICOFormat in a web browser. This website contains a free plug in that allows Photoshop to save images as ICO files. Photoshop is not able to save images in ICO format on its own. You need a plug-in to do that.
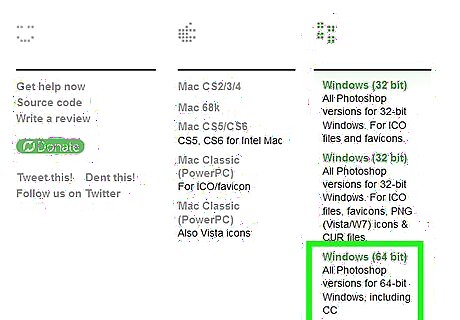
Scroll down and click the link for your operating system. All download links are below the header that says "ICO (Windows Icon) Format". Click the download link that is appropriate for your operating system and/or version of Photoshop. This downloads the plug-in as a ZIP file. If you are using a newer version of Photoshop on a Mac, click the link that says Mac CS5/CS6. It should work for newer versions of Photoshop CC.
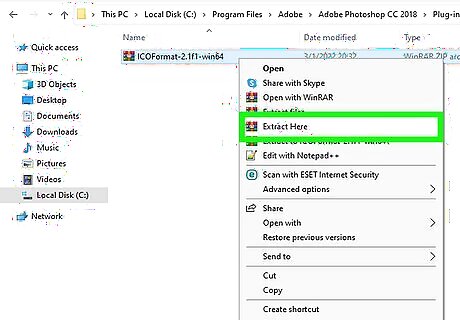
Extract the zip file to the "File Formats" folder in the Adobe "Plug-ins" folder. If the "File Formats" folder does not already exist in the Plug-ins folder, go ahead and create a new folder in the Plug-ins folder and call it "File Formats." Then copy and paste the contents of the zip file to the File Formats folder. You can generally find the "File Formats" folder at one of the following locations: Windows: C:/ Program Files/ Common Files/Adobe/Plug-ins/CC /File Formats Windows (CC 2013 and earlier): C:/Program Files/Adobe/Adobe Photoshop CC (year)/ Plug-ins/File Formats Mac: Applications/ Adobe Photoshop CC (year)/ Plug-ins/ File Formats Mac (Alternate): /Library/ Application Support/ Adobe/ Plug-ins/(Photoshop Version)/File Formats
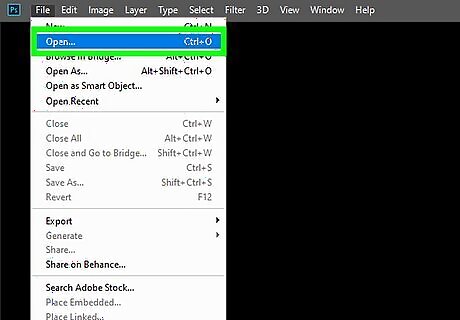
Open or create a new image file in Photoshop. You can open or create a new file at any time in Photoshop by clicking File in the menu bar at the top, followed by New or Open. You can also click New or Open on the title screen to open or create a new file. Click Open to open an existing file you want to convert into an ICO file. Click New to create a new file. Use the Photoshop tools to create an image for the ICO file. If you are creating a new image file, you will be asked to select the dimensions. The dimensions of an ICO file are typically 32x32 pixels. They can be as large as 256x256 or as small as 16x16. Larger images can scale down to smaller image sizes, but small images sizes cannot be enlarged without the image looking pixelated and distorted. Make sure you are using RGB color mode in Photoshop and not CMYK.
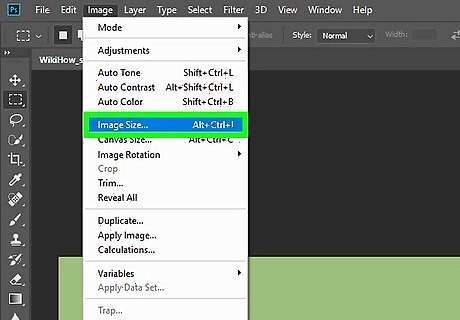
Resize the image to the size of an icon (if needed). If you opened an existing file, you may need to resize the image so that it is the size of an icon. Icons are typically 32x32, but they can range in size from 16x16 to 256x256. Click Image in the menu bar at the top. Select "Pixels" in drop-down menus next to "Width" and "Height." Enter the size of the image in the boxes next to "Width" and "Height." Click Ok.
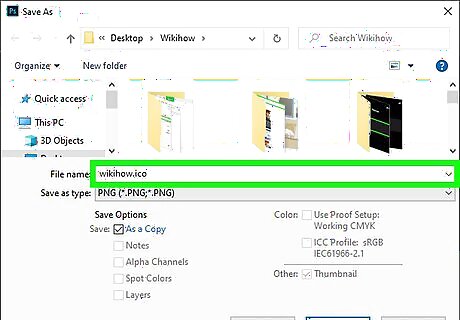
Save the images as an ICO file. Once you are satisfied with how the image looks, use the following steps to save the image as an ICO file: Click File in the menu bar at the top. Click Save as. Enter a name for the image next to "File name." Select "ICO Windows Icon/Favicon (.ico)" next to "Format." Click Save.


Comments
0 comment