
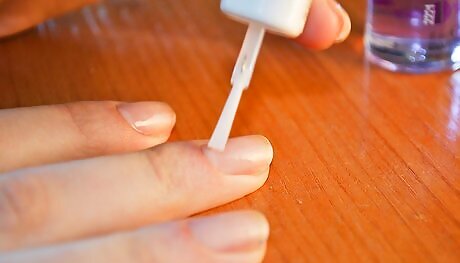
Plain Nail Base
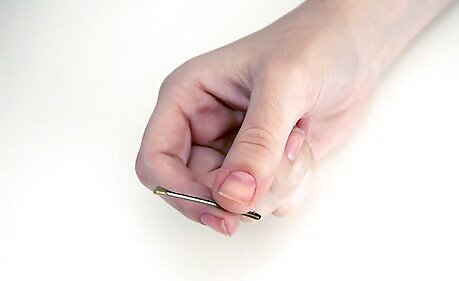
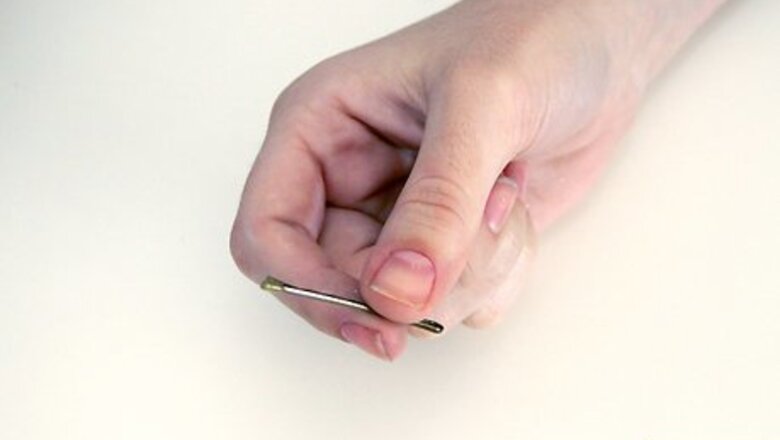
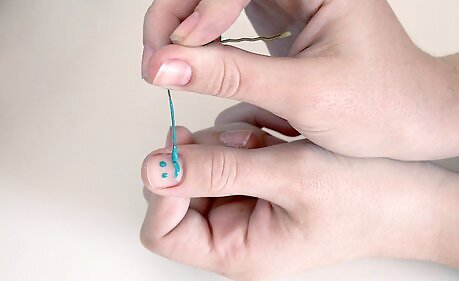
Grab a bobby pin. For the desired nail art to be achieved, a bobby pin is required in creating the image of a smiley face. You could also use a toothpick or a specialised nail art tool, all of these will give the same result.
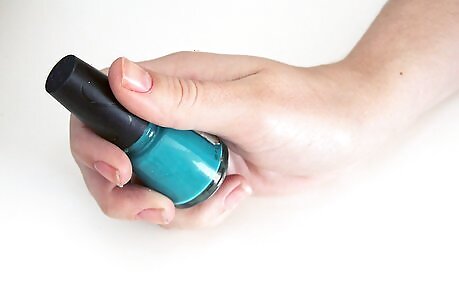
Get any color of nail polish. This is the nail polish that will be the smiley face on your nail.
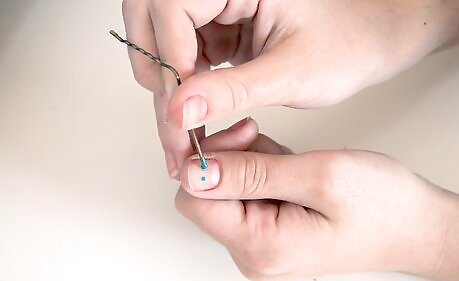
Achieve the 'eyes'. Dot 2 circles at the top of your nails with the desired nail colour trying to make them as evenly sized as each other.
Achieve the 'smile'. Now what's a smiley face without the smile? Draw a line that is curved up on both sides. You may need to keep dipping your tool in the nail polish so it doesn't scrape your nail.
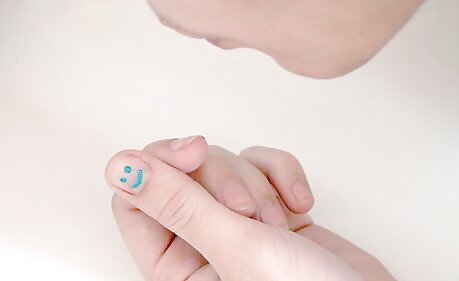
Let them dry. Blow on your nails to help them dry or simply leave them to dry on their own for 10-15 minutes.
Colored Base
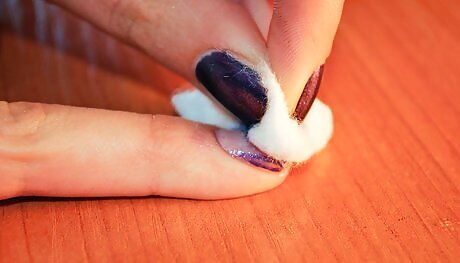
Remove any nail polish with strengthening nail polish remover. Rub gently to work the polish off of your nails. Wash your hands with warm water to get the remover off and any excess oil and dirt.
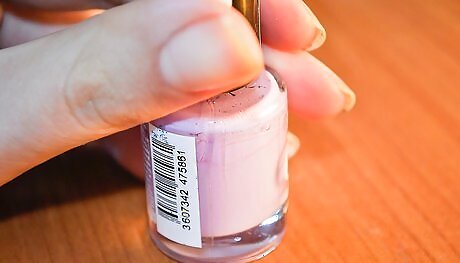
Decide on a background color. Since the smiley face will be black, consider a light color. Red, purple, green, blue, and yellow all work best and really pop out.
Apply a good base coat. This will make the nail design stay on longer and not chip as easily. Use long strokes and then let them dry.
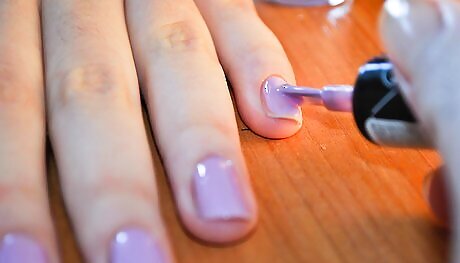
Once the base coat is dry, apply the background color. Make it as even as possible and let dry. Apply a second coat and let that dry.
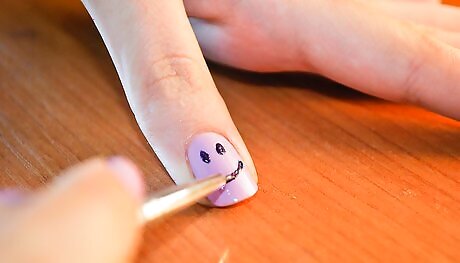
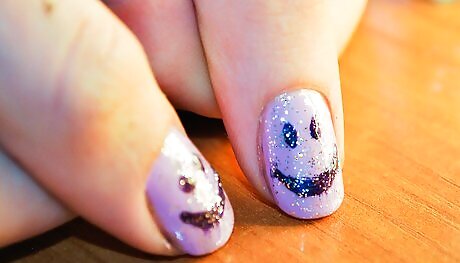
With a black nail polish pen or skinny tip brush, make a smiley face in the middle of each nail. To do this, dab on two dots near your cuticle (you can use a toothpick to be more precise) and make half of the letter "O" below it. Your smiley face will be facing other people, not you. Let it dry for at least 5 minutes.
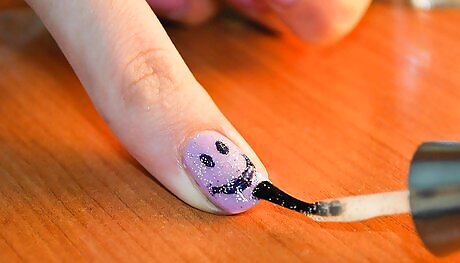
Add glitter. This step is optional, but it looks really cool and girly if you're going for that look. Let dry. (Glitter may take a little while longer to dry, but it's worth it!)
Apply a finishing shiny top coat to seal the design. Let it dry completely for about 1 hour, then go out and enjoy your fun nail design, and be prepared for compliments!
Finished.


Comments
0 comment