views
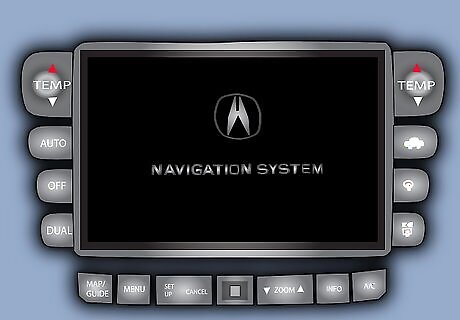
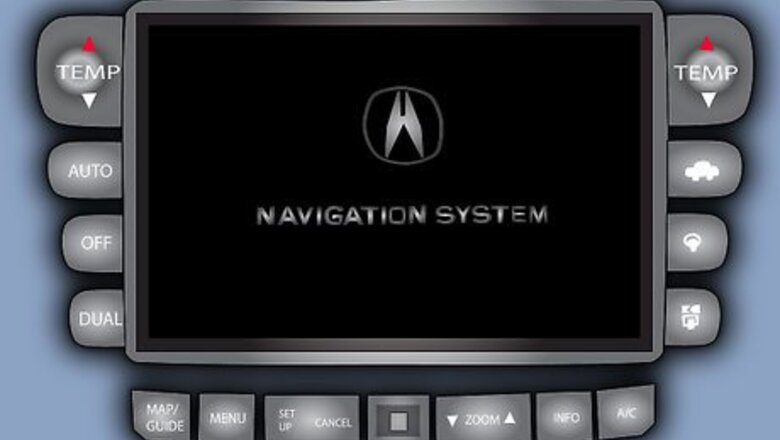
Stop the car and turn on the navigation system.
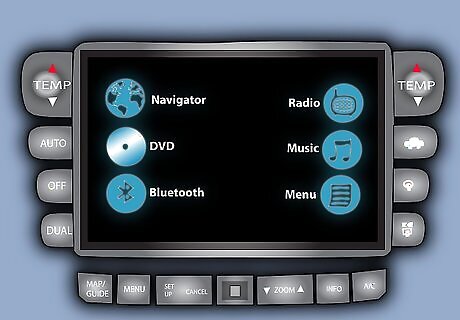
Wait until you can see the main screen.
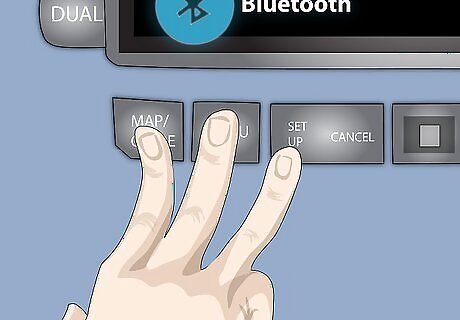
Hold down the "MAP/GUIDE", "MENU", and "CANCEL" buttons about 3-5 seconds at the main screen.
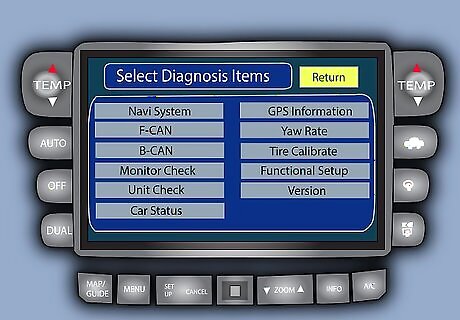
Wait until the Selected Diagnosis Items screen comes up.
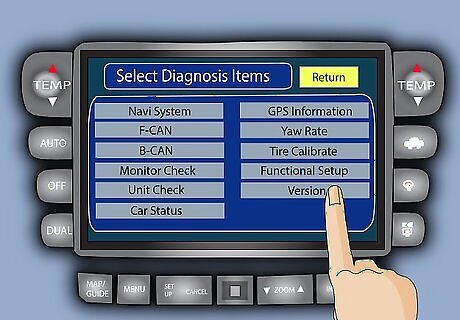
Press the "Version" button on the screen by touching the screen.
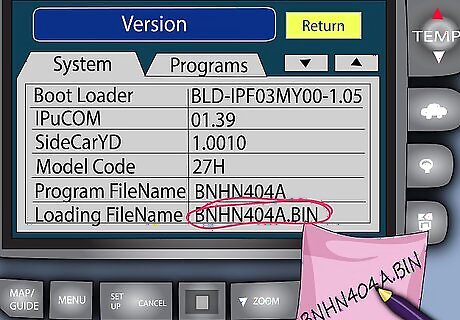
When Version screen comes up, write down the filename next to the words "Loading FileName". (ex. BNHN404A.BIN)
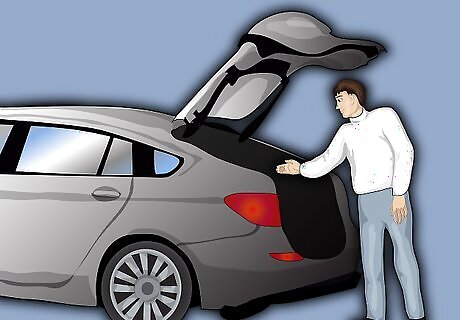
Get out of the car and open the trunk.
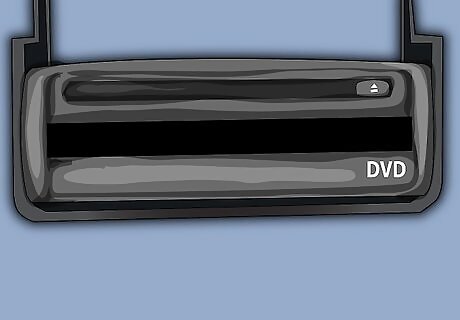
Find the DVD player that attached to the navigation system in the top of the trunk.
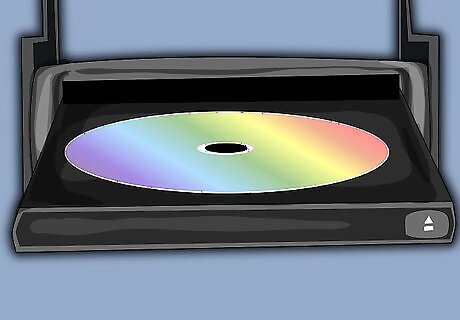
Open the small front plate and eject the Navigation DVD-ROM.
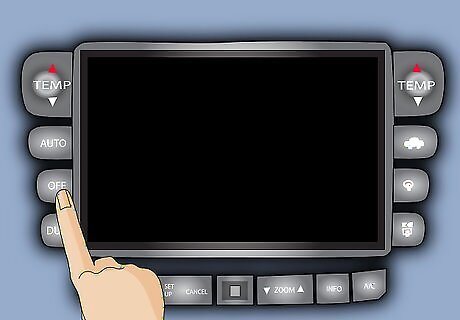
Turn off the car and the navigation system.
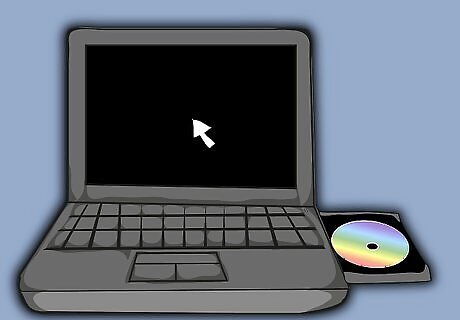
Load the Navigation DVD-ROM on your PC.
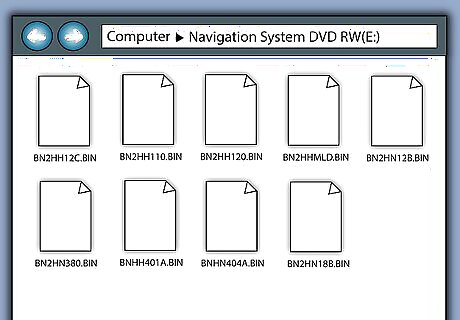
Open up the DVD-ROM and you will see the 9 .BIN files.
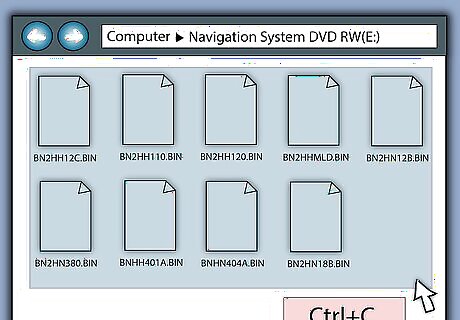
Copy all 9 .BIN files onto the PC. This includes: BN2HH12C.BIN, BN2HH110.BIN, BN2HH120.BIN, BN2HHMLD.BIN, BN2HN12B.BIN, BN2HN18B.BIN, BN2HN380.BIN, BNHH401A.BIN, BNHN404A.BIN
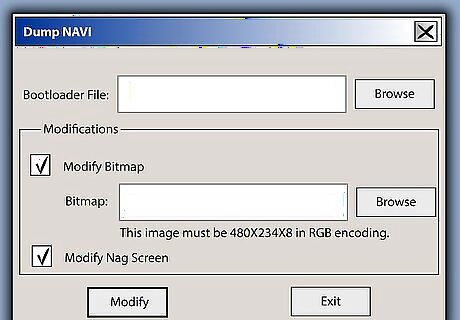
Open up the Dumpnavi program. .
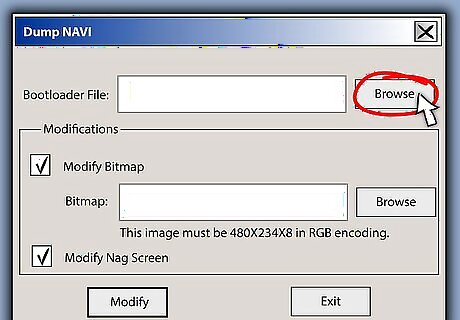
Click the top “Browse” button on the program to get the Bootloader file.
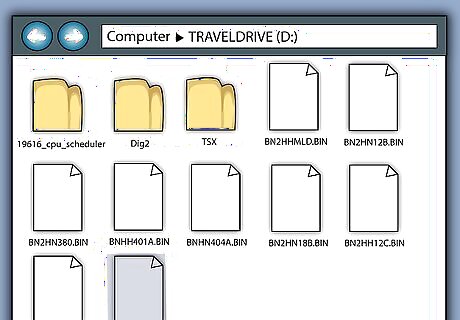
When the open file comes up, go to where you copied 9 .BIN files and select the .BIN file that has same name as you wrote down on step 6 and click the “Open” button.
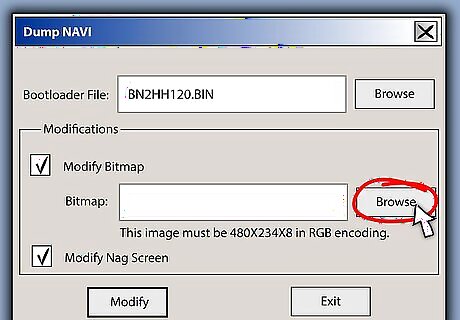
Click the bottom “Browse” button on the program to get the Bitmap file.
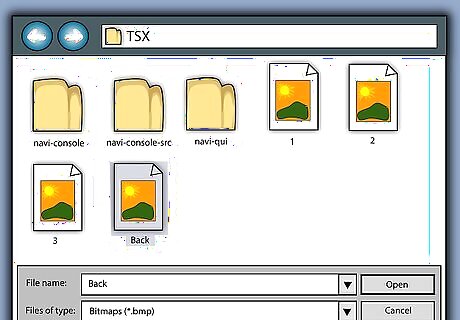
When the open file comes up, select the Bitmap (Picture) file you wish to use as your background.
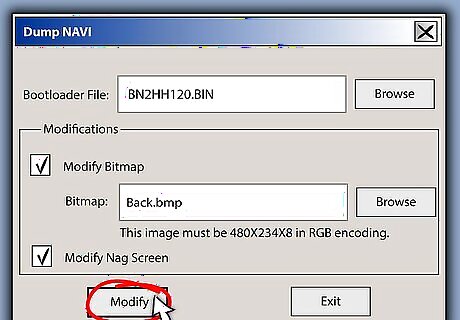
Once you select the both Bootloader file and Bitmap file, click the “Modify” button.
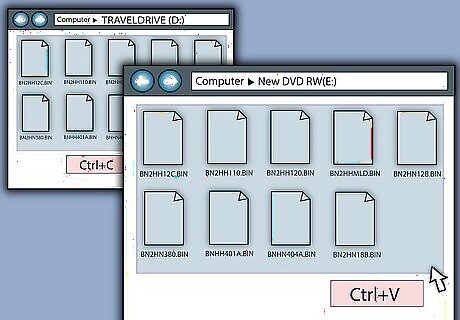
Copy the modified .BIN file, including all other .BIN files (9 in total) and burn them onto the blank CD or DVD.
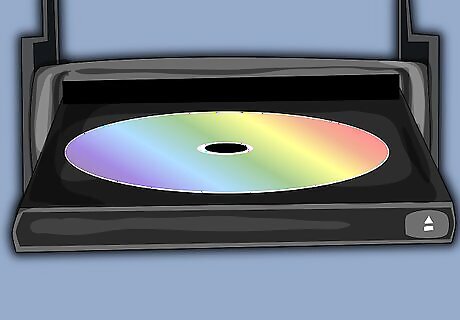
Insert the Navigation DVD-ROM that you took out back into the DVD player in the trunk.
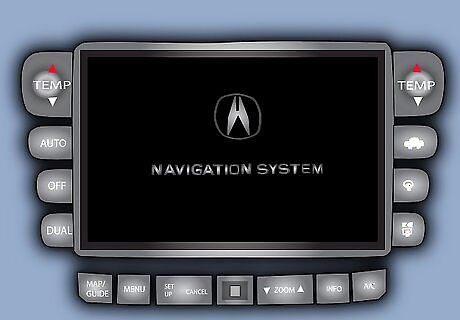
Start the car and turn on the Navigation system.
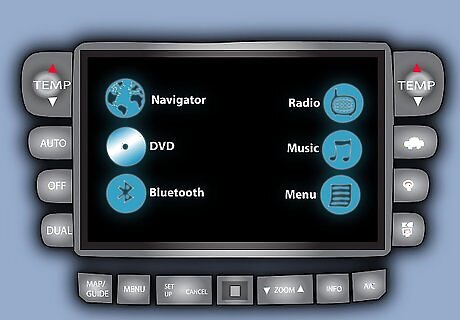
Wait until the main screen shows up.
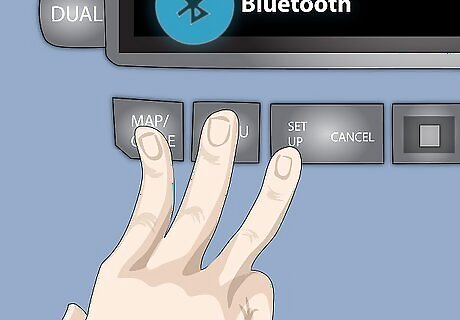
Hold down "MAP/GUIDE", "MENU", and "CANCEL" for 3-5 seconds, just like step 3.
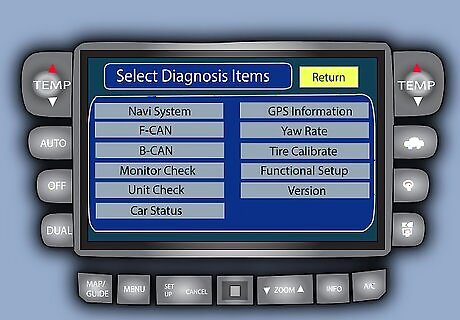
Wait until the Selected Diagnosis Items screen comes up.
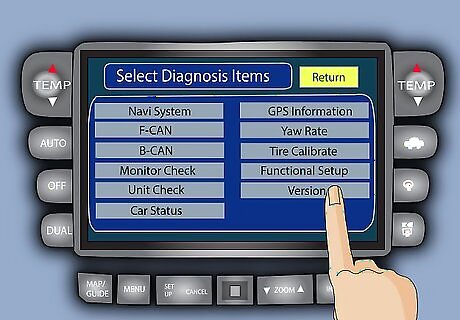
Press the "Version" button on the screen by touching the screen, like step 5.
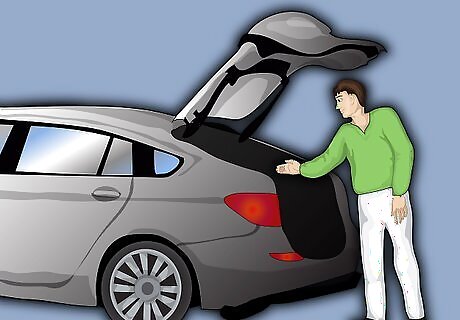
When you see the Version screen, get out of the car and open up the trunk.
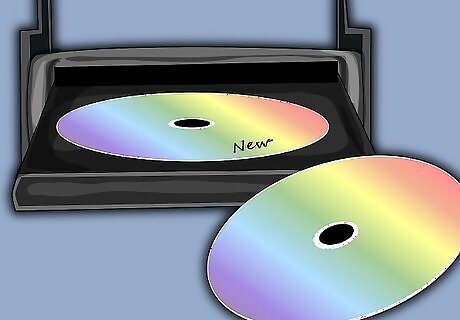
Take the Navigation DVD-ROM out of the DVD player, and replace it with the CD or DVD you just created in step 20.

Go back into the car.
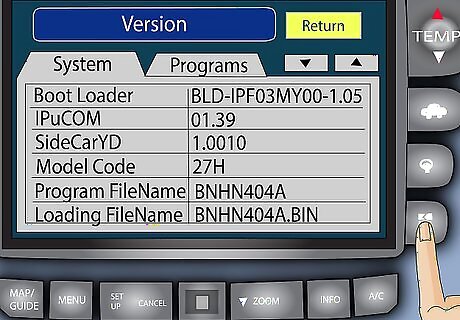
Press the "Load Disc" button on the Version screen to load your modified .BIN file into the navigation system.
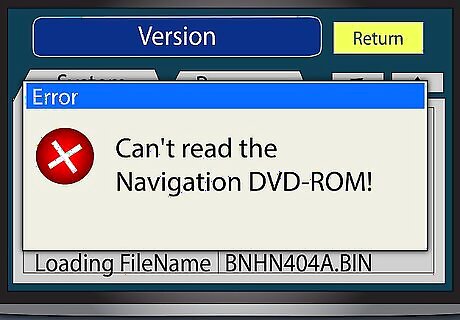
Wait until it's completely done and it will then display an error message about can't read the Navigation DVD-ROM.
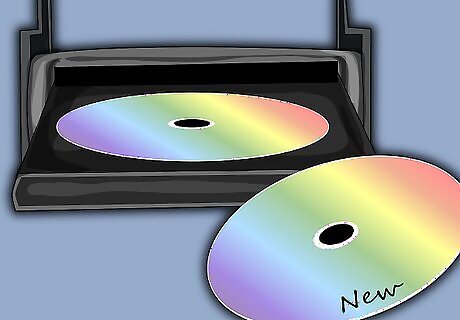
Open up the trunk and eject your burned CD or DVD from the DVD player in the trunk and insert the original Navigation DVD-ROM.
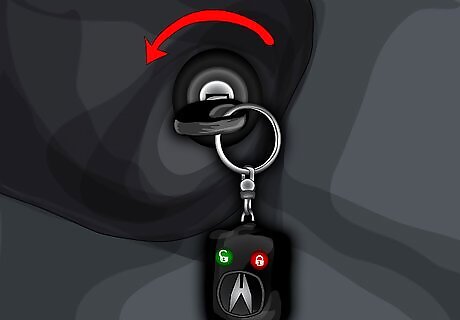
Go back into the car and turn off the car.
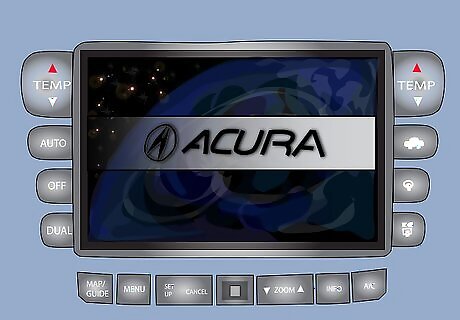
Start the car and turn on the navigation system. Now you can see the new modified Acura navigation startup screen.


Comments
0 comment