views
Note: While all of the following chords can be used for "F-major" in a song, click here to go straight to the traditional, "full" chord. The earlier versions are easy methods of playing the chord to help your practice.
Playing an Abridged "Mini" F
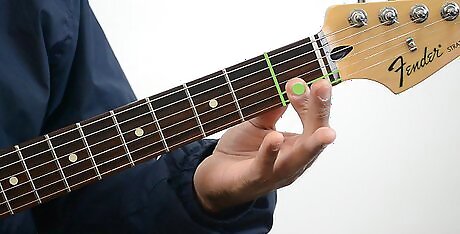
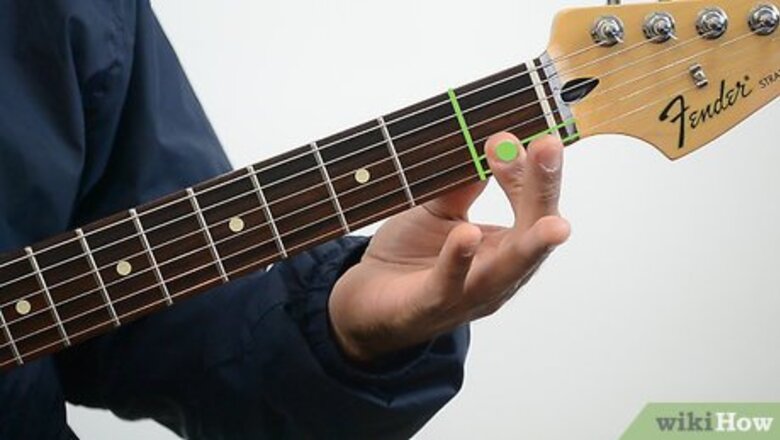
Place your index/pointer finger on the first and second strings on the first fret. In other words, you are using your index finger to hold down the E and B strings on the first fret. Use the pad of your finger to cover both strings with only one finger. Try rolling your finger slightly back towards the headstock, so you're pressing down on the side of your finger instead of the fleshy part. This section is a little harder, making it easier to fret with.
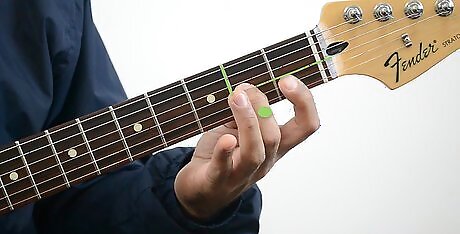
Place your middle finger on the third string on the second fret. In other words, use your middle finger to hold down the G string (third from bottom) on the second fret.
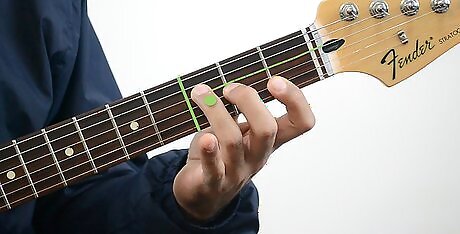
Place your ring finger on the fourth string on the third fret. In other words, use your ring finger to hold down the D string (fourth from bottom) on the third fret. If possible, lightly touch the fifth (A) string with the tip of your third finger -- this mutes the string so it can't be heard while strumming. While not essential now, this is an great technique to practice as you continue playing guitar.
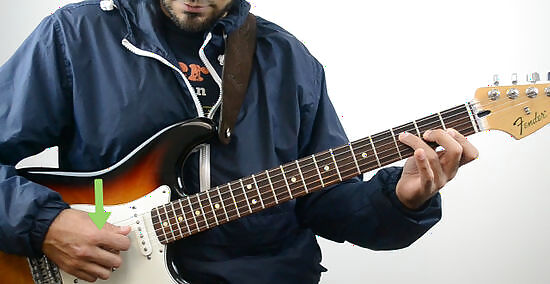
Practice picking and strumming the bottom four strings. Once all of your fingers are firmly in place, practice picking the bottom four strings until each note rings clearly. Pick each note individually to make sure they all sound out clean and clear. If you hit a bum note, readjust your finger placement until you can play it clearly. The first and second strings are usually the most problematic -- check that your second and third fingers are curled directly onto the appropriate strings, rather than lying against the ones underneath. Once you can play each note clearly, practice strumming the F chord. Also, practice changing from F to another chord, then back again. You may be painfully slow at first, but you'll eventually get the hang of it.
Playing an "Open" F Chord
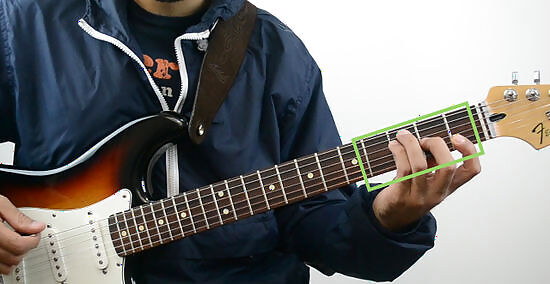
Graduate to the open F, or the "old school F," for a fuller, richer chord. This version of the F major chord, nicknamed "old-school F" (as it was popular with musicians in the 60s and 70s), adds one extra note to the F described above, giving it a fuller, rounder sound. It is slightly harder to play than the "mini" F, but easier to play than the full barre chord F described below.
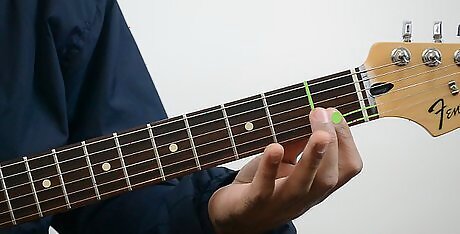
Place your first finger on the first and second strings on the first fret. In other words, place your index finger on the E and B strings on the first fret. This is identical to the beginning of the F played above.
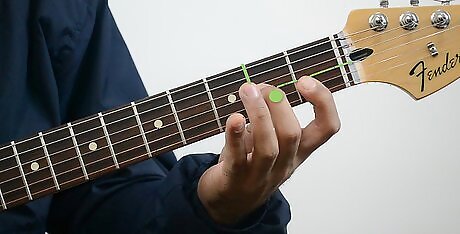
Place your second finger on the third string on the second fret. In other words, place your middle finger on the G string on the second fret. This note is an A.
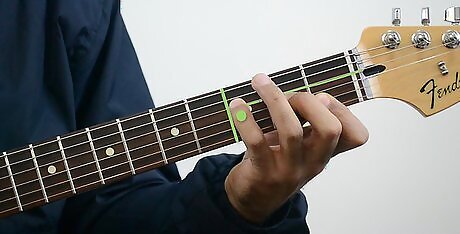
Place your fourth finger on the fourth string on the third fret. In other words, place your pinkie finger on the D string on the third fret. You'll be on an F -- your root note for the chord.
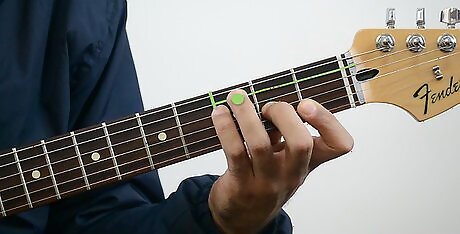
Place your third finger on the fifth string on the third fret. In other words, place your ring finger on the A string on the third fret. This is the extra note. Your third finger is now placed on the A string while your pinkie finger is placed on the D string -- you can swap these two fingers around if you like, but most people find this position easier. If possible, lightly touch the sixth (E) string with the tip of your third finger -- this mutes the string so it can't be heard while strumming.
Playing Barre Chord F
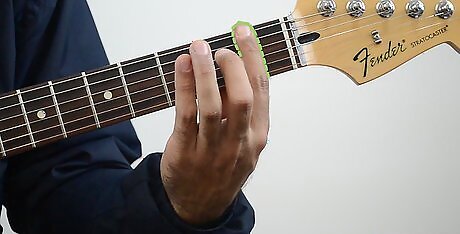
Barre the first fret. Place your index finger across all six strings on the first fret and press down. This version of F is the most traditional, and contains all of the notes without any shortcuts. This makes it the biggest, fullest version of the chord. Roll your finger slightly back towards the headstock, so you are pressing with the hard, bony side of your finger rather than the soft, fleshy middle. Barring takes some practice to get comfortable. You will need to apply quite a lot of pressure to hold down all six strings. Try squeezing your thumb against the back of the neck for extra support.
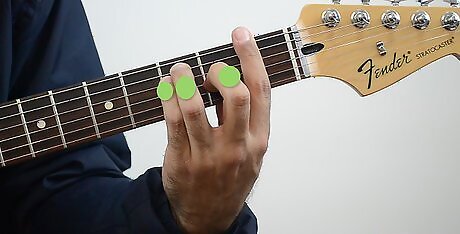
Place the rest of your fingers. Holding your first finger in the barre position, form your second, third and fourth fingers into the shape of an E chord, starting on the second fret. More specifically: Place your second finger on the third (G) string on the second fret. Place your third finger on the fifth (A) string on the third fret. Place your fourth finger on the fourth (D) string on the third fret.
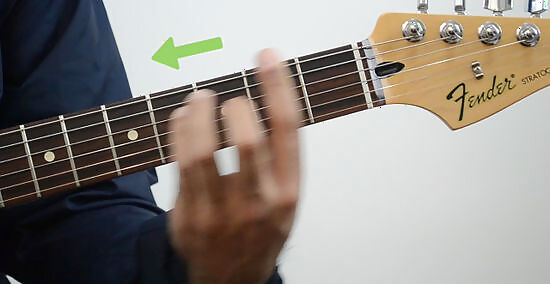
Play other barre chords. The finger position used for the F major barre chord is an example of what is known as an E barre formation, as the fingers following the barre make the shape of a basic E chord. For example: keeping your fingers in the same formation as the F barre chord, slide your hand down the neck of the guitar until your index finger is on the third fret. This is a G barre chord. If your index finger is on the fifth fret, you are playing an A chord. You can move this form anywhere.
Making Things Easier
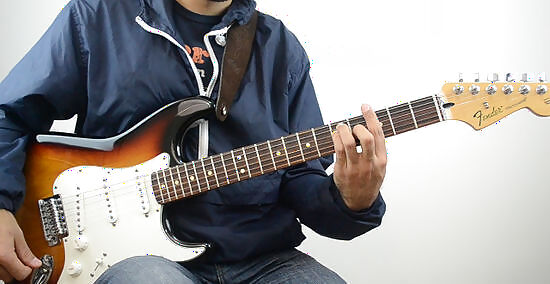
Learn on an electric guitar. If you have a choice between an electric and an acoustic guitar, learn to play the F chord on an electric guitar first. The thinner strings and faster fretboard make it much easier to maneuver around the strings, especially for barre chords. The strings are closer to the fretboard on an electric guitar, so playing doesn't require as much finger strength.
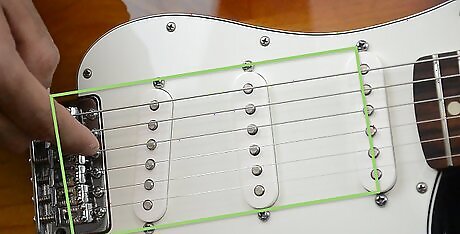
Buy newer, thinner strings. One good tip is to buy thinner strings for your guitar (preferably size 9s on an electric and size 10s on an acoustic) if your current strings are very thick. Thinner strings don't require as much pressure to hold down, so they will save your fingers some pain! If you want to learn how to change the strings on your guitar, see this article.
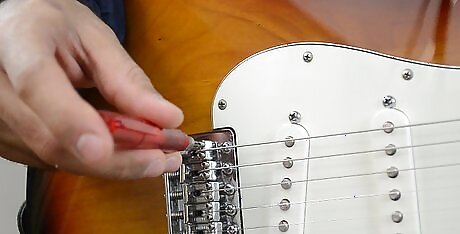
Lower the action. The action of your guitar refers to how high the strings are placed above the fretboard. This requires professional servicing, but is a key step to make playing and learning guitar far more fun. The lower the action, the less pressure you'll need to apply to the strings. Cheaper guitar often have very high action, which can be a problem for newer guitar players. Luckily, guitar shops are usually able to lower the action of any guitar as part of a set-up service. You'll have to pay money for this, but it could potentially make your guitar a lot nicer to play!


Comments
0 comment