views
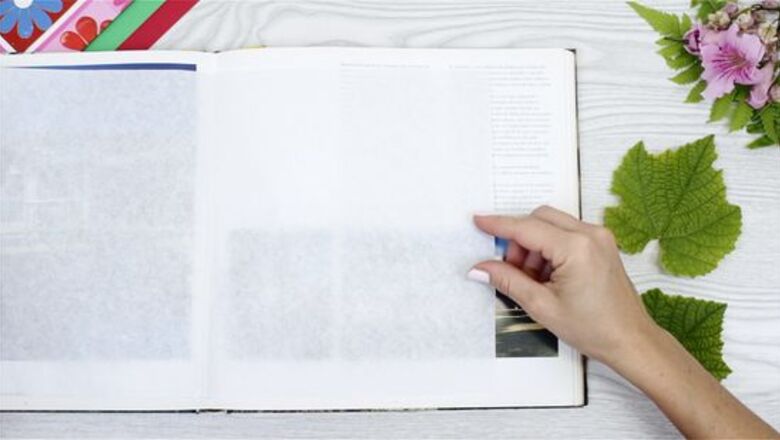
- Press your leaves in a heavy book for a couple of weeks, or fold them in wax paper and press them using a clothing iron for a quick alternative.
- Fold your leaves in a paper towel and dry them in the microwave for another quick preservation method.
- Dry out leaves using silica gel or glycerin to preserve even the thickest moisture-filled leaves and keep them flexible for crafting projects.
Pressing Leaves in a Book
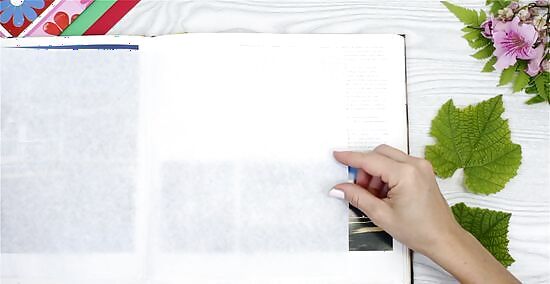
Lay a piece of folded paper inside a heavy book. First, choose a thick hardcover book that you don't mind getting wrinkled or stained if moisture from the leaves gets onto the pages. Then, cut a piece of wax paper or newspaper to be the same height and twice the width of your book, fold it in half, and place it between the book's pages. Remember to choose a book that's at least as big as your leaves, if not bigger! The thicker the book, the better, but you'll also be able to add other books and objects as weights if the first book isn't enough.
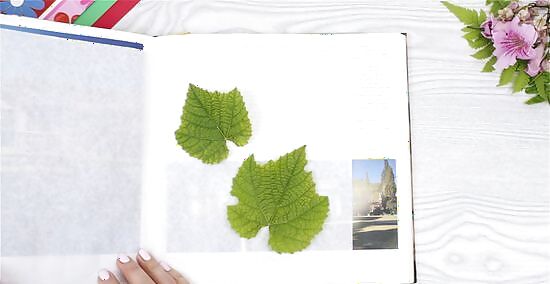
Place your leaves between the paper and press them. Lay the leaves across your book, between the folded halves of the wax paper. Then, close the book and set it aside in a dry spot with a couple of other heavy books as added weight on top of it. If you're layering more than one sheet of leaves in the book, leave about ⁄4 in (0.64 cm) of pages between layers. Optionally, you could apply a thin layer of petroleum jelly to your leaves before pressing them. This will keep them flexible even after being dried out!
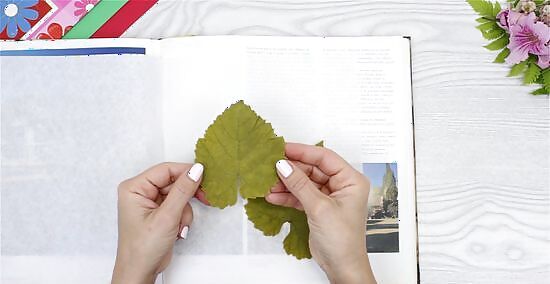
Keep the leaves pressed in the book for at least 2 weeks. It'll take time for your leaves to dry out fully. Check their progress after 2 weeks; if there's still some moisture in the leaves, simply place them back in the press and give them another few days to dry. However, most leaves will be plenty dry after a couple of weeks. Once they're done pressing, consider what you want to do with them. You could hang them up on a window, spread them across a mantle or shelf, or put them in a basket and make them a centerpiece on your table. You could also use your pressed leaves for arts and crafts! Make a collage with all natural materials, for example.
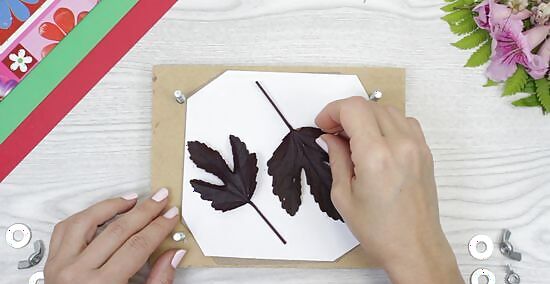
Use a flower press to dry out the leaves, alternatively. Purchase a simple flower press, which has a mechanism allowing you to squeeze the moisture from leaves. For most presses, you'll need to sandwich your leaves between 2 pieces of cardboard and place those inside the machine. Then, tighten the mechanism to apply pressure to your leaves and let the press sit for a couple of weeks. Like pressing leaves in a book, simply check the status of your leaves after 2 weeks pass. If they're not entirely done, put them back in the press to finish drying.
Pressing Leaves with an Iron
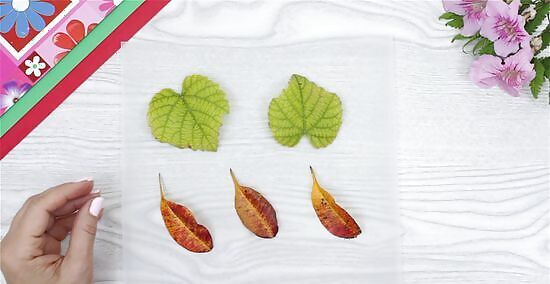
Place your leaves between wax paper. Cut a piece of wax paper and place your leaves on top of it, then cover them with a second piece of paper. For this method, choose thin leaves that already don't have much moisture since they’ll be easier to iron over smoothly and are less likely to fold during the process.
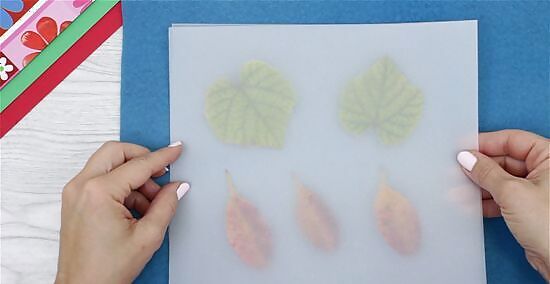
Cover an ironing board with a rag to protect it from wax. Set up an ironing board and find an old rag that you don’t mind getting dirty with wax. Lay it over top of the board since wax melts when heated and might spill over onto the rag. Then, place the wax paper and leaves on top of the rag and place a second rag over them (to protect your iron from the wax too).
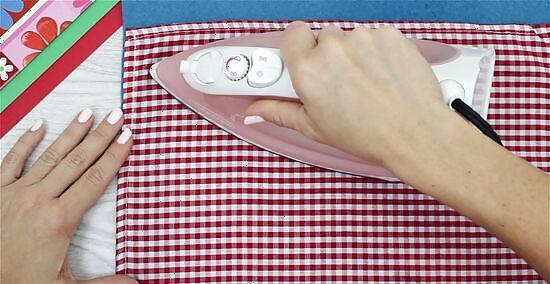
Iron the leaves slowly until the wax paper seals together. Once your leaves and ironing board are set up, heat a clothes iron on its high setting and run it slowly back and forth over the leaves. As the wax melts together, press down for 5 seconds on each section of the paper and ensure it seals around the leaves. If the pieces of wax paper haven't been sealed yet, just iron for a few more seconds until they do. Don't use the "steam" setting on your clothes iron since the goal is to dry your leaves!
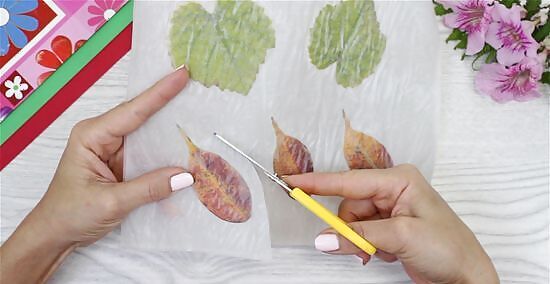
Let the wax paper cool and cut out your leaves. Wait until the wax paper is cool on your fingers, then grab some scissors and cut each individual leaf out of the wax paper. Leave a little space around the edges of the leaf, so the wax paper stays sealed, then peel off the remaining paper by hand. With that, you'll have fully dried leaves laminated in wax for extra preservation!
Preserving Leaves in the Microwave
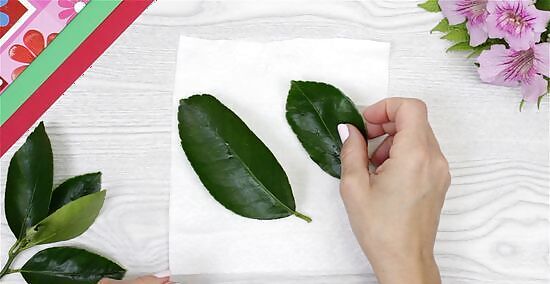
Sandwich leaves between a pair of paper towels. Grab 2 paper towel sheets and lay your leaves down on top of the first. Place the other paper towel on top of your leaves. For this process, choose leaves that are still fresh and soft; dry fallen leaves burn more quickly when exposed to the microwave's intense heat.
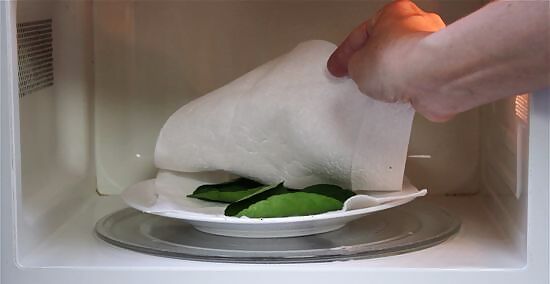
Heat the leaves in a microwavable dish for 30 seconds to dry them out. Place your leaves (still sandwiched between paper towels) on a microwave-safe dish, then microwave them on medium heat. Pull your leaves out after 30 seconds and check them: if they're already dry, move to the next step. If not, keep microwaving them in additional 30-second increments until all moisture is gone. If your leaves are curling up around the edges, that's a sign there's still moisture in them, and they need a little more time. Conversely, if your leaves look scorched, they've been in the microwave too long. That's why short bursts in the microwave are an essential part of drying leaves—it prevents burning.
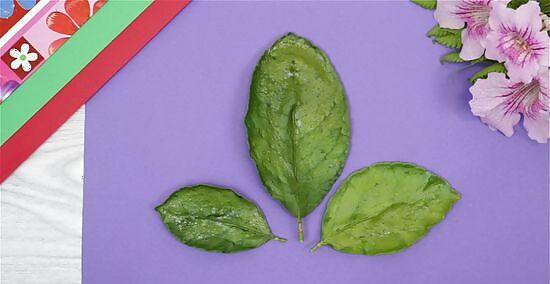
Spray the dried leaves with acrylic sealant. Store your leaves somewhere dry and air them out for about a day. Then, coat them on both sides with an acrylic sealant spray. This preserves the color of your leaves, so they're beautiful for years to come!
Preserving Leaves with Glycerin
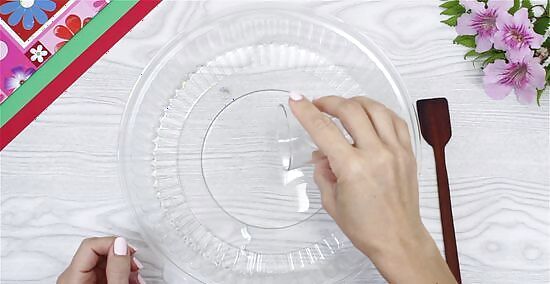
Prepare a glycerin solution in a shallow dish. Mix a solution from 1 part glycerin and 2 parts water in the dish you chose. Ensure there's enough solution to completely submerge all of your leaves, as they'll be soaking for a while. For example, a glass baking pan is an ideal dish for mixing your glycerin solution.
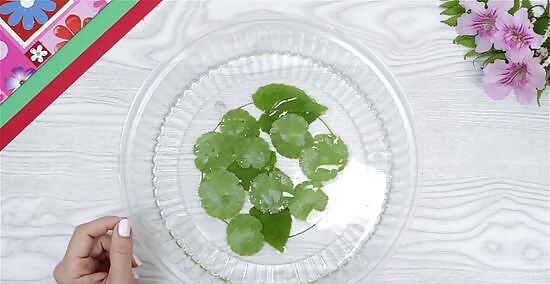
Soak your leaves in glycerin for 2 to 4 days. Place each leaf in the dish, put a weight over the top of them (like another pan or dish), and ensure they're fully submerged in the solution. Let them sit for 2 days before checking on them; if your leaves are soft and pliable, they're ready to go! If they still feel dry, let them soak for another 2 days and check again. Leaves preserved with a glycerin coating aren't supposed to feel dry like leaves pressed with a book. The glycerin makes them way more flexible and durable so that you can use them for many different crafting projects.
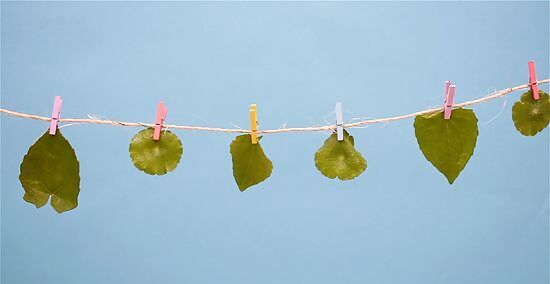
Hang up your leaves for another 2 to 3 days to dry them out. Once the leaves feel soft and bendable, remove them from the solution and hang them on a simple line made with twine. Te their stems directly with the twine, or use tiny clothespins to hang them by their stems. Let them dry a couple of days, then take them down and use them however you want! Since glycerin-coated leaves are much more malleable, you can use them for more complex crafts. For example, you could craft a fall wreath from your dried leaves.
Preserving Leaves with Silica Gel
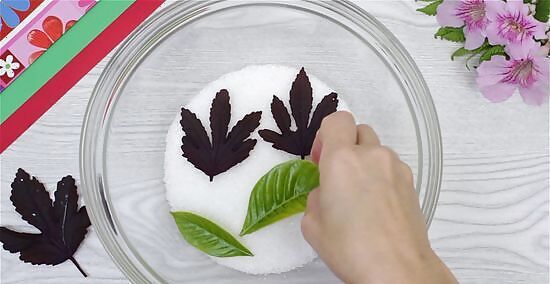
Lay a few moist leaves in a 1 in (2.5 cm) layer of silica gel. Choose a few fresh, soft leaves for this project. Pour the first layer of silica gel into a microwavable dish, and then place your leaves flat on top of the gel. Once they're in place, cover the leaves with another 1 inch (2.5 cm) layer of silica gel. Leave a little space between the leaves and the side of the dish to ensure they're preserved correctly! Fresh leaves are better for this method because they have more color, and the silica gel is great for preserving color while drying leaves out.
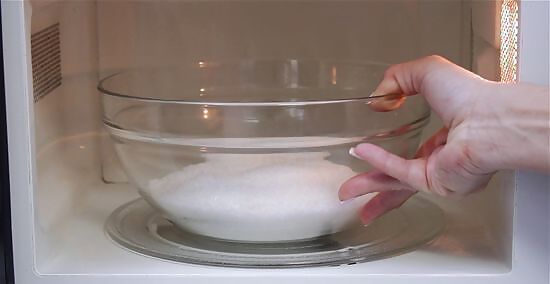
Microwave the leaves for 30 seconds. Leave the dish containing your leaves uncovered and pop it in the microwave. Microwave your leaves on medium heat in 30-second increments and check on them after every zap in the microwave. Then, simply remove the leaves when they’re dry!
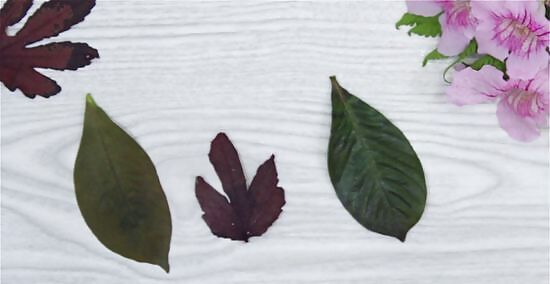
Let the leaves cool and spray them with sealant for preservation. Wait for your newly dried leaves to cool off before spraying them with acrylic sealant, keeping them fresh and usable for longer.


Comments
0 comment