views
Prepping and Sectioning the Hair
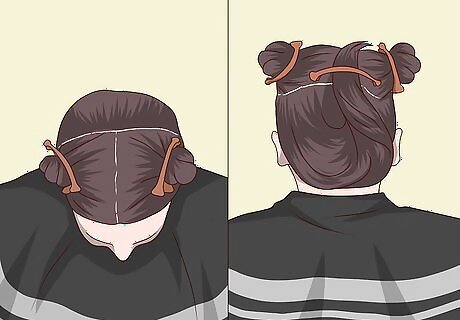
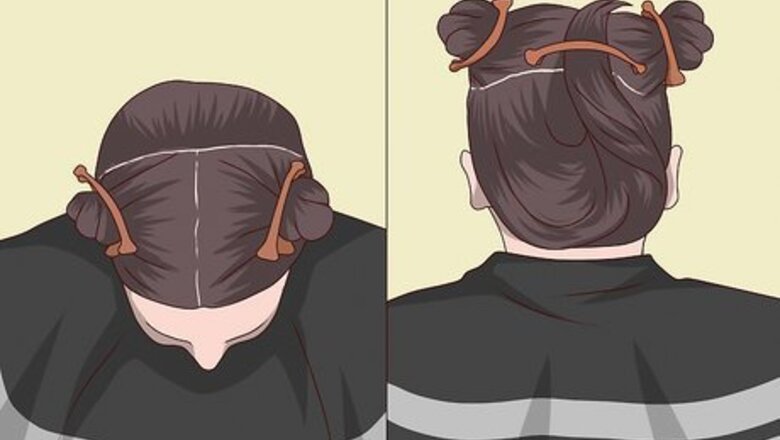
Clip your hair up in at least 4 small sections. While it can be a bit tedious, take a few minutes to clip the hair into small sections. Start by grabbing a vertical, 1 in (2.5 cm) or larger section of hair along the front hairline. Separate and clip vertical, 1 in (2.5 cm) sections of hair along the left and right sides of the head as well. As a finishing touch, grab the remaining hair along the back of the head and twist it upwards, holding it in place with a clip. To separate and clip the hair, comb through the hair before sectioning it off with the narrow end of a rattail comb. Tiger stripes can be an unfortunate side effect if you only apply a few thick highlights throughout the hair, which is why it’s important to separate and clip up the hair beforehand.
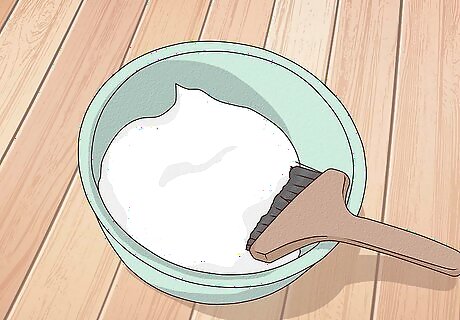
Create a consistent, batter-like bleach mixture that isn’t runny. Follow the instructions provided on your highlighting kit to prepare the highlighting bleach. Mix the exact ratio of bleach powder and developer together until your highlighting mixture has a thick, batter-like texture without any lumps. If your highlighting mixture is too thin, your foils can slip, which can cause tiger striping. Stir the bleach and developer until it’s a smooth, consistent texture throughout.
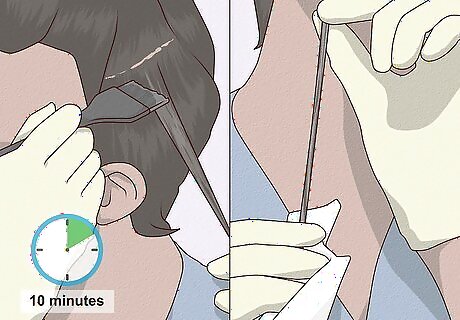
Perform a strand test to double-check the shade of the highlights. Apply a thin layer of bleach on a tiny section of hair. Let the bleach soak into the hair for 10 minutes, then wipe away any excess mixture with a clean towel. Take note of how light the hair looks—if it’s darker than you’d like, apply for highlighting mixture and leave it on for 5 extra minutes. Repeat this process until the tiny section of hair is your desired lightness. If you leave the highlighting mixture on for too long, the highlights may look too obvious and stripey.
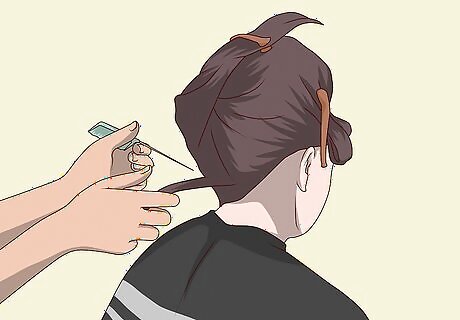
Work from the bottom up as you highlight. Create a basic game plan before you start applying the highlighting bleach. Always work from the neckline upwards, so the bleach is easier to apply. Start along the back of the head before making your way to the sides. Save the top of the head for last, once the rest of the hair is highlighted and divided into foil sections.
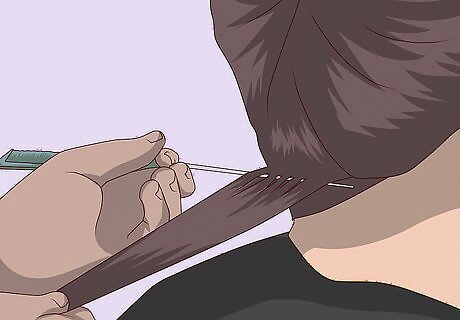
Separate super thin sections of hair with the end of a rattail comb. You should put a small quantity of hair in each foil. Start along the back of the head, threading the narrow end of a rattail comb into your hair to section off a thin, 2 to 3 in (5.1 to 7.6 cm) wide piece. Weave the end of your rattail comb up and down through this section of hair dividing it up so you get thin highlights. Closer weaves look natural. If they are farther apart, they look chunkier. As you section off new pieces of hair, weave and separate each section into thinner pieces before applying any highlighter. You’ll be starting along your neckline and working your way up.
Applying the Bleach and Foil Properly
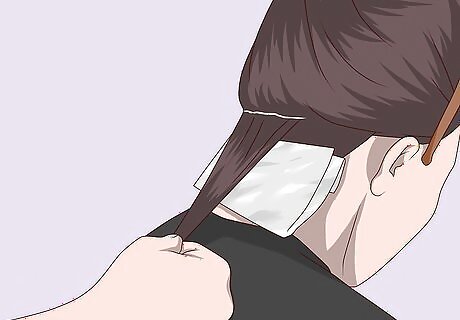
Position the highlights directly next to one another. Try not to choose sporadic sections of hair as you plan out the highlights, as this can lead to obvious tiger stripes. Instead, section the highlights so they’re directly next to one another on your hair, with the foils touching. This helps the highlights to look even throughout your hair, instead of looking like obvious stripes. Your sections of hair don’t need to overlap, but it’s important that they’re directly next to one another. When placing foils, make sure that everything is on an angle.
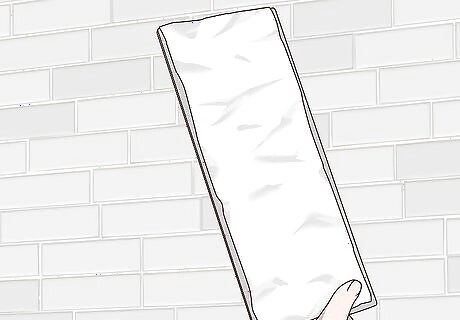
Place a section of foil on top of a highlighting board. Pick up a highlighting board from a beauty supply shop, which provides a little extra support as you highlight your hair on top of the foil. Grab a small square of foil and slide the highlighting board beneath it. Continue holding the board in place until you’ve painted over the top of the hair with the highlighting mixture. The lower sections of foil can slip pretty easily, which can cause tiger stripes. A highlighting board helps take care of these issues. While you can use a special cap to prepare your highlights, it can be easy to section your hair incorrectly or wear the cap too loosely, which can cause tiger stripes. Talk to your stylist for specific recommendations if you choose to use a cap!
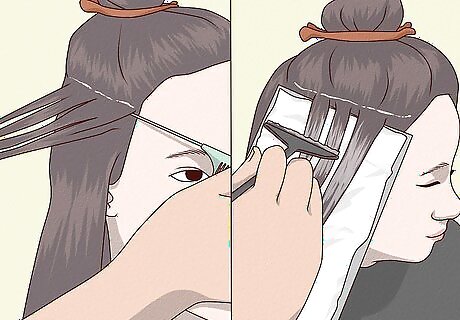
Paint over precise sections of hair as you highlight. Go over the section of hair with a highlighting brush dipped in the bleach mixture. Paint over the thin section of hair in long, even strokes, applying a consistent amount of bleach to the hair. Don’t overwhelm the hair with bleach—instead, do your best to coat the hair section with a thin, even layer. Leave 1 cm (0.39 in) or so of space between your roots and where you start applying the bleach mixture, so your highlights look more distinct. It’s better to grab more hair than you need then to let go of the excess. If you work in small, measured sections, you’re less likely to get tiger stripes. When you’re working with sections of hair that are closer to your neck, center them on the highlighting board and foil.
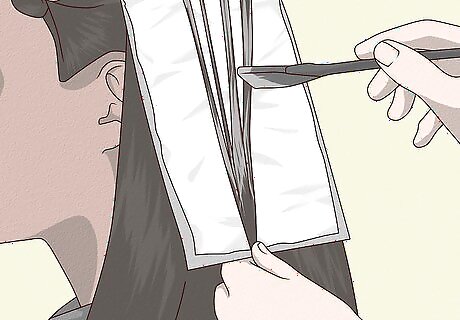
Hold the section of hair taut as you apply the bleach mixture. Pinch both the highlighting board and the end of your hair section with 1 hand and use the other to actually apply the highlighting mixture. Keep the hair as taut as possible so you spread the bleach evenly over the separated section of hair. This helps your highlights to look smooth and seamless, and less like stripes.
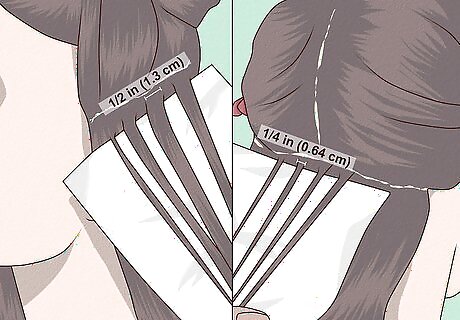
Highlight thinner sections of hair as you get closer to your scalp. Work towards the back of your head as you continue highlighting, starting from the hair that frames your face. Once you reach the middle of your head, or the hair covering your ears, grab ⁄2 in (1.3 cm) pieces of hair instead. When you reach the back of your head, grab even smaller, ⁄4 in (0.64 cm) of hair. If you gradually decrease the size of your highlights, you won’t be at as much risk for tiger stripes.
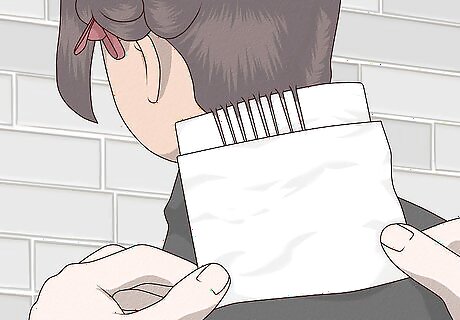
Fold your foils tightly to keep the hair in place. Take your foil and fold it forward twice, creating a thick rectangle. Slide the end of your rattail comb through the folded foil, tightening and securing the foils against the back of the head. Double-check that the ends of the hair are sticking out the side of the foil, instead of being folded up. The less the hair shifts, the less likely the hair will get tiger stripes.
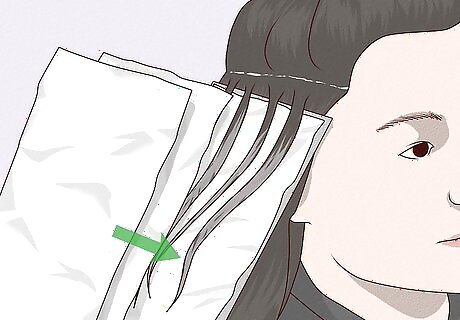
Layer the highlights with 2 sections of foil once you’re above ear-level. Stack 2 pieces of foil on top of 1 another, which provides a sturdier base and partition for each section of hair. Adding extra foils will keep them from slipping, which prevents an unwanted stripe effect.
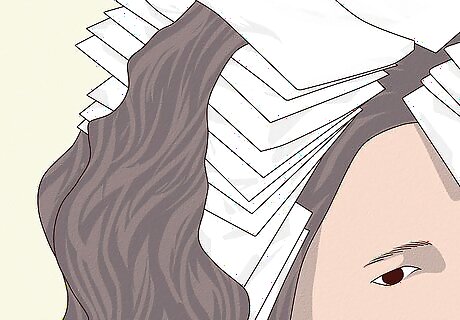
Stack your foils in a vertical line along the top center part of the hair. Along the top of the head, grab sections of hair that are along the hairline. Brush highlighter through these sections of hair and sandwich them between pieces of foil. As you work, pretend you’re grabbing hair to put in a Mohawk, which makes it easier to highlight the hair consistently.


Comments
0 comment