
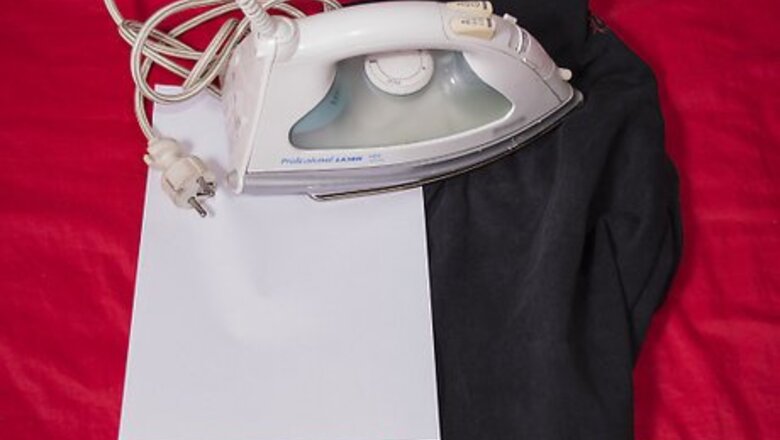
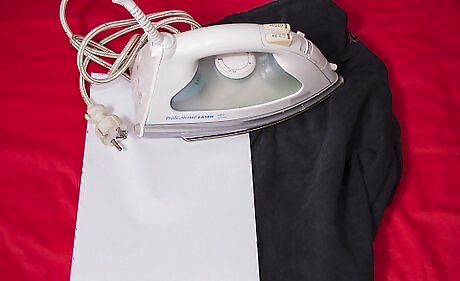
Make sure you have all the needed items (see below: Things You'll Need).
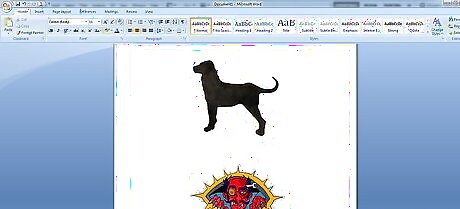
Paste all your pictures on Microsoft Word.
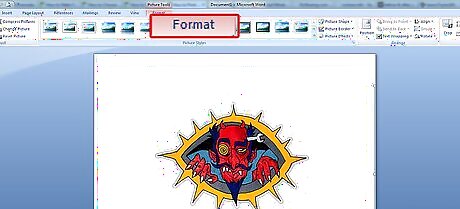
Click on any picture. The Format button will appear under "Picture Tools", which will be highlighted in red. Click on it if it is not already highlighted.
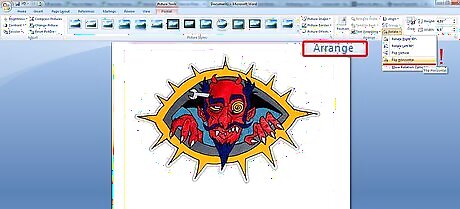
Go to Arrange (second box from right). Click Rotate. Choose Flip Horizontal. The picture will now flip horizontally. The purpose of this step is to flip the image over so that when you iron on your picture, it won't be backwards. When you iron on the picture without flipping it, it will be a mirror image instead of what you see on the computer screen.
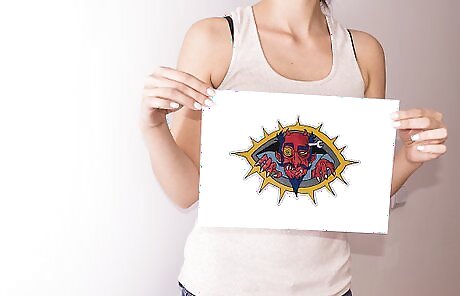
Print. Load your special paper into the feeding tray and make sure to follow all directions! Usually you place the waxy side of the paper as the bottom side, but it depends on what kind of printer you have. Basically, insert the paper so that the printer will print on the waxy side.
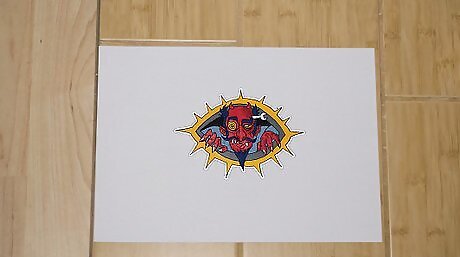
Wait a few seconds for the ink to dry.
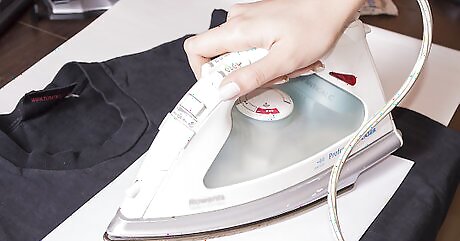
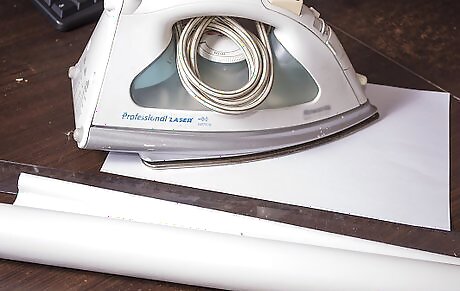
Proceed to iron the image onto the shirt. Don't forget it is like the temporary tattoo stickers, in which you place the ink side down so that it touches your shirt. Heat each section of the paper for about 30 seconds using the iron. Note: most t-shirt papers do not need steam, so leave it off. Also, depending on your brand of iron, turn the iron up to its hottest. The paper will stick to the wax if the iron isn't hot enough!

Wait for it to cool.
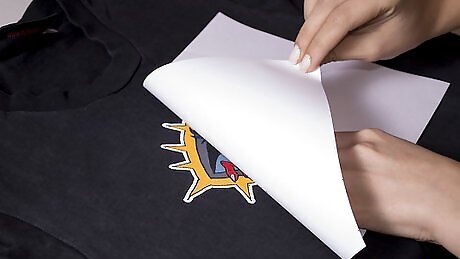
Peel back the paper, leaving the image and wax glued to your shirt.
Put away all materials, including the iron (please wait for it to cool first before storing it away).
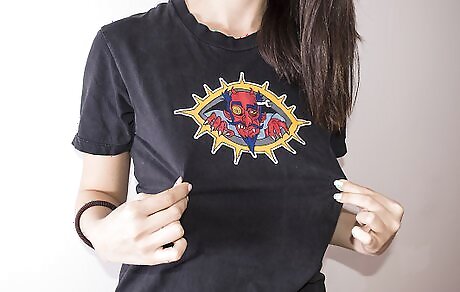
Wear your t-shirt with pride!


Comments
0 comment