views
Germinating Seeds
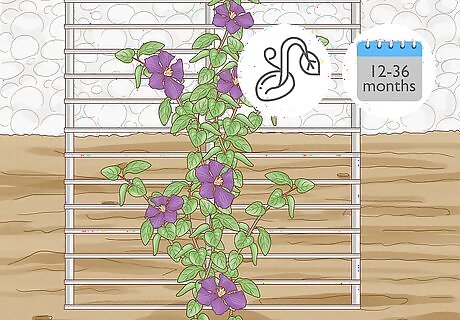
Understand the germination process. It is true that germinating seeds is typically straight-forward, but clematis are particularly high maintenance and require loads of attention and care in order to propagate from seed. Amazingly, it takes between 12-36 months for clematis seeds to germinate. Hybrid seeds take much longer than cultivars, meaning that you’ll likely be waiting nearly three years for your hybrid seeds to sprout. Keep this in mind going into your clematis project, and you’ll likely have quite a bit of time to wait before finally planting your clematis. You’ll need to give your seeds attention on an almost daily basis in order for them to sprout eventually. You’ll have a better chance of your clematis sprouting if you plant multiple seeds at once.
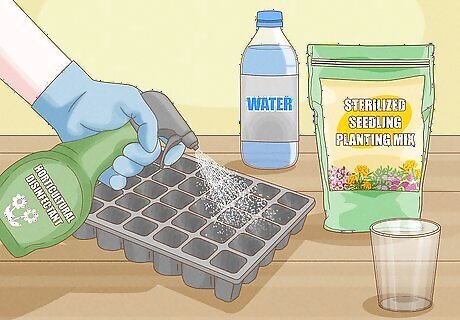
Get your materials ready. In addition to their long germination period, clematis seeds also require strict growing conditions. It is vital that all of your materials are sterilized and prepared for the sole purpose of planting your clematis. You’ll need seed trays, horticultural disinfectant, sterilized seedling planting mix, clean glass or a plastic bag, and water for moistening the soil. Use your disinfectant to clean your seed trays and glass, otherwise you run the risk of infecting your fragile seeds with disease.
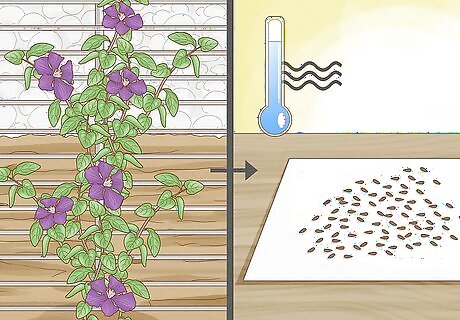
Collect your seeds. If you’re not purchasing your seeds from the store, you’ll have to identify and collect viable seeds from an existing clematis. To do so, wait until the seed heads (the fluffy/furry part of the flower) turns brown and the seeds are exposed, as this means that the seeds have fully ripened and dried out. Gently remove them from the seed head, and store them in a dry, cool area. Don’t store seeds in a plastic bag, as moisture can build up inside and cause the seeds to rot. Instead, put them in a paper bag or compartment. Keep in mind that the seeds from a hybrid clematis will not form flowers that look like the parents.
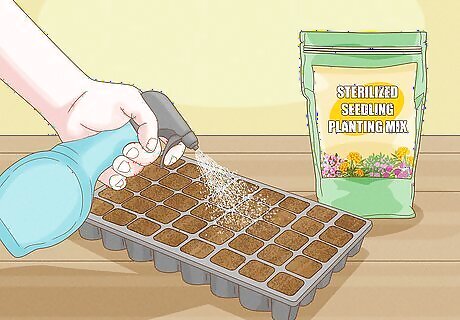
Prepare your seed trays. After you’ve sterilized your seed trays, fill them with the sterilized seedling potting mix. This typically has very little soil and is mainly a mixture of peat moss, perlite, and vermiculite, making it easy for the seeds to sprout. Fill the seed trays about ¾ of the way full with the mixture, and thoroughly wet it with water.
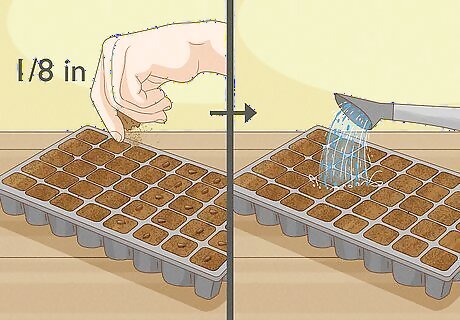
Plant your seeds. Place each of your seeds individually in each seed tray, on top of the potting mixture. When all your seeds have been placed, cover them up with about ⅛-inch of potting mixture or sand. Water the seeds heavily so the soil is damp but not soaking, and then place your glass over the seeds. The glass will help keep the humidity and temperature high, which is preferable for germinating clematis seeds. Instead of glass, you can also cover the soil with plastic wrap or a plastic bag. This will also effectively raise the humidity and temperature.
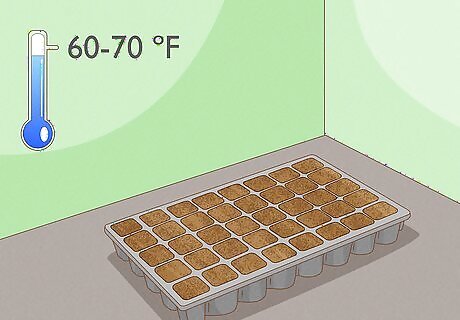
Move your seeds to the best location. The seeds will do best when placed in a shady location with a temperature between 60–70 °F (16–21 °C). When winter comes around, you should allow the seeds to go through a natural freeze/frost cycle, which will trigger them to sprout. Place them in a shaded area outdoors during the winter to promote this cycle.
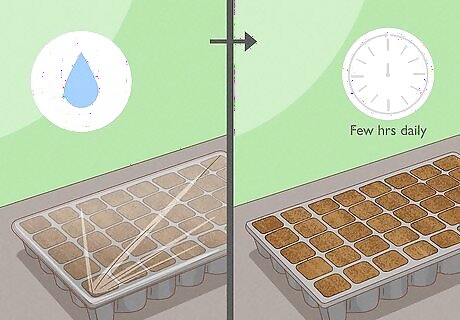
Maintain your seeds. As the months progress, you’ll need to take careful care of your seeds so that they germinate, rather than drying out or rotting. Make sure that the potting mixture you planted them in is always moist, and remove the glass or plastic bag for a few hours each day to prevent too much moisture from building up and causing the seeds to rot.
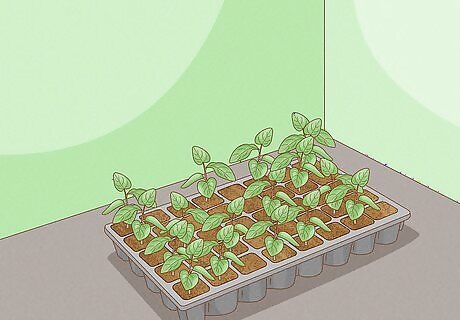
Wait for the seeds to sprout. As aforementioned, the specific amount of time it will take for your seeds to sprout will vary greatly on the type of clematis you’ve planted. There are two sets of leaves you should be paying attention for on your seedling: the first set, and the true set. The first set, also called the ‘seed leaves’, is the first pair of leaves that grow from the seed. Once you see the first set of leaves, remove the plastic or glass covering from the soil. The second set of leaves are called the ‘true leaves’, and are the signal that your seeds are ready to be planted outdoors.
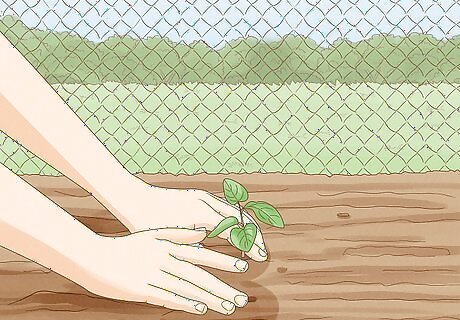
Transplant your seedlings. When the true leaves appear, you’ll need to transplant your seedlings. You can choose to relocate them to a larger pot, or to plant them outdoors. Either way, carefully move them to their new location, being sure not to damage their delicate roots. If you choose to move them outdoors, you’ll need to harden them off by placing them in their pots outside for a few hours every day. Doing this for 1-2 weeks will help to prepare the clematis for the environmental conditions outdoors.
Propagating from Cuttings
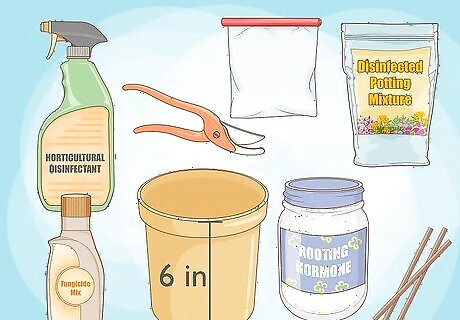
Prepare your supplies. As with germinating clematis’ from seeds, propagating clematis from cuttings requires quite a bit of preparation and the proper materials. You’ll need a very sharp knife or pair of gardening shears, horticultural disinfectant, 6-inch planters, disinfected potting mixture, fungicide mix, rooting hormone powder, plastic bags, and straws/stakes of some sort to create mini ‘greenhouses’. Begin by using your disinfectant to clean your knife/shears, planting pots, and the stakes/straws you are using.
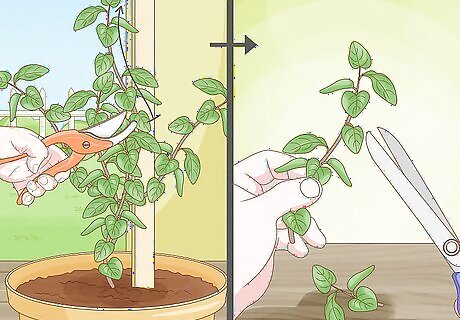
Take your cutting. Use your knife or gardening shears to make a single clean cut through an existing clematis plant. Cut a vine/branch that is at least 3-feet long, severing the plant just above a set of leaves and below the next node up on the stem. If you can, try to take your cutting from the center of the vine rather than the base or the tip, as this has the highest likelihood of sprouting. Continue to separate your cutting out into smaller sections for planting, by cutting just above a leaf node.
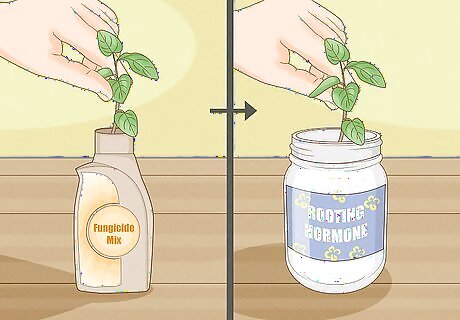
Carefully prepare your cuttings for planting. If you want your cuttings to sprout, it is imperative that you very carefully follow the directions for using your fungicide and rooting hormone mixtures. Start by dunking each of your cuttings in the fungicide mixture, following the directions that came with the mix. Then, dip the ends of each cutting in the rooting hormone mix, being careful to get just the right amount. Adding too much of the rooting hormones can prevent growth, which is not what you want. Finish by cutting one leaf off each stem; this will reduce moisture loss.
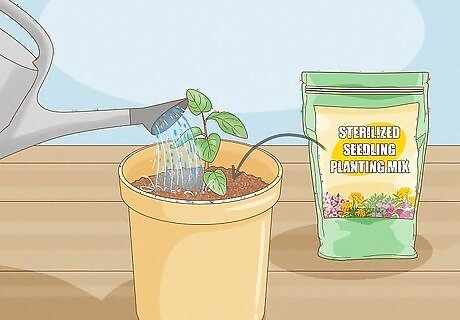
Plant your cuttings. Fill each of your pots with your sterile soil mixture so that they are about ¾ of the way full. Bury the tips of each of the cuttings so that the joint of the leaves are level with the topsoil. Give them a light watering so the soil is damp, and label the pot if applicable.
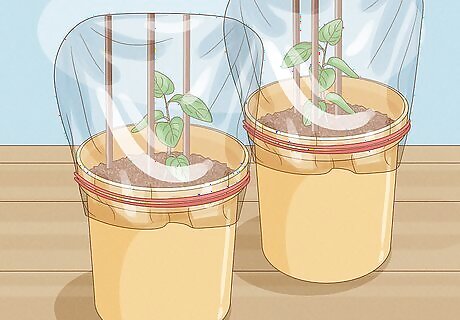
Increase the humidity. Clematis cuttings will thrive in a slightly humid environment, which you can easily create with a few household materials. Stick 3-4 straight straws or bamboo stakes into each container, and place a plastic bag over the top. Make sure that the bag is not touching the plant at all, and give the soil a good watering. Once a day, flip the bag inside out to let excess moisture out and to prevent rotting.
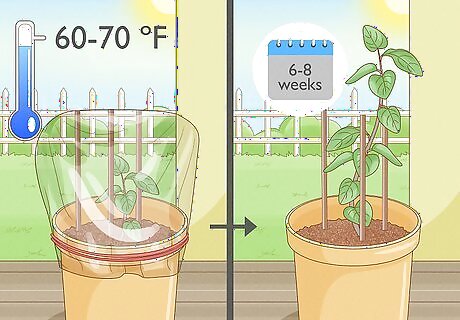
Move the cuttings to the best location. It will take 6-8 weeks for your cuttings to start growing, and in the meantime they should be placed under the best growing conditions possible. Relocate the potted plants to a place that has plenty of ambient sunlight, but is mainly shaded, with a temperature between 60–70 °F (16–21 °C). Too much direct sunlight can overheat the young plants, especially under their plastic bags.
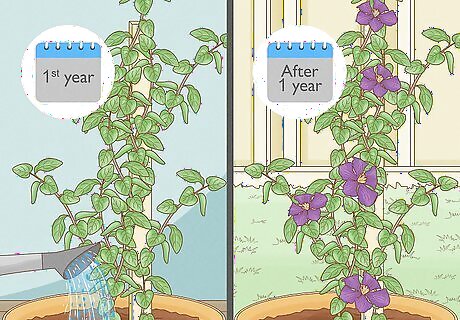
Maintain your cuttings. Although your cuttings may sprout in 6-8 weeks, they likely won’t be ready to be planted outdoors for about a year. During this time, water them regularly so that the soil is kept moist at all times, and continue removing and replacing your plastic bag ‘greenhouse’ to keep the humidity up.


Comments
0 comment