views
Using Clip-In Extensions
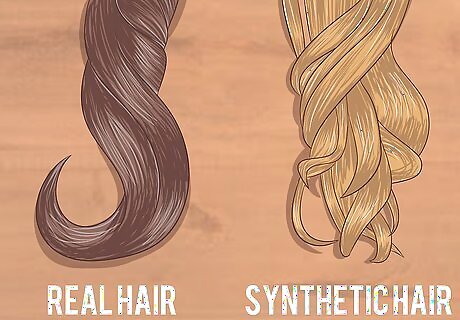
Choose a type of colored hair extension. There are two main types of hair extensions: synthetic and real hair. Synthetic extensions are cheaper, and readily found in beauty supply stores and "punk" stores, such as Hot Topic or Claire's. Real hair extensions are more expensive, and can be found in salons and beauty-supply stores. Unlike synthetic extensions, they can be straightened and curled. Some synthetic hair extensions are heat safe. The packaging will usually indicate up to what temperature it is safe to curl or straighten the hair.
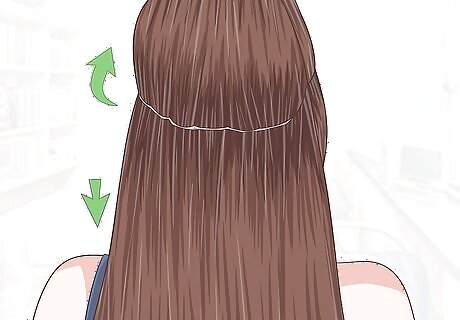
Part your hair where you want the extension. Decide where you want the streak, then slide the handle of a rat-tail comb through your hair, and use it to create a part. You never want to add an extension to the top of your head, because the comb and weft will be visible. Clip your hair out of the way, if needed.
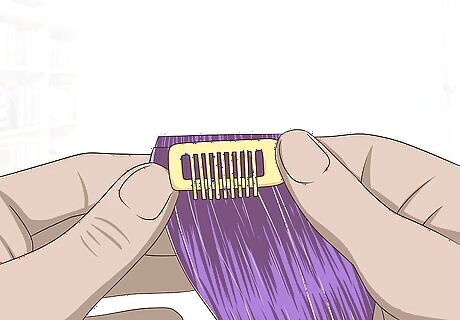
Open the hair extension. Find the comb part, and turn it so that the hair is facing you. Hold the comb between your thumbs and forefingers. Push down on the middle of the comb with one of your thumbs. You'll feel it click as it opens.
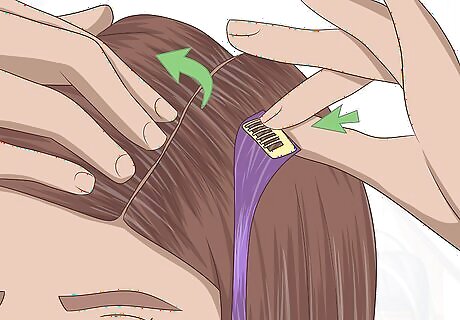
Slide the comb into your hair, just below the part. Turn the extension so that the comb part is facing your head. Slide the comb into your hair, right below the part you made. Make sure that the teeth are catching in your hair.
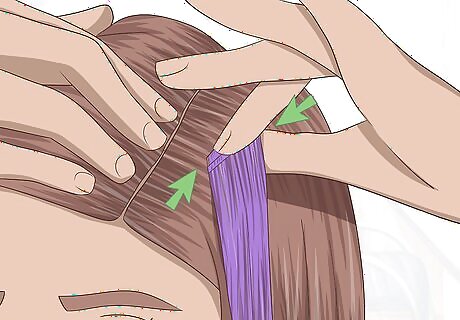
Snap the comb shut. Press down on the sides of the extension with your fingers. You'll feel it snap shut against your head.
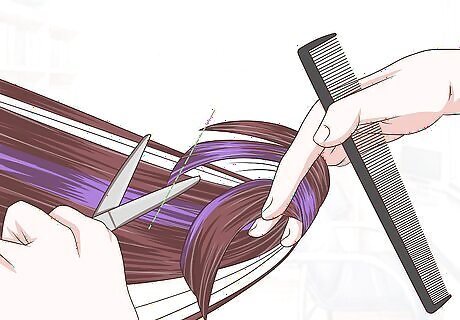
Adjust the extension, if needed. If the extension is too long, you can cut it so that it matches the length of your natural hair. If you used an extension made from real hair, you can curl it or straighten it to match your hair texture. Cut upwards into the strand to thin out the ends and make them lay like real hair. Use a lower heat setting on your straightener or curling iron. A high-heat setting can damage an extension, even if it's made from real hair.
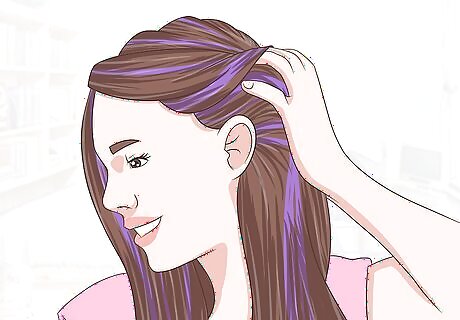
Flip your hair back to its natural part. Your hair will now cover the clip from the extension, making it look more realistic. At the end of the day, be sure to take the extension out.
Using Colored Hairspray
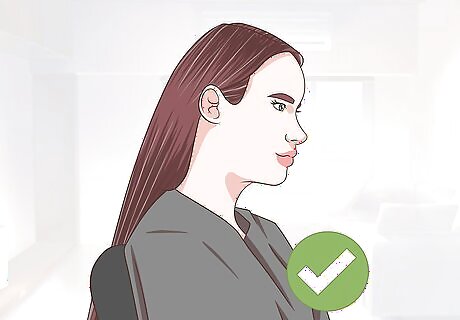
Protect your clothes. Colored hairspray has a tendency to rub off on everything, but even more so while it is still wet. To prevent any mishaps, drape an old towel over your shoulders, or put on an old, button-up shirt.
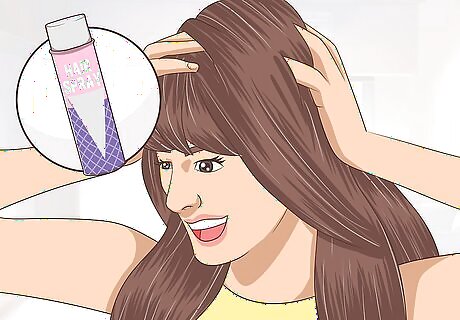
Style your hair how you want it. Colored hairspray acts as a hairspray. If you plan on straightening or curling your hair, do so now.
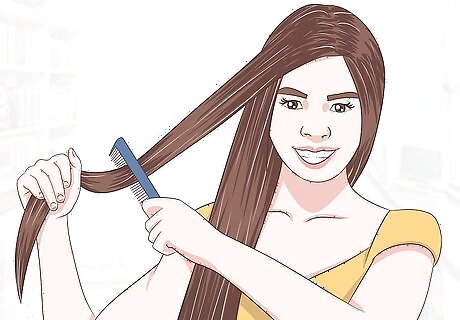
Grab a 1-inch (2.54-centimeter) wide strand of hair. You can grab the strand from anywhere you want, even your natural part. If you are going to color a strand within your hair, pull aside the rest of your hair first.
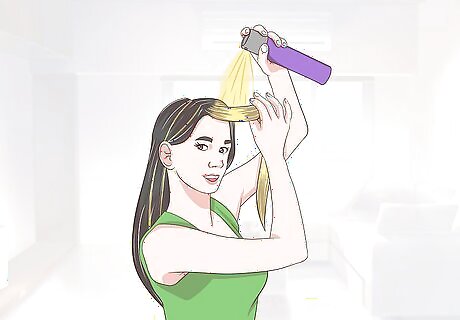
Mist the colored hairspray onto your hair. Hold the strand away from your head. Twist it so that it is oriented vertically, then spray the front and back. This will help further reduce the chances of it getting where you don't want it. You may have to shake the can for a few seconds first. Read the label on the can!
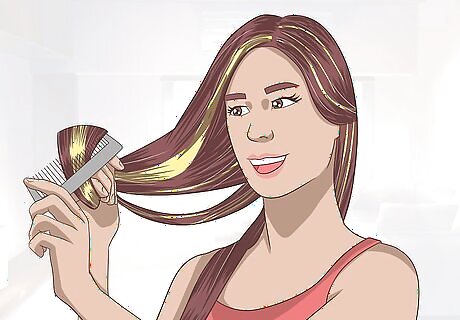
Wait for the spray to dry, then comb through your hair. Like regular hairspray, colored spray dries quickly. Once it's dry, comb through the strand with a brush or fine-toothed comb. This will help separate any strands that got stuck together. Be aware that some of the colored spray may come off on your brush or comb!
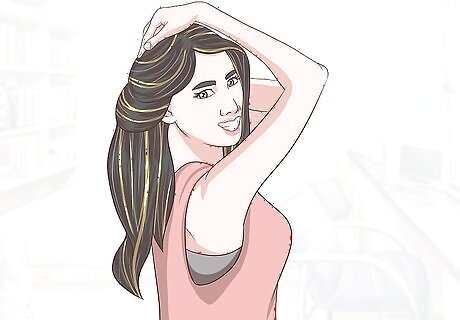
Let go of the strand and enjoy it while it lasts. If you pulled the rest of your hair aide, flip it back to your natural part. Be careful not to get your hair wet, otherwise the color may run. Colored hair spray will usually last 2 to 4 shampoos, but it varies depending on your hair type and the color used. Darker colors may stain fair hair.
Using Hair Chalk
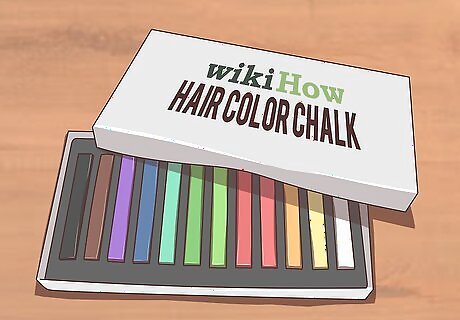
Start with clean, product-free hair. Hair chalk sticks best to freshly-washed hair. If you haven't washed your hair for a few days, or if you applied hair products to it, wash your hair with shampoo and conditioner, then let it dry. Skip the styling creams, sprays, and leave-ins.
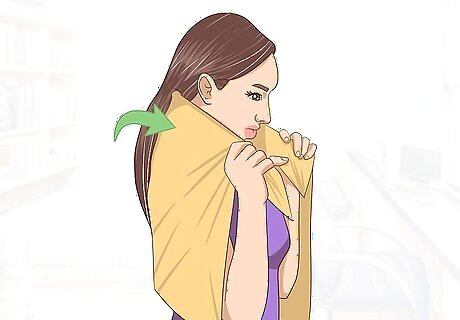
Put on something that can get dirty. Drape an old towel around your shoulders and secure it with a clip. Another option would be to put on an old, button-up shirt that you can easily slip out of.
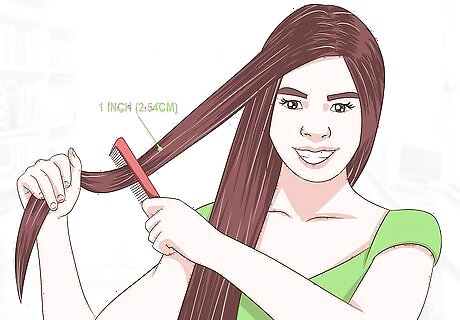
Select a 1-inch (2.54-centimeter) wide section of hair. You can select the section from anywhere you want. If you are selecting it from within your hair (as opposed to your part), brush your hair aside to reveal the section you want to color. Hold the section away from your head.
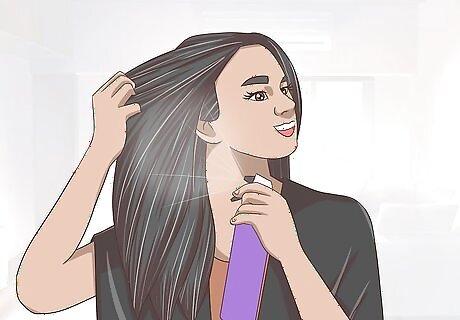
Dampen the section of hair. You want the section to be damp, but not soaking. The easiest way to do this would be to mist it with water from a spray bottle. If you don't have a spray bottle on hand, dampen the section using a wet towel. If water is not available, it’s safe to apply hair chalk on dry hair, too. The results just may not be as vibrant.
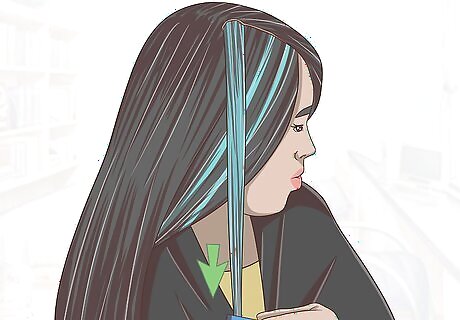
Apply hair chalk to the section. Purchase some hair chalk from an online store, salon, or beauty-supply store. After donning some rubber gloves to protect your skin, run the chalk down the length of the section, from top to bottom. Be sure to coat both the top and underside. While you can use a chalk pastel from the arts and crafts store, it is best if you use actual hair chalk. It is more vibrant and more importantly: non-toxic.
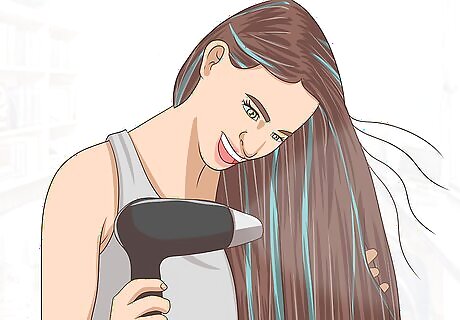
Allow the hair to dry. The fastest way to do this would be with a hair dryer. If you don't have a hair dryer on hand, place a paper towel or a piece of plastic wrap on your hair, then lay the colored strand over it.
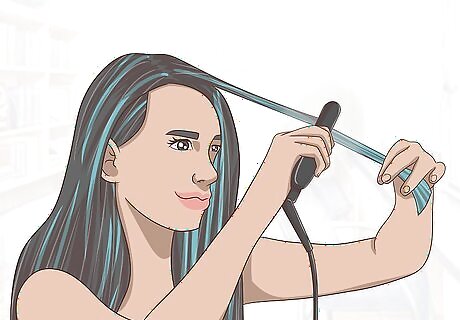
Heat-set it with a straightener or curling iron. This will help the chalk stick to your hair, and prevent it from rubbing off. Set your straightener or curling iron to a low-heat setting, then run it down the length of the strand. If you are using a curling iron, you can wrap the strand around the barrel to create a curl. Keep in mind that some color may rub off on the straightener or curling iron. In most cases, you should be able to wipe it off with a damp cloth. You can also use hairspray to help the chalk stick to the hair.
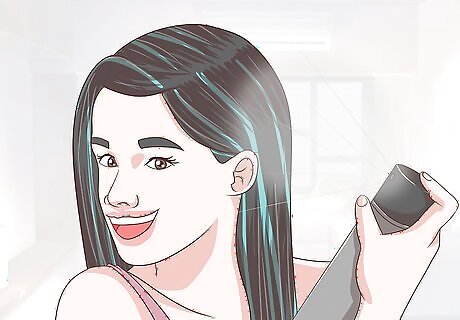
Mist the section with hairspray. Be sure to coat both the top and underside of the section. This will further set the chalk into your hair and help prevent it from rubbing off on everything.
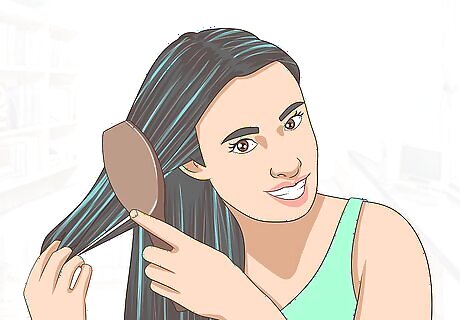
Brush out the strand. You can use a hairbrush or a comb to do this. It will help break up any clumps or stuck strands, and make the strand softer. After this, avoid touching, playing with, or brushing the colored streak, however, as this can cause the color to fade sooner. Colored hair chalk typically lasts 2 to 4 shampoos. Be aware, however, that darker colors may stain fair hair.
Using Bleach and Hair Dye
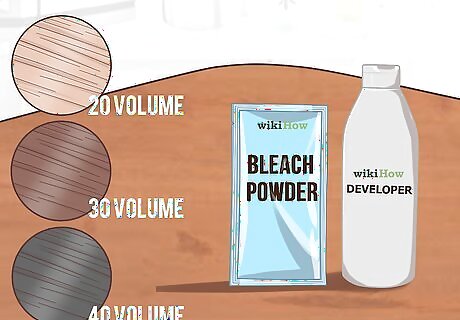
Purchase a bleaching kit from a salon or beauty-supply store. There are lots of different types of bleach, so be sure to choose one that's right for your hair color. The darker your hair is, the higher volume you will need. Here are the recommended volumes based on hair color: Light hair: 20 volume Medium to dark hair: 30 volume Very dark hair: 40 volume
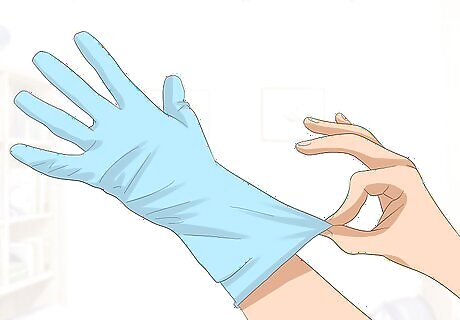
Protect yourself and your work area. Put on something that can get stained, and cover your hands with plastic gloves. Cover your work area with plastic or newspaper.
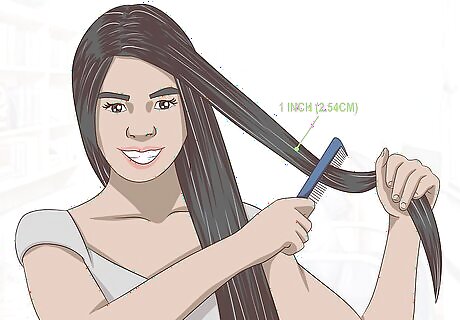
Section off the strand that you want to bleach. You can bleach any part of your hair. If you'll be bleaching something within your hair, comb your hair off to the side to reveal that section. Have a sheet of plastic wrap or foil ready to cover that strand. The section can be as wide or as narrow as you want it to be. Most people stick with 1 inch (2.54 centimeters). If you'll be streaking hair at your hairline, apply petroleum jelly to your hairline.
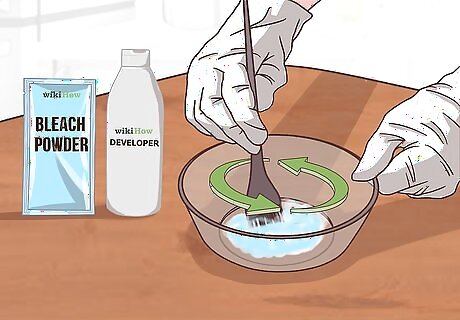
Mix the bleach according to the directions on the package. Measure out the cream into a non-metal bowl first, then add the powder. Each brand will be different, but in most cases, you'll want to use equal amounts of each. Mix the two together with a non-metal utensil, such as a plastic spoon, until no lumps remain. Be sure to work in a well-ventilated area. Do not use a metal bowl; it will react with the bleach.
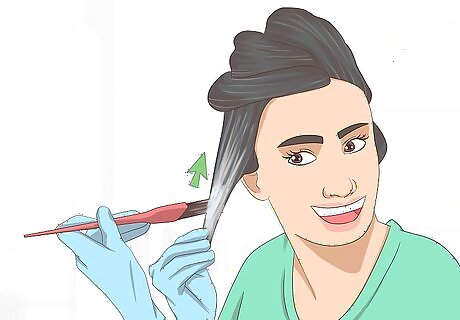
Apply the bleach to the section, starting from the bottom. You can apply it using a tinting brush or your fingers. While dye is typically applied to the ends last, you want to do the opposite with bleach. This is because the ends of your hair will take the longest to process. It would be a good idea to cover the bleached section with plastic wrap so that the bleach doesn't affect the rest of your hair. Make sure that your hair is dry. Never apply bleach to et hair.
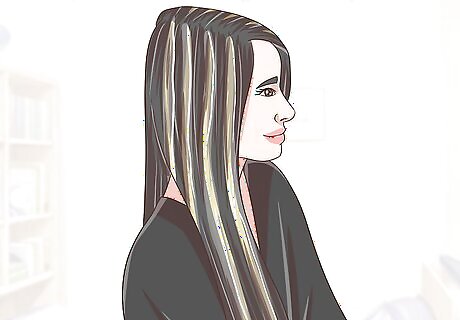
Allow the section to process. How long it takes for your hair to process depends on your hair type. For some people, it can be as short as 10 minutes, while for others 30. Do not leave the bleach on for more than 30 minutes, however, or you will damage your hair. Your hair may process sooner than the recommended time on the package. If your hair is starting to look pretty light even before time's up, you're ready for the next step.
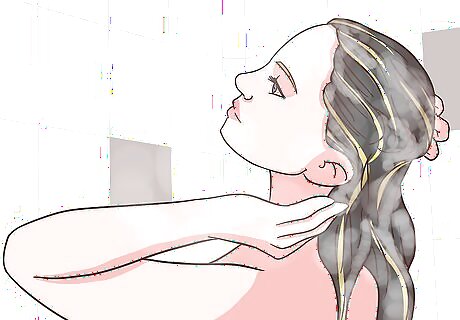
Rinse the bleach out with cold water and shampoo, then let it dry. This will neutralize the bleach and halt the process. If your hair turned out orange, follow up with a toning shampoo. This will neutralize the brassy tones, and help the color dye turn out better. Don't use any conditioner at this point.
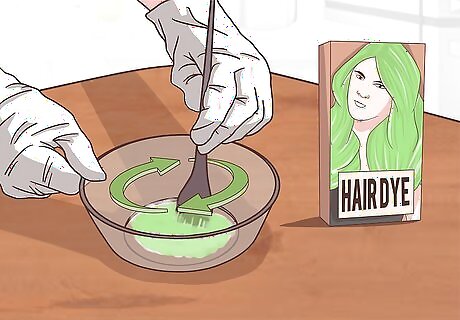
Prepare the dye, if needed. Some types of colored dyes come in a bottle, ready to use. Others you have to mix into a developer. Follow the instructions on the package carefully.
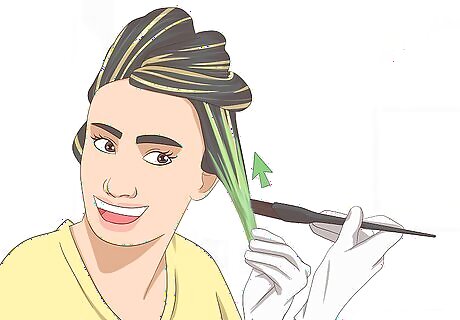
Paint the dye onto the bleached streak, then wrap it. You can use a clean tinting brush, your fingers, or even and old toothbrush. Be sure to completely saturate the section with dye. When you are done, wrap the dyed section with plastic wrap or aluminum foil to protect the rest of your hair. Re-section your hair as before, if needed.
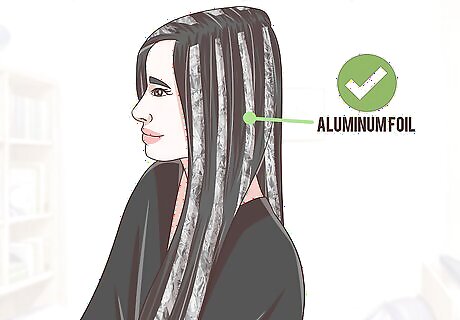
Allow the dye to process. How long this takes depends on the type of dye you used. Some types of dyes (typically those with developer) have a set processing time, and usually need to be rinsed out after 20 minutes or so.
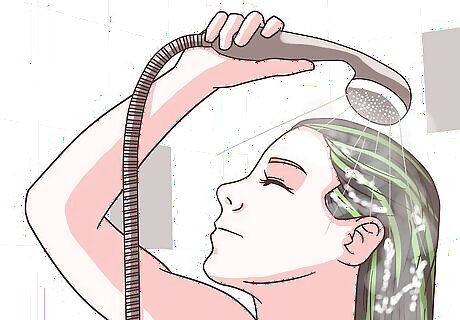
Rinse the dye off with cold water. Rinse the dye off with cold water first. When the water runs clear, you can wash it with a sulfate-free shampoo, or a shampoo intended for colored hair. Follow up with a good-quality conditioner, then let it dry.





Comments
0 comment