
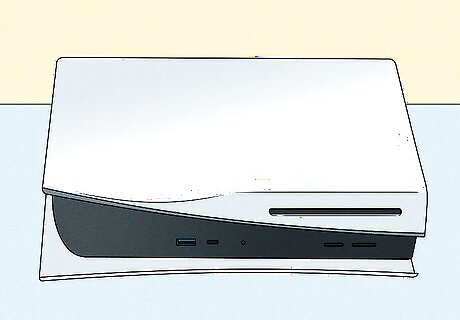
- Press the eject button on the front of the PS5 console to eject the game disc. It's the button on the top (vertical orientation) or the right (horizontal orientation).
- Alternatively, press the "Options" button on your controller while hovering a game title, then select "Eject Disc" to eject the disc.
Using the Eject Button

Save and close your game. Before removing the disc, ensure that you've saved your game and that the game is closed to avoid losing any data.

Press the eject button on the front of the console. The eject button is the top button if the PS5 is in the upright position, and the right button if the PS5 is in the horizontal position. The eject button has an icon of an upwards facing arrow with a line underneath, but it can be hard to see due to its small size.

Remove the disc. Once the PS5 has fully ejected the disc, you can gently remove it from the console and place it back in its case.
Ejecting from the Home Screen
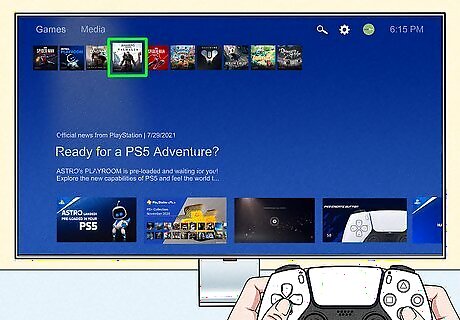
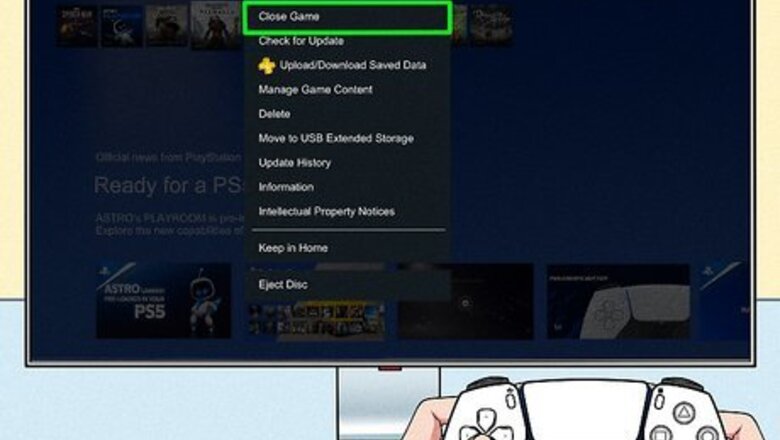
Scroll to the game you want to eject on the home screen. If it's the game you were last playing, it will be the first tile on the home screen. To ensure you don't lose any game progress, make sure your game is saved and fully closed before ejecting the disc.
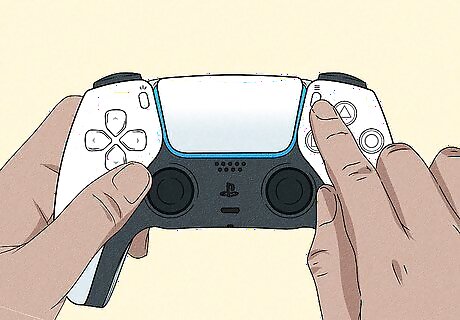
Press the Options button. This will pull up a menu of options for the game.

Scroll to the bottom and select Eject Disc. The disc should pop out of your console.
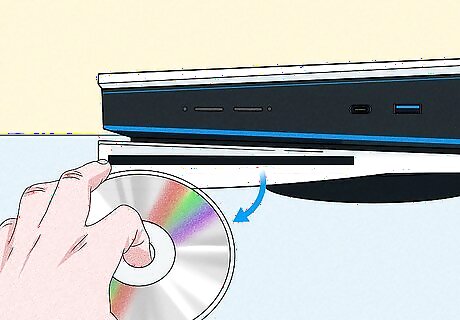
Remove the disc. You can now carefully take the disc out of the console and put it in its case.
How to Remove a Stuck Disc
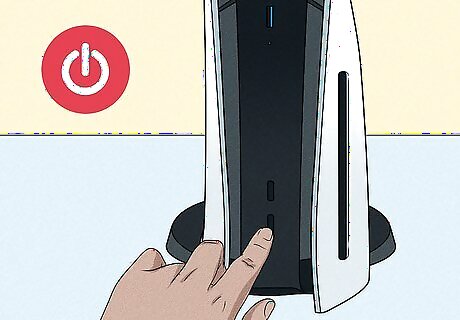
Turn off the console. Press and hold the power button for three seconds so the PS5 turns off completely.
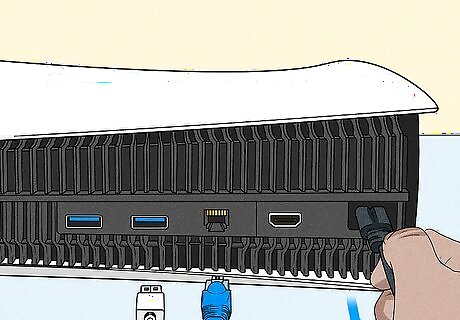
Remove all cables from the console. This includes the power cable, HDMI cable, and any ethernet cables you might be using.

Place the console on its side. The screw hole for the base should be facing you, the PS logo should be face down, and the disc slot should be on the left side.
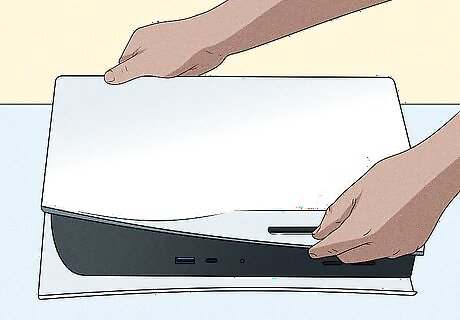
Remove the side panel. Place one palm on the top right corner and use your left hand to place pressure on the bottom left corner. Pull up on the right corner and then down to remove the side panel.

Locate the optical drive. The optical drive is located on the bottom left, and is held in with 4 screws that are fitted with black rings. There is also a small hole at the very bottom that may be covered with black film. The black film can be removed or poked through to reach the screw inside.
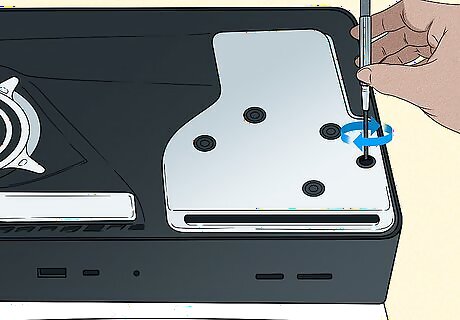
Unscrew the optical drive. Using a #1 Phillips or cross-hatch screwdriver, turn clockwise until the disc is almost completely visible. You may hear a slight click while doing this process, which is normal. Never turn counterclockwise with your screwdriver. This could damage the disc drive.

Remove the disc. Gently take the disc out of the drive, and never force it to come out if it's stuck.
Reassemble your PS5. Position the side panel 3/4 inch from the top edge and slide it back into place. You should hear a click once the cover is securely in place. You can then reattach the cables and turn on your PS5.


Comments
0 comment