
Using Windows Security (Windows 10)

Plug the USB flash drive into your Windows PC. If you're prompted to view the files on the drive or change your USB settings, just close the window for now. Back in 2011, Microsoft changed Windows so that files on USB drives cannot run unless you actually open the drive's contents and click the file name. This is why you generally won't find "autorun" viruses on flash drives anymore. If you're using third-party virus protection like Norton, McAfee, or Kaspersky, you can use that application to remove viruses from your flash drive instead. Sometimes the virus software will launch automatically as soon as you connect the drive and give you the option to scan.
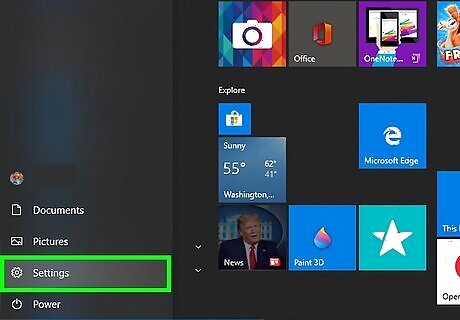
Open your Windows Settings Windows Settings. You'll find this gear-shaped icon near the bottom of the Windows Start menu.

Click Update & Security. It's the option with two curved arrows.

Click Windows Security. It's the option with a shield icon in the left panel.
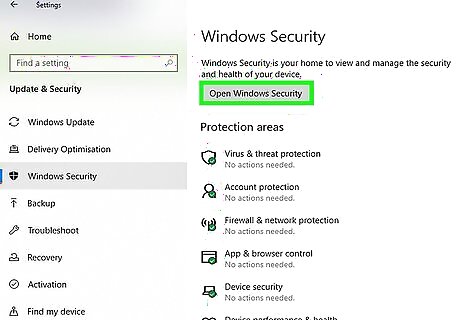
Click Open Windows Security. It's at the top of the right panel.
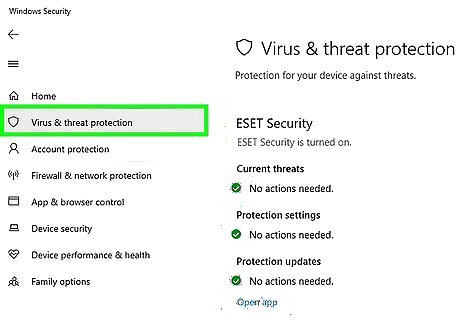
Click Virus & threat protection. It's the shield icon at the top-left corner of the right panel.
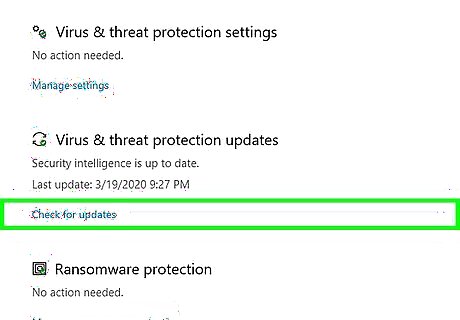
Click Check for updates. It's the blue link under "Virus & threat protection settings." This checks for changes to Microsoft's virus database and downloads any necessary updates.
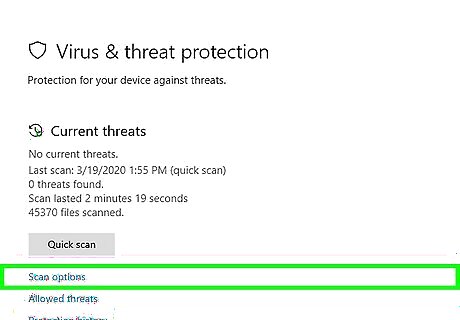
Click Scan options. It's under the "Current threats" header at the top of the right panel. If you're using a different antivirus solution than Windows Security, you may see the option to launch that application instead. Open your antivirus program and run a scan on the flash drive.
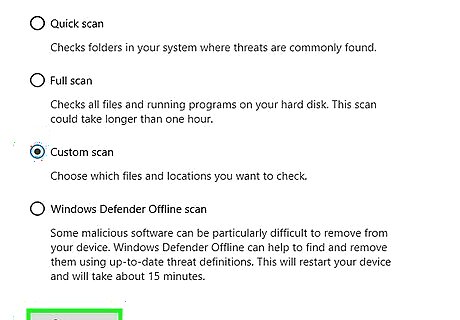
Select "Custom scan" and click Scan now. It's the button at the bottom of the right panel.

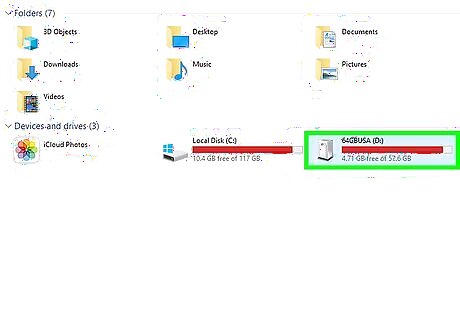
Select your flash drive in the left panel. It should be under "This PC" or "Computer" toward the bottom. You may have to click the small arrow next to one of those options to display the connected drives.

Click Select Folder. It's the button near the bottom-right edge of the dialog window. Windows will now scan your flash drive for viruses. This can take a while if you have a lot of files on your flash drive.

Follow the on-screen instructions to remove the virus(es). Once the scan is complete, you'll see a window that tells you whether any viruses were detected. Windows Security will guide you through the virus removal process if any viruses are found.
Using Microsoft Safety Scanner (Windows 8.1 and Earlier)
Plug the USB flash drive into your Windows PC. If you're prompted to view the files on the drive or change your USB settings, just close the window for now.

Go to https://docs.microsoft.com/en-us/windows/security/threat-protection/intelligence/safety-scanner-download. This is the website for Microsoft Safety Scanner, a free up-to-date antivirus and anti-malware removal tool for Windows. If you're using Windows 8.1 or earlier and don't have antivirus software, this will be the fastest way to detect and remove viruses on your flash drive. Microsoft Safety Scanner is a portable application, which means it doesn't have to be installed or removed. If you're using third-party virus protection like Norton, McAfee, or Kaspersky, you can use that application to remove viruses from your flash drive instead. Sometimes the antivirus software will launch automatically as soon as you plug in the drive and give you the option to scan. If nothing pops up automatically but use third-party antivirus protection, launch your antivirus software and run a scan on your flash drive.

Click the Download Microsoft Safety Scanner link. There are two versions of the link: one for 32-bit systems, and one for 64-bit systems. Click the version that matches your PC, and follow the on-screen instructions to download. If you're using Windows 8, open the Control Panel, and select System. On Windows 7, open the Start menu, right-click Computer, and select Properties.

Run Microsoft Safety Scanner. To do this, double-click the file you just downloaded, which will be called something like MSERT.exe. You'll find it in your default download location, which is usually the Downloads folder. After launching the app, you'll typically have to click Yes to run it and/or enter your password.

Accept the license agreement and click Next. After reading the agreement, click the box to add a checkmark. This confirms that you understand Microsoft's terms.

Click Next on the welcome screen.
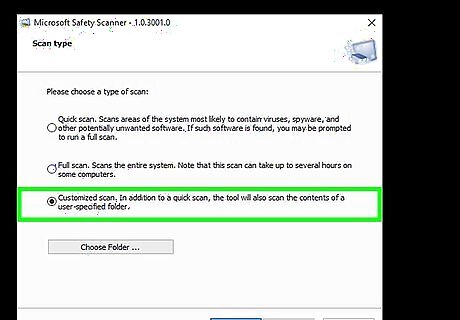
Select Customized scan. It's the third option.
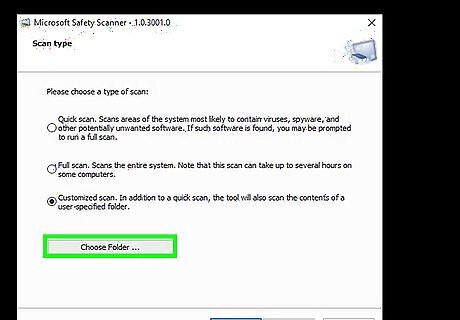
Click the Choose Folder button. This opens your PC's file browser.

Select your flash drive and click OK. It's likely at the bottom of the list.
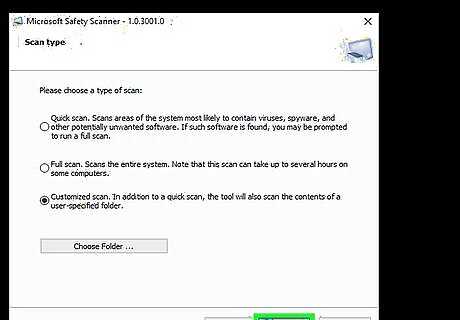
Click Next to scan your drive for viruses. The tool will now search for viruses on your flash drive. It'll also do a quick scan of your hard drive to check for viruses there as well. Once the scan is complete, the results will appear. This can take a while if you have a lot of files on your flash drive.
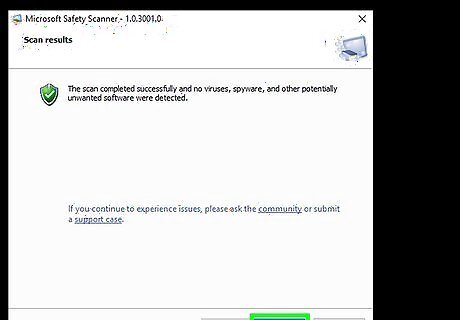
Follow the on-screen instructions to remove the virus(es). Once the scan is complete, you'll see a window that tells you whether any viruses were detected. Microsoft Safety Scanner will guide you through the virus removal process if any viruses are found.
Removing a Shortcut Virus

Understand the shortcut virus. This type of virus places all files on your USB into a hidden folder and replaces them with shortcuts of their original names. You can usually tell you have a shortcut virus if you see small arrows over the file or folder icons. If you double-click any of these shortcuts, the virus will activate and spread to your PC.. If you're using Windows 10, try using the Using Windows Security (Windows 10) method first. If you're using Windows 8.1 or earlier, try the Using Microsoft Safety Scanner (Windows 8.1 and Earlier) method first. It's possible that Windows' own built-in antivirus software can fix the problem for you.

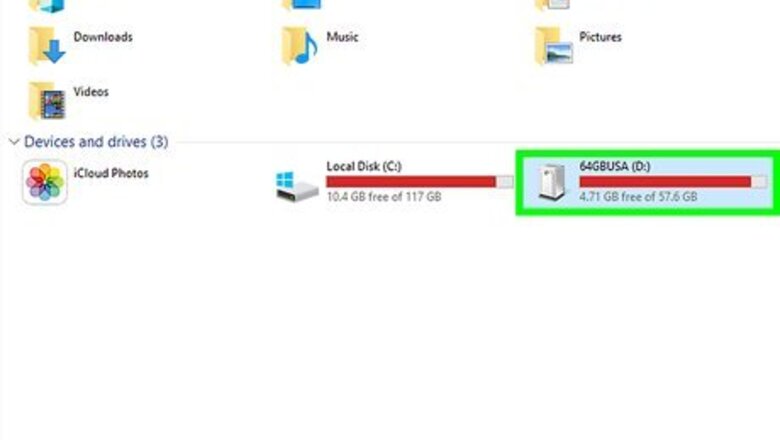
Plug the USB flash drive into your Windows PC. If you're prompted to view the files on the drive or change your USB settings, just close the window for now. You'll need to know the drive letter of your USB drive (e.g., F: or D:) to remove the files. If you're not sure what it is, press the Windows key and the E key on the keyboard to open File Explorer, and then scroll down on the left panel to find your flash drive and corresponding drive letter. You may have to click an arrow or plus symbol next to "This PC" or "Computer" to see the drive.
Press ⊞ Win+S to open the Search bar.

Type command prompt. A list of results will appear.
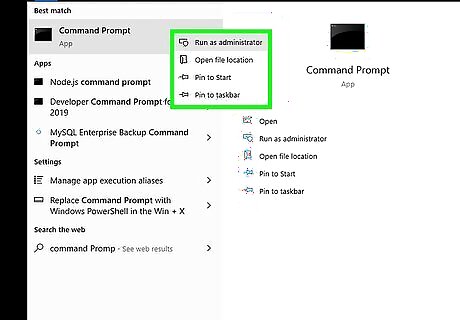
Right-click Command prompt in the search results. A menu will expand.
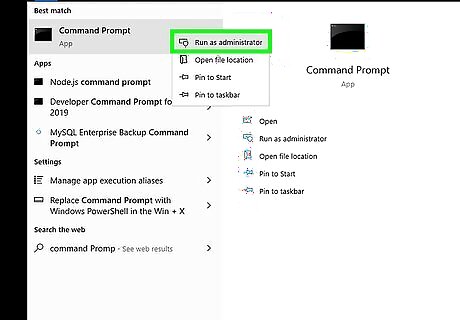
Click Run as administrator. This opens an administrator-level command prompt. You may be prompted to verify your password to open up the window.
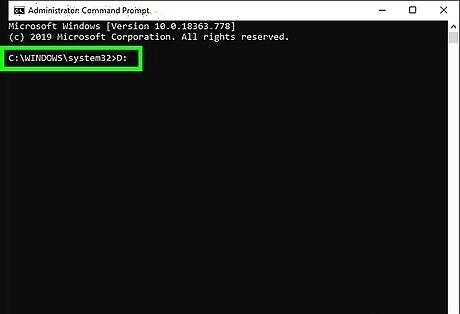
Type your USB drive letter and press ↵ Enter. Be sure to include the colon (:) after the letter. For example, if your USB drive is the F drive, type F: and press the Enter key.

Run the command to delete all shortcuts. To do this, type del *.lnk and hit the Enter key.

Run the command to restore your hidden files. To do this, type attrib -s -r -h /s /d *.* and press the Enter key. If your drive was infected by a shortcut virus, this should restore your files to their original locations safely. To see a list of files on the drive, type dir /s and press the Enter key.
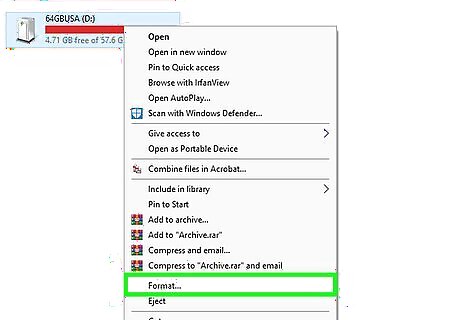
Back up your files and reformat the flash drive. Now that the virus is removed, it's a good idea to format the drive and start from scratch. If you don't want to lose your files, copy them to another location on your computer. Scan through the items on your USB drive and delete any unfamiliar files and folders first. Then, see How to Format a Flash Drive to learn how to erase and format the drive.
Scanning a USB Flash Drive on a Mac
Insert your USB flash drive into your Mac. It's not possible to install malicious software from a USB drive on your Mac, so you generally won't need to scan your USB drives for viruses. If you'd like to check for viruses anyway, as well as other types of malware, you can use your antivirus software to scan external drives.
Install antivirus software if you haven't already. If you already have antivirus software, you can use it to scan your USB drive for viruses. If not, one free option is AVG AntiVirus—although there is a paid subscription option that protects your Mac over time, the free version works great for this purpose. To install AVG: Go to https://www.avg.com/en-us/avg-antivirus-for-mac. Click the green Free Download button in the top-right area of the page. If the download doesn't start automatically, click click here near the center of the page to start it. Once the installer is finished downloading, you'll see a floating arrow on the AVG page that says "OPEN your downloaded file." Click the location indicated by the arrow to launch the installer. Follow the on-screen instructions to install AVG.
Open your antivirus software. You can do this by double-clicking your antivirus software's name on the Launchpad or in the Applications folder in Finder. If you're using AVG AntiVirus, you can also click the shield icon in the menu bar near the top-right corner of the screen and select Open AVG AntiVirus.
Update the virus definition files. These files must be downloaded from the internet on a regular basis to keep your software up-to-date. The option will usually be clearly marked as Update virus definitions or something similar. In AVG, click the two curved arrows near the bottom-right corner to run the update.
Set the antivirus software to scan external drives. The location to do this will vary, but you'll usually find such an option in the Preferences menu of the app. Here's how you'll do this in AVG AntiVirus: Click the AVG AntiVirus menu near the top-left corner of the screen and select Preferences. Click the Scanning tab. Check the box next to "Scan external drives and shared folders." Click the red circle at the top-left corner of the window to close it.
Click the Scan option to start the scan. Depending on the software, you may have some options like Deep scan and Quick Scan. A Deep scan is more thorough but takes a lot longer. Try a Quick or Basic scan first, and then do a deeper scan if desired. Once the scan is complete, you'll see a list of any threats, if any, that have been found by the software.
Follow the on-screen instructions to remove problematic files. For example, if you're using AVG AntiVirus, click Resolve next to any viruses or malware on the list to move them to Quarantine. Quarantined viruses can no longer harm your computer or flash drive.


Comments
0 comment