views
Locating and Opening the Tie Rod Holes
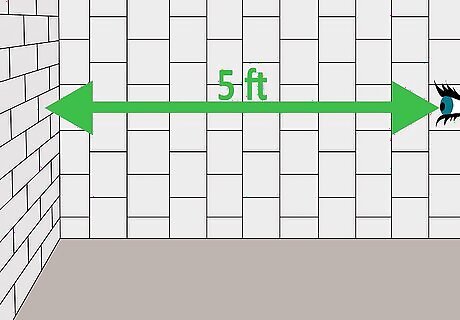
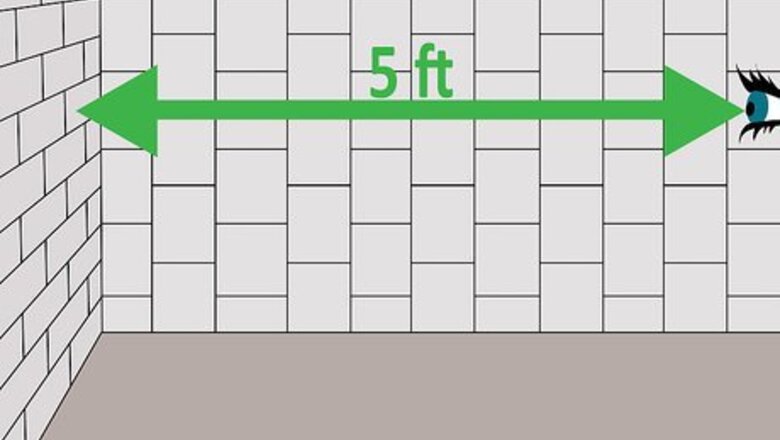
Observe the entire wall from a distance of five feet (0.13 meters) away after the location of the first tie rod hole leak. Viewing the wall in this method will help see the others as they may appear as a small extrusion or irregularity in the surface of the concrete. Most homes will have tie rod reinforcement holes every eighteen inches (0.46 meters) across the wall. Eight-foot high walls (2.44 meters) have two rows approximately one foot (0.30 meters) from the floor and the upper row is approximately five feet (1.52 meters) from the floor. Ten-foot (3.05 meters) high walls will have three rows with the first row approximately three feet (0.91 meters) high from the floor and three feet (0.91 meters) higher for each of the remaining two rows. Normally the upper and lower rows align vertically with each other.
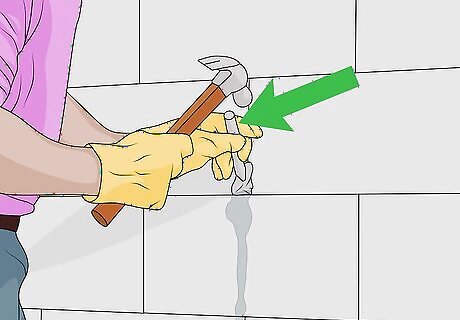
Use a standard hammer by rapping on the area until the ⁄8 inch (1.6 cm) (15.88 millimeters) hole is fully exposed and the edges of the hole are hammered away to a beveled edge. In most cases the front of the tie rod hole will have a ¼ inch (6.35 millimeters) to 1/2” inch (12.70 millimeters) cosmetic covering of concrete.
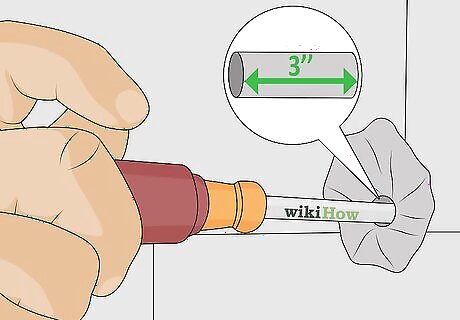
Properly expose the existing 5/8 inch (15.88 millimeters) diameter tie rod hole to a depth of three inches (76.20 millimeters). Take a standard screwdriver, dowel rod, or a tie rod bar to finish exposing the hole to a 3 inch (76.20 millimeters) depth. If necessary, the area may need to be drilled out using a 5/8 inch (15.88 millimeters) masonry bit. If the tie rod hole has been repaired before, it will be necessary to drill the hole out using a 5/8 inch (15.88 millimeters) masonry bit.
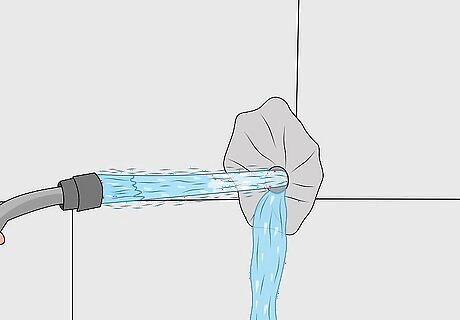
After properly exposing the tie rod hole, remove any debris in the tie rod hole by flushing out with clean water or vacuuming.
Sealing the Tie Rod Holes
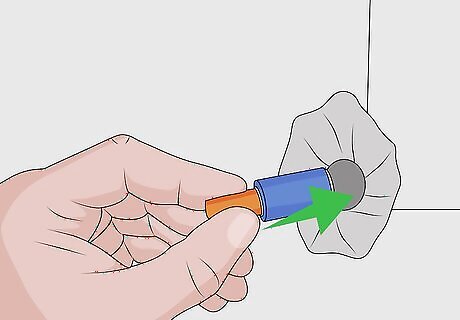
Insert a water activated compressed swell plug into the exposed tie rod hole.
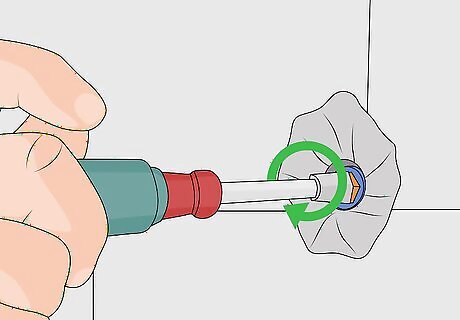
Hand tighten by turning the coupler end.
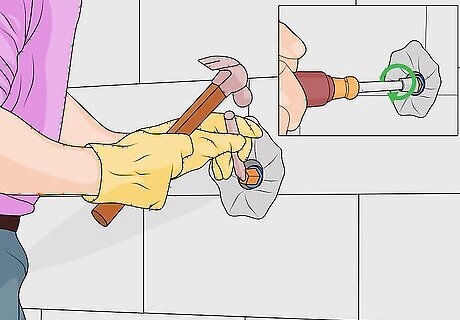
Once snug, lightly tap the end of the coupler with a hammer until the coupler is flush with the wall. Finish tightening to a snug fit with a 3/8 inch (9.53 millimeter) socket or a 3/8 inch (9.53 millimeter) nut driver. Do not over tighten as it may cause the plug to spin or fail.
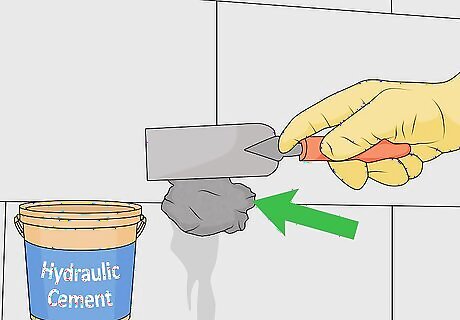
Leave as is or cover with a suitable hydraulic cement or comparable masonry product that can be found at home improvement stores.


Comments
0 comment