
Removing the Old Sand
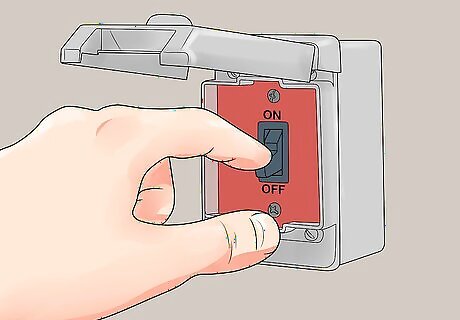
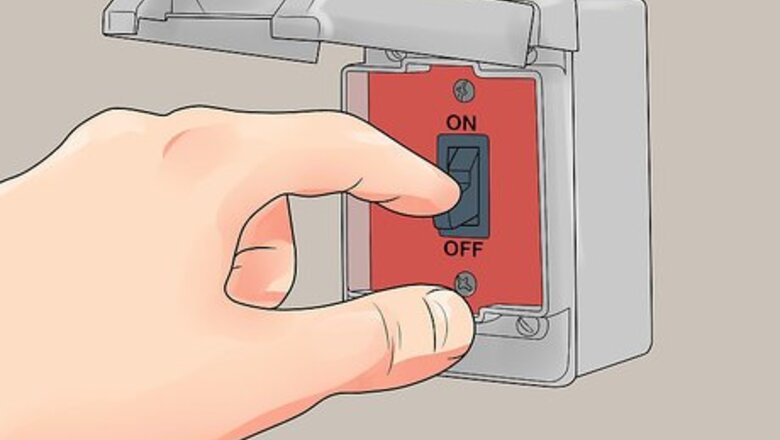
Turn off the pump on the pool filter. Make sure that the filter pump won't be able to turn back on while you are working on it. Locate the switch for the pool filter and turn it off. This will stop water from entering the system while you clean it, as well as cutting power to the area while dealing with water. The switch for your pool filter should be nearby the filter itself. For extra safety, or if you cannot find the right switch, cut power to the area from your circuit breaker box before you begin working.
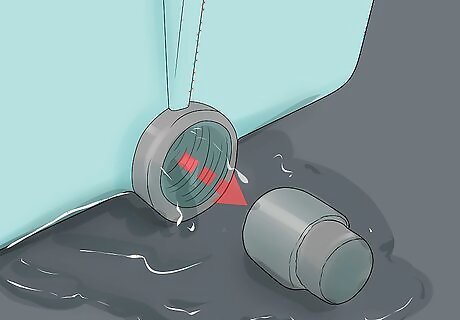
Remove the drain plug and let the filter tank fully drain. Locate the drain plug near the bottom of your filter tank and unscrew it completely. This will let all of the water drain out of the tank, so make sure it is draining somewhere away from your pool that will not be affected by a lot of water. Fully draining the tank can take up to an hour, so give it plenty of time. If your pool filter is in a pump house or anywhere else you don’t want water draining, quickly attach a hose over the drain plug after you remove it. This will let the water drain elsewhere. Make sure not to lose the drain plug, or any other components you remove from the pool filter. Keep them somewhere safe until they are ready to be reattached.

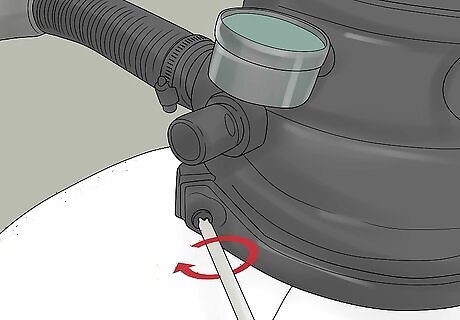
Take the collar off the base of the multiport valve. Locate the collar around the edge of the multiport valve, near the top of your filter tank. Use a screwdriver to loosen the bolts on either side of the collar until you can remove them completely. Pull apart the two sides of the collar to remove them. The collar on the multiport valve is used to clamp it in place, so may also be referred to as a “clamp.”

Unscrew the unions holding the pipes to the multiport valve. Any pipes connected to the valve will make removing it much more difficult. Carefully unscrew the unions near any pipe attached to the valve and disconnect the pipes. If the pipes attached to your valve do not have unions to allow them to be removed, you will have to use a saw to cut the pipe instead. As you’ll need to replace the sand in your pool filter regularly, install union fittings on the pipe so that you can easily connect and disconnect the pipes in future.
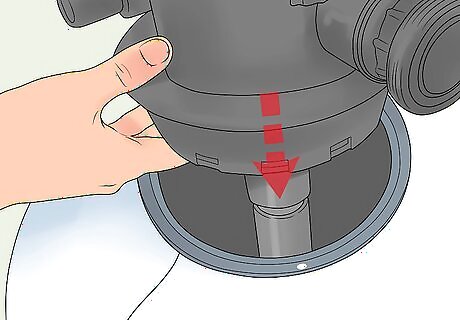
Remove the multiport valve by twisting slightly and pulling upwards. Firmly grip the top of the multiport valve and begin wiggling it as you lift the valve off of the tank. Carefully remove the valve so as to prevent damaging it or anything inside the tank.

Cover the standpipe with tape or a rubber plug. This will prevent any sand from getting into the pipe and working its way into your pool while removing or adding sand. Duct tape or any strong tape will work, as will a rubber plug that fits, but make sure it is easy to remove when you're finished.

Use a shop vac to remove the old sand. Lower the nozzle of a shop vac or similar tool into the opening of the tank and begin removing the old sand from the bottom. As you remove sand, be careful to avoid directly touching or hitting any components or laterals at the base of the tank. These can be fragile and difficult to replace. If you do not have a shop vac, you can use a large cup or scoop to remove the sand from the bottom of the tank. This will take longer, and as the sand has been filtering everything in the pool, can be unsanitary. If you choose to do this, always wear gloves and be careful.
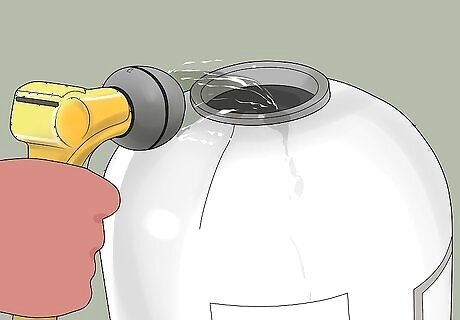
Clean the tank thoroughly. Once you have removed the bulk of the sand from the tank, use a garden hose to thoroughly clean it both inside and outside. Spraying water into the tank should help clean out any last bits of sand left inside the tank. Make sure any fittings on the tank are dried fully before reattaching anything to them. The moisture can get trapped inside the threading on your tank and may damage the components over time. Keeping the tank dry will also help in detecting a leak when the pump is turned back on.
Adding New Sand
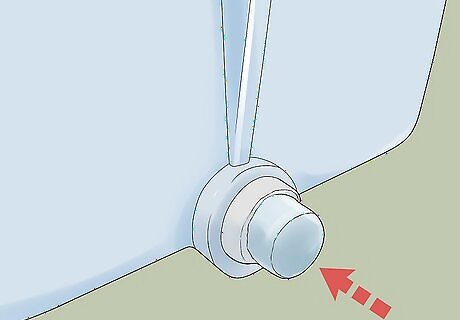
Reattach the drain plug to the base of the tank. Before adding any new sand to the tank, you’ll need to reattach the drain plug. Screw it back in place at the base of the tank, making sure to tighten it in order to prevent leaks.

Pour new pool silica sand into the tank. Position one corner of a bag of pool-grade silica filter sand over the mouth of the tank. Make a small cut in the corner of the bag to allow sand to slowly fall into the tank. Work slowly and carefully to prevent any sand from spilling. Repeat until you have added the amount of sand needed for your filter. If you are worried about damaging the components on the inside of the tank, add a little bit of water to the bottom of the tank before pouring in the new sand. This will cushion the sand as it is added but may misalign the standpipe. As you add sand, make sure the standpipe in the center of the tank stays right in the middle and at the right height. It will need to reattach to the base of the multiport valve when you are finished, so you can line the two up to check if you’re unsure. The amount of sand needed will vary between pool filters. Check for stickers along the side of the tank or in your tank’s manual to find out how much your tank needs to operate.
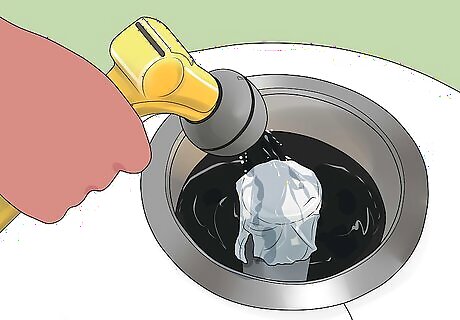
Fill the tank with water up to the level of the sand. Use a garden hose to add water to the tank until it just begins to cover the sand. This will give the tank enough water to clean the sand and get the pump functional before you start filtering your pool water.
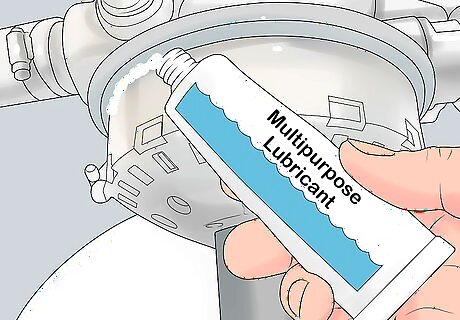
Lubricate the O-ring on the valve with a multipurpose lubricant. Locate the rubber “O-ring” around the top of the multiport valve where it will form a seal with the mouth of the tank. Apply a small amount of lube to your finger and rub it around the O-ring. This will make reattaching the valve to the tank easier, as well as conditioning the rubber seal. If the O-ring is damaged, you might need to replace it rather than just lubricating it. These should be available from hardware and pool supply stores in the size you need.
Reattach the multiport valve. Remove the tape or plug from the top of the standpipe and position the multiport valve over it. Carefully connect the opening in the valve to the top of the pipe, and firmly push the valve into the top of the tank. Wiggle it around slightly as you push it into place to make sure it is secure.
Screw the collar and pipes back in place. Position the collar around the edge of the multiport valve and use the two bolts to tighten it into place. As you do so, alternate between bolts to ensure the pressure is equally distributed around the collar. Reattach the pipes and screw the unions on as tightly as you can to prevent leaks.
Backwashing Your Filter

Make sure your backwash hose is connected to the backwash valve. Backwashing will flush dirty water out of the system, so it is important it has somewhere to go. Attach a backwash hose to the backwash valve if needed, and make sure the other end feeds out somewhere away from your pool.
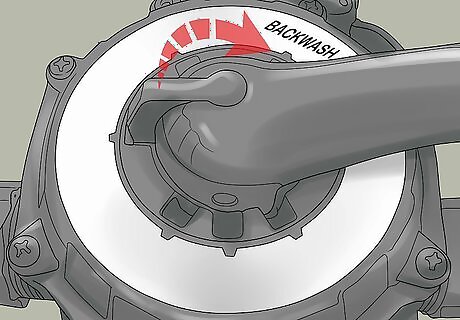
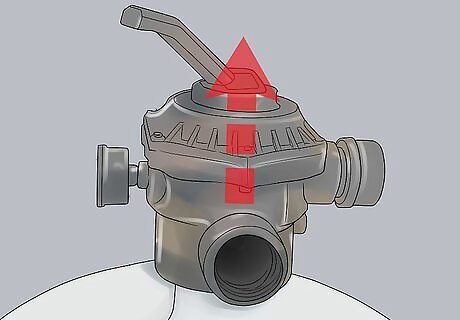
Turn the filter to backwash. Push down on the lever on top of your multiport valve and rotate it until it is in the backwash position. This will allow the filter to clean out any excess dust or impurities in the new sand before it starts filtering into your pool.
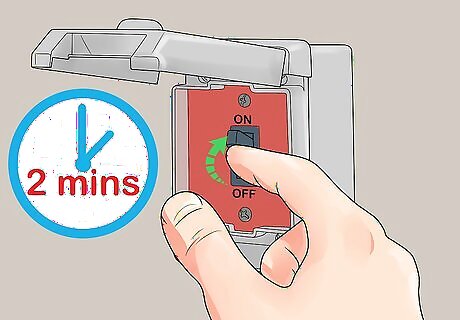
Turn the pump on for 2 minutes. Once the filter is set to backwash, turn the pump on to begin backwashing your filter. Leave it running for at least 2 minutes to fully clean out the filter. Check the sight glass in the side of the valve, or the water coming out of the hose to make sure it is clearing up.
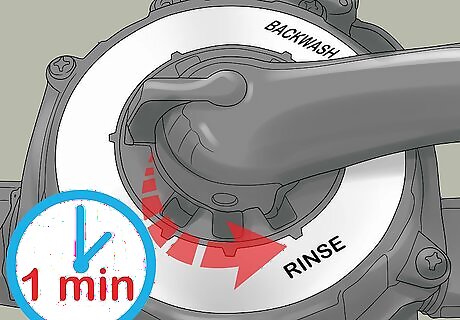
Rinse the filter for 1 minute. Turn the handle on the top of the multiport valve to the “rinse” position, and let the pump run for another minute. This will clean the water further, so use the sight glass or hose to make sure the water inside the tank is clear. Always make sure you have turned the pump off before switching positions on your multiport valve.
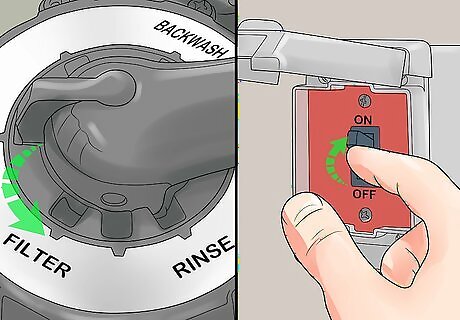
Turn the valve back to filter and turn on the pump. Once the water is running clear, your sand has been replaced successfully and the filter is ready. Turn the handle on the valve back to the “filter position” and turn your pump back on.


Comments
0 comment