views
Removing the Carpet
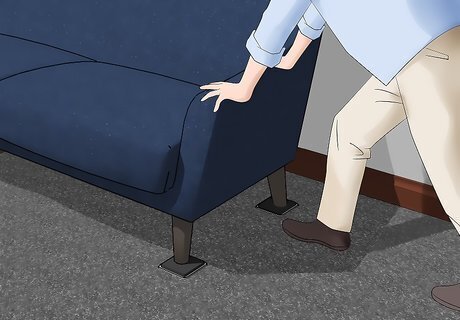
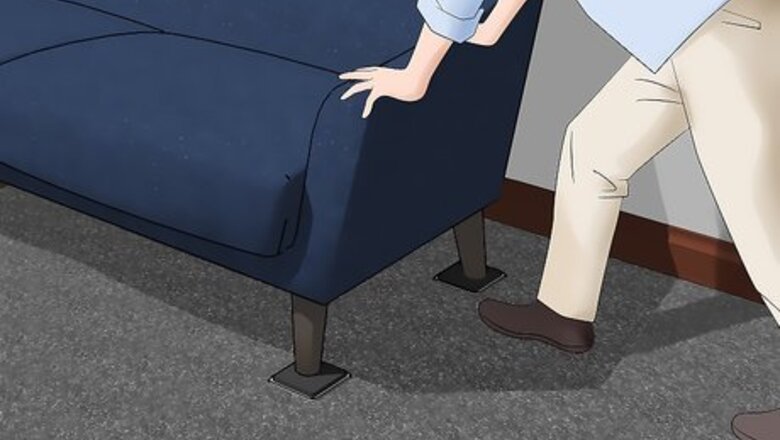
Remove any furniture and accessories from the room. Work with a helper so you can carry heavy pieces of furniture into a different room. Then take out any accessories that are near or on the floor, such as vent covers or rugs, so you can rip up the carpet. Take down any long curtains so they don’t get in the way while you work.
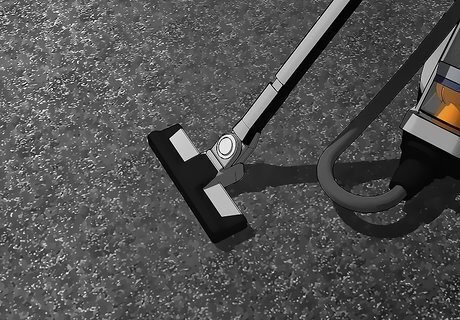
Vacuum the old carpet. Dirt and dust can get in the way when it’s time to sand your floors. Before you pull up the old carpet, go over the entire carpet thoroughly with your vacuum to get rid of any dirt. Vacuum the area 1-2 times to get the most dirt out of the carpet so it doesn’t transfer to a different room.
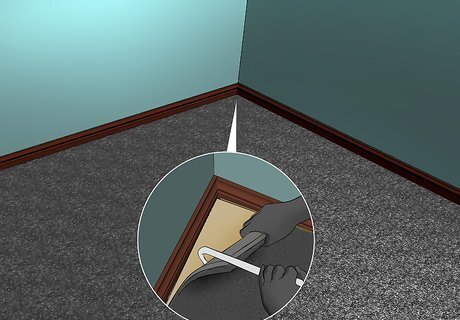
Begin in one corner and pull up your carpet. You can start in any corner of your room. Pry up the edge of the carpet with a pry bar so you have a handhold. Then slowly pull up the carpet, moving to the center of the room. Once you’ve pulled all the corners out, roll up the carpet so you can remove it easily. To make things easier, use a razor knife to cut through the carpet so you can remove it in sections. Wear work gloves if you want to get a better grip.
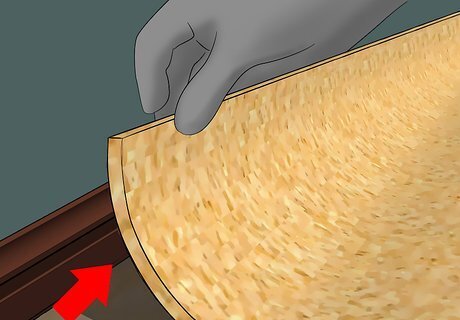
Pull up the carpet pad. Start in one of the corners of your room and lift the edge of the carpet pad with a pry bar. Grab the edge of the pad and slowly pull it back toward the center of the room. Don’t move too fast since the carpet pad could rip and make it more difficult to move in one piece. Once the pad is lifted, roll it up and take it out of the room. Some of the carpet pad may come up with carpet depending on how old it is.
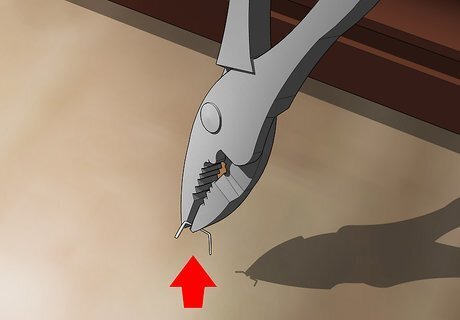
Pry up any carpet staples or tack strips from the wood. Look for staples in your floor since they might have held the carpet pad down. Pry the staples out of the floor with the back of a claw hammer. To remove tack strips, place the flat edge of a pry bar near one of the nails in the board. Hit the end of the pry bar with a hammer to lift up the board. Pull each nail out of the floor so you can remove the tack strip in one piece. Tack strips have nails that point up, so stand back while you’re prying the boards in case they break and watch where you grab them.
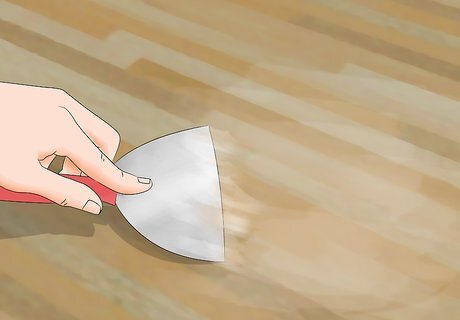
Remove any carpet adhesive. Check the color of the adhesive under your carpet if there is any. If it’s yellow, use a plastic scraper or a chisel to break it apart. If the adhesive on the floor is dark brown or tan, scrub the floor with cleaning rags and an adhesive remover, such as mineral spirits. If there’s any residue left from the adhesive, then use a general purpose adhesive cleaner to remove it. Adhesive remover is flammable, so make sure any sources of sparks or fire are removed.
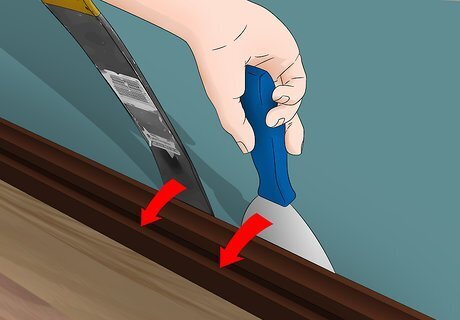
Remove the baseboards. Using a razor knife, score the top edge of the baseboards where they meet the wall. Beginning at a corner, place a pry bar between the baseboard and the wall, then slowly pull forward. Then move 12–18 inches (30–46 cm) along the baseboard and pry it again. Once the board is loose, pull it off the wall in one long piece. Continue removing the rest of the baseboards in the room. Tip: Use a pencil to mark the baseboards so you know which wall you removed them from. Put the corresponding numbers on pieces of paper and hang them on the walls.
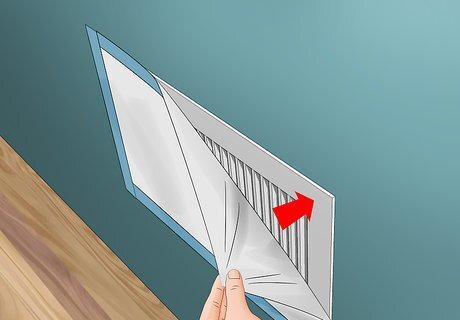
Cover any openings with plastic. You can reuse old plastic sheeting from old projects or you can buy some from your local hardware store. Cover all of your doorways, light fixtures, and any other openings, such as fireplaces. Tape around the edges of the plastic sheeting with painters’ tape so the openings are completely covered. You can buy special vent covers that still allow air flow while preventing dust from getting inside.
Sanding the Floors
Sand your floor with a random orbital sander and 30- to 40-grit sandpaper. A random orbital sander doesn’t leave any pattern in your floor after you’ve sanded it. Load the sander with 30- to 40-grit sandpaper to help smooth out rough finishes. Begin in the corner farthest from the door and turn your sander on. Follow in the same direction as the floorboards, moving the sander in a tight circular motion. Continue sanding in a long strip from one corner of your room to the other. Many sanders have a dust discharge that you attach a vacuum hose to. Otherwise, you can tape a shop-vac hose to the handle and run the vacuum while you sand to catch the dust.Tip: If you don't own a random orbital sander, you can rent one from major home improvement stores for about $50 USD per day.
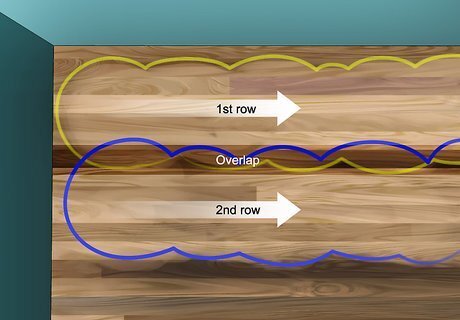
Overlap each row as you sand. Once you reach the opposite corner of the room, start sanding a new strip going back toward the other side of the room. Overlap the first strip by 1–2 inches (2.5–5.1 cm) so you don’t miss any spots while you’re sanding.
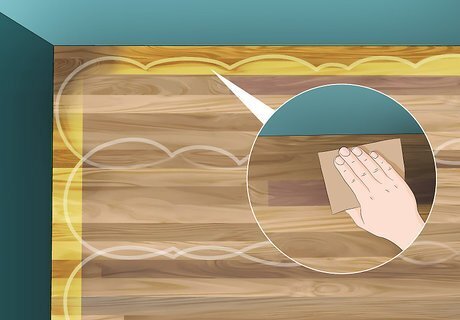
Touch up the edges with a hand sander after you’ve finished the rest of the room. When you’re using a random orbital sander, you won’t be able to reach the very edges of the room. Instead, use a hand sander loaded with 30- to 40-grit sandpaper. Set the sander in the corner, flush against the wall, and move slowly down the edge, following the grain of the floor. When you’re working on a wall that doesn’t follow the grain of your floor, pull the sander away from the wall so you follow the same direction.
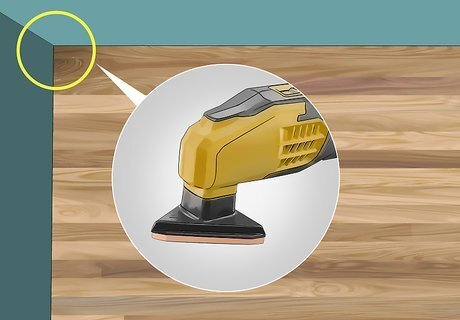
Sand the corners with a detail sander. A detail sander is slightly smaller than a hand sander and fits into tight spaces, like the corners of your room. Attach 30- or 40-grit sandpaper to the detail sander, and smooth out any small areas that you couldn’t reach before. Make sure the floor feels smooth when you’re finished. If you don’t have a detail sander, you can use a sanding sponge instead.
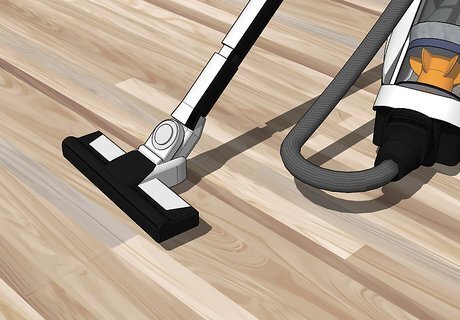
Vacuum up any dust once you’re finished. Use a brush attachment on your vacuum to lift up the dust without damaging your wood floors. Vacuum the entire floor to remove any sawdust created from sanding the floors. Make sure you get into the corners well, since dust can gather there. Try to sweep up as much sawdust as you can before you sand so you don’t have to clean your vacuum as much.

Repeat the entire sanding process with 60- and 100-grit sandpaper. Load all of your sanders with 60-grit sandpaper, which will help smooth your floors even more without leaving noticeable marks. Go through the room with the random orbital sander first, followed by the hand and detail sander. Vacuum the room to clean up the sawdust before sanding the floor again with 100-grit sandpaper. If the floor still feels a little rough, use a 120-grit screen to go over the floor again. You can use the orbital sander or you can sand by hand if there are only a few rough spots.
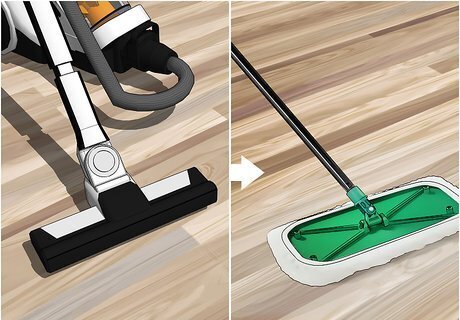
Vacuum and damp mop the floor. Once you’re completely finished sanding, make sure the floor is completely clean by vacuuming it with the brush attachment. Once you clean up as much sawdust as you can, use a slightly damp mop to wipe the whole floor to pick up any dust you missed with the vacuum. Clean any dust on the window sills, windows, and any other molding in the room with a damp cloth.
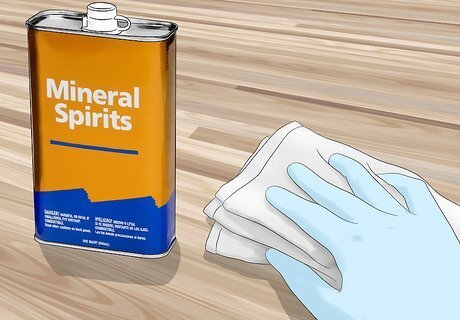
Wipe the floor with mineral spirits. Mineral spirits is a solvent used to remove old wax from the hardwood floor so you can stain it if you want. Wet the end of a rag with the mineral spirits and wipe the floor clean. Work from one corner and work toward the other side of the room. Mineral spirits is flammable so don’t keep it near an open flame or heat source.
Staining the Floor
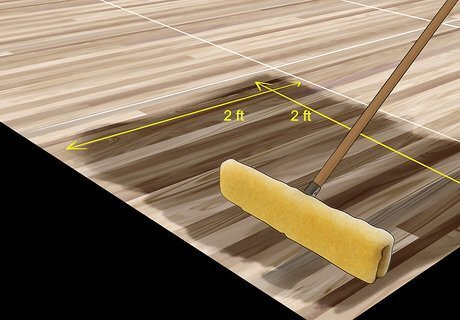
Apply the stain with a lambswool applicator. Use a wood stain that’s meant for hardwood floors. Start in a corner opposite the doorway into the room, and then move toward the exit. Work in spaces that are 2 sq ft (0.19 m) at a time, and spread the stain evenly over the wood. Make sure there aren’t any puddles forming, and if there are, wipe the excess away with a rag.
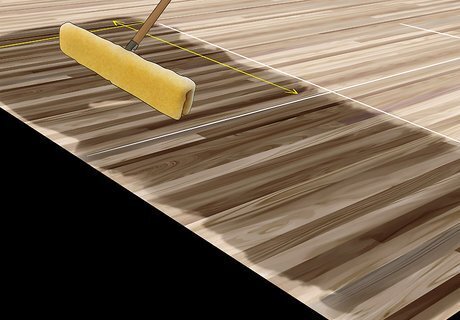
Overlap your next section of stain. While the stain in the first section is still wet, start the next 2 sq ft (0.19 m) section right next to it. Use your applicator to spread the stain over the area, overlapping the edge of the first section by 2–3 inches (5.1–7.6 cm) so you don’t miss any spots and get even color. You can buy wood stain from paint and home improvement stores. Buy a lambswool applicator from a local hardware store or paint shop. Work quickly so the stain doesn’t have time to dry. If the edges of the sections dry before you work on the next section, your floor will look like it has stripes.
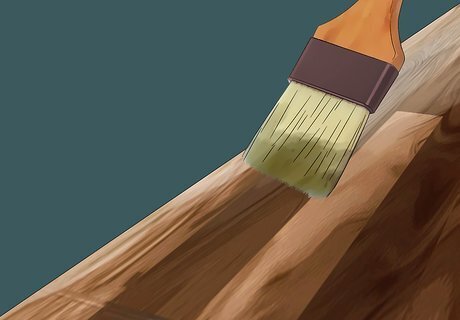
Use a 2 in (5.1 cm) paintbrush to stain the corners. Dip the end of the paintbrush into the stain and apply a thin coat in the corner and along the wall. Follow the grain of your floorboards to help hide any brushstrokes. Make sure to work the stain all the way to corner so you don’t miss any spots. Tip: Work in the corners and baseboards as you make your way around the room. That way, you can blend your edges easily.
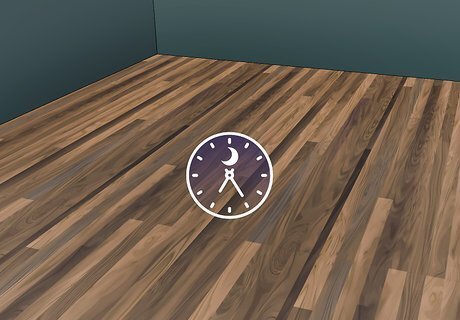
Let the stain dry overnight to see its true color. Your stain might look darker when you first apply it since it hasn’t absorbed into the wood fully. Allow the stain to dry and set completely, which usually takes about 8-12 hours. Once the stain is dry, look at the color to see if you’re happy with it. If you want to stain your floors darker, apply another thin coat of stain.
Applying Polyurethane
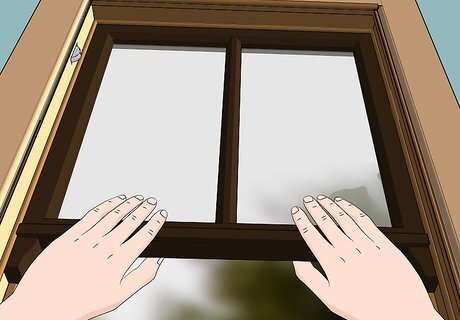
Ventilate the room before you begin. Polyurethane has a very strong odor and it can be overwhelming in a small space. Open as many windows and doors as possible to get proper ventilation. You can also wear a paper face mask to protect yourself from the fumes.

Stir the polyurethane. Take the lid off of the polyurethane can and use a paint stir stick to mix the polyurethane. Don’t shake the can to stir the polyurethane since it could form air bubble and leave an uneven finish on your floors. You can buy polyurethane sealer from your local hardware or home improvement stores.
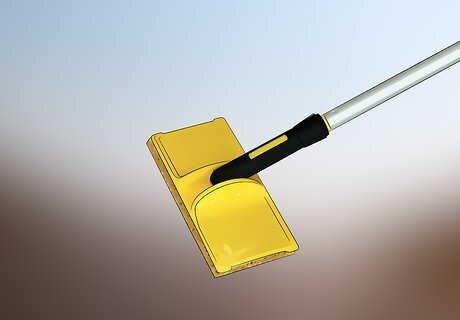
Clean the applicators you’re using for your polyurethane. Use a lambswool stain applicator and a natural-bristle paintbrush to apply the polyurethane. Stick a piece of painter’s tape on the stain applicator to remove any excess fibers so they don’t get stuck in the sealant. Pull out any loose bristles from the paintbrush before using it. You can buy stain applicators from your local hardware store.
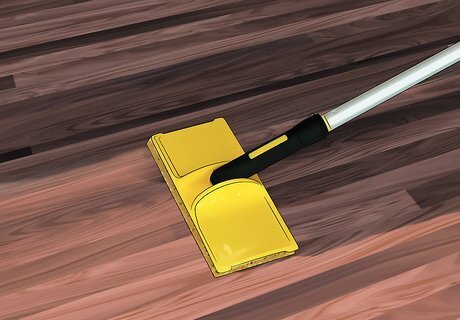
Begin in the far corner of the room with the brush. Starting in the corner farthest from the door, use the brush to apply polyurethane near the wall. Dip the brush into the polyurethane can and gently brush a thin layer about 4 inches (10 cm) into the room from the wall. After you paint a border around the room, use the lambswool applicator to spread the polyurethane. Work backward toward the door so you can easily get out when you’re finished. Make sure you overlap each stroke slightly to get an even finish.
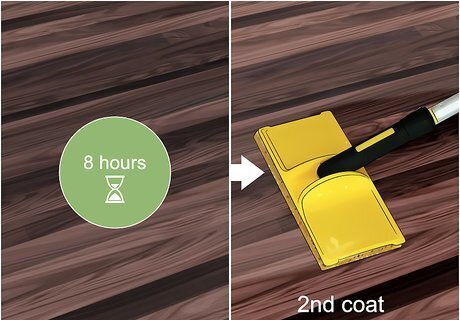
Let the polyurethane dry before applying a second coat. The manufacturer’s instructions should tell you how long to let the polyurethane dry, but it should be anywhere from 8 hours to overnight.
Apply a second coat of the polyurethane and let it dry. Repeat the same process as before for your second coat. Start around the edges of your room and work toward the center. Make sure you get even coverage with the polyurethane so your floor is level. Let the polyurethane dry for 2-3 days before using the room. If the floor feels sticky or tacky, then let it dry for longer.
Refinishing Scratched Floors
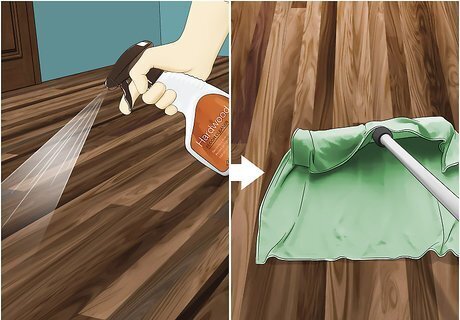
Clear out the room and clean your floors. Make sure you remove all furniture from the room or rooms where you want to refinish the floors. Vacuum the floor to get up any dirt or debris that might be there. Spray a hardwood floor cleaner on the floor and then wipe the floor with a terrycloth mop. You can find hardwood floor cleaner at most home improvement stores. If you can’t find any, you can mix your own with 10 parts water to 1 part white vinegar. If you don’t have a terrycloth mop, you can wrap a towel around your mop head instead.
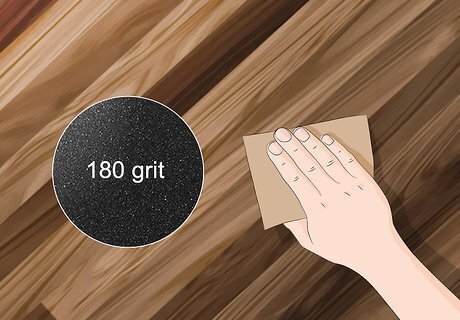
Sand the perimeter of the room using 180-grit sandpaper. Work by hand so you can get closer to the wall than you could with a large sander. Sand 4–6 inches (10–15 cm) into the room from the wall. Keep sanding until the floors look dull and dust forms. The sanded floors will look considerably lighter than the rest of the room since you’ve sanded down past any existing finish.
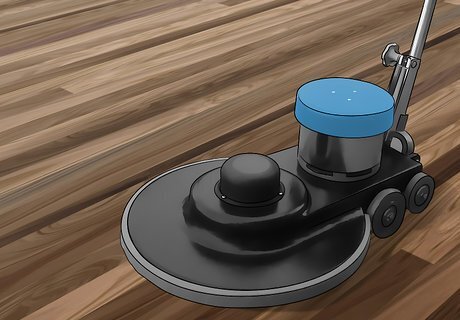
Buff the rest of the room with a buffer. Rent a buffer from a home improvement store so you can use it for the day. Start buffing near the far corner, and follow the grain of the wood floor across the room. As you move down each row, move the buffer side to side to get an even finish. Overlap each row by about 6 inches (15 cm) so you don’t miss any spots. The old finish will turn into a white powder so you can easily see where you’ve worked. Use a maroon buffing pad since it has the correct grit to sand the rest of the floor. Keep the buffer on constantly, but stop every 5 minutes to vacuum the pad. Tilt the buffer up and use a vacuum extension to pull the dust off.
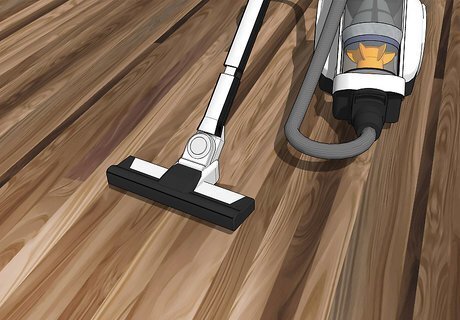
Vacuum the floor. Put a new filter in your vacuum, or clean out the filter if it’s reusable. Attach a felt-bottomed attachment to your vacuum to protect your floors from any damage. Work in the direction of the flooring strips, sweeping the attachment back and forth to suck up all the dust. Then work across the flooring strips to get any dust settled in between them. If you don’t have a felt-bottomed attachment for your vacuum, a brush attachment will also work.
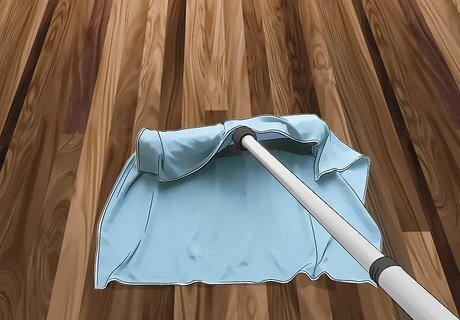
Dry-tack the floor. Wrap a large microfiber cloth around a dry mop or broom, and secure it in place. Push the cloth across the floor in the same direction as the flooring strips to get up the very last of the dust. Work in tight areas along the wall or in corners where dust may easily form.
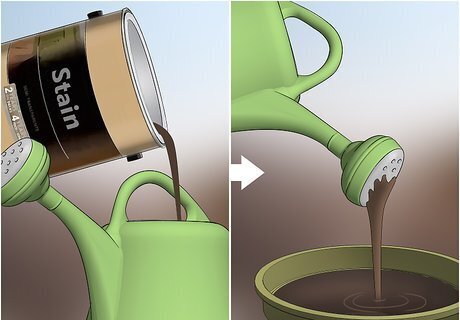
Strain the new finish through an old watering can. Cover your shoes with booties and wear a respirator that has organic vapor canisters to protect your lungs. Pour the stain through a cone filter into a plastic watering can to strain out any contaminants. Pour the stain from the watering can into a small plastic container.
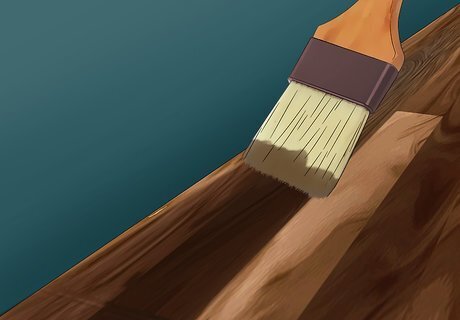
Apply a strip of stain around the edge of your room. Start at the corner farthest from the door so you don’t get stuck when you’re finished applying the stain. Using a 3 in (7.6 cm) paintbrush, apply a strip of stain next to the baseboards that’s about 3 inches (7.6 cm) thick. Get as far as you can around your room in 10 minutes before moving on. This process is known as "cutting in." Working on the edges first makes it easier to work without missing any tight spots.
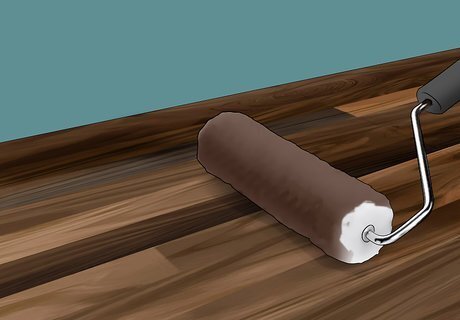
Roll stain onto the rest of the floor. Pour a 1 in (2.5 cm) strip of stain onto the floor next to the strip you just painted on. Use a long-handled roller with a ⁄4 in (0.64 cm) nap cover. Roll the finish out along the grain and then across it, overlapping each pass. Pour as much stain as you can spread in 10 minutes or else your floor may look striped or uneven.
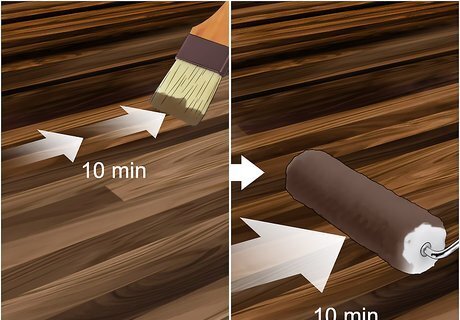
Repeat the cutting in and rolling out procedure every 10 minutes. You’ll need to work with wet stain to ensure that you don’t end up with visible strips on the floor. Once you’ve rolled out finish for 10 minutes, go back to cutting in the edges for 10 minutes. Then roll out stain for 10 minutes, repeating the procedure until you’ve covered the entire floor.
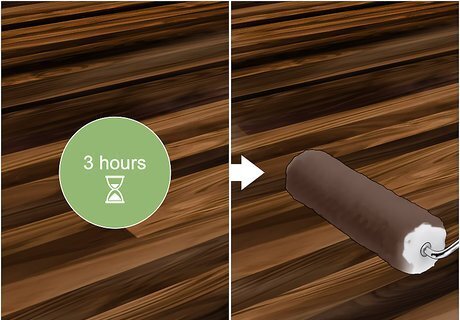
Wait 3 hours to apply a second coat. If you’re looking for a darker stain, you might need to apply more than one coat. Wait 3 hours in between applying each coat of stain so the coat before it has time to dry.
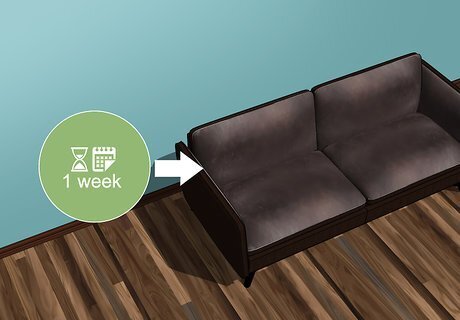
Wait a week to replace furniture. Once you’ve achieved the shade of stain you want, you’ll need to let the floor dry completely. Wait a full week before you replace any furniture or accessories.


Comments
0 comment