views
Making the One-Piece Skirt
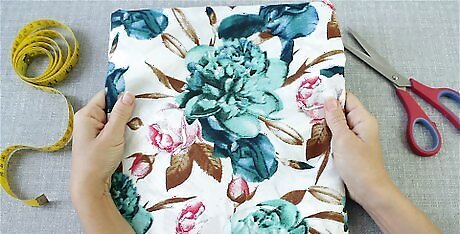
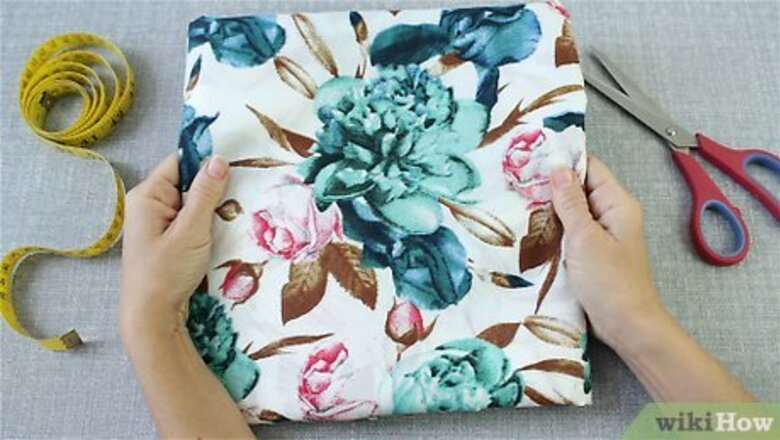
Buy 2 to 3 yards (1.8 to 2.7 m) of fabric for your skirt. One of the great things about sewing your own clothes is that you have total control over the fabric and style. You can make a wrap skirt from almost any type of fabric, but light to medium-weight fabrics will hang better than heavy fabrics like denim or corduroy. The exact amount of fabric you'll need depends on how long you want the skirt to be. Choose a lightweight fabric, such as cotton or chambray if you want a loose skirt to wear during warm temperatures. If this is your first time making a wrap skirt, it's usually a good idea to start with fabric that's a little stiff.
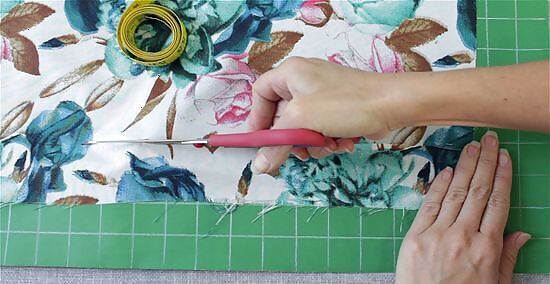
Cut your fabric to a 41 in × 86 in (100 cm × 220 cm) square and fold it in half. To make an easy, one-size-fits-all skirt, spread your fabric out on a flat work surface so the pattern is facing up and cut the fabric so it's 41 inches (100 cm) wide and 86 inches (220 cm) long. Then, take 1 end of the fabric piece and fold it over to the opposite corners so the piece measures 41 by 43 inches (100 cm × 110 cm). Adjust the length if you want to make your wrap skirt longer or shorter. Set the scrap fabric aside since you may be able to use it for the waistband.
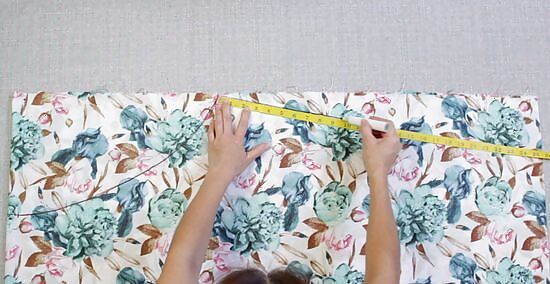
Use tailor's chalk to mark the skirt pattern on the fold of the fabric. Place a ruler in the top corner of your fabric and make a mark that's 9 ⁄2 in (24 cm) down the short side and a mark that's 15 ⁄2 in (39 cm) from the top side. Draw a smooth curve between these 2 points to make the waist. Then, cut a diagonal line from the top mark 4 in (10 cm) down from the selvage side. Make a curved line from this point back down to the bottom of your folded edge.Tip: If you're using a printed pattern that you bought, lay it on the fabric and cut around it using the pattern as a guide. This creates a large half-circle piece of fabric.
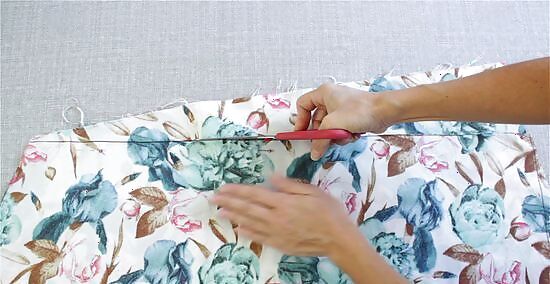
Cut the skirt piece and unfold it. Use a sharp pair of scissors to cut along the 2 curved lines and 1 diagonal line. Remember not to cut along the folded edge or you'll create 2 pieces instead of the single skirt piece. Once you've cut out the piece, lay it open so the wrong side faces up. Discard the fabric scraps or use them for a different project.
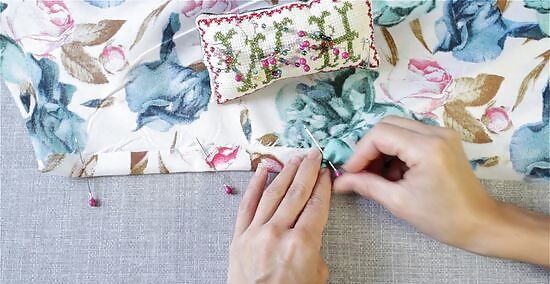
Fold the sides of the skirt by ⁄2 in (1.3 cm) and hem them. Bring the raw edge of each diagonal side over towards the center of the skirt. Pin them in place with sewing pins and take the fabric over to your machine. Straight stitch down each side so your seam is ⁄4 inch (0.64 cm) away from the fold.
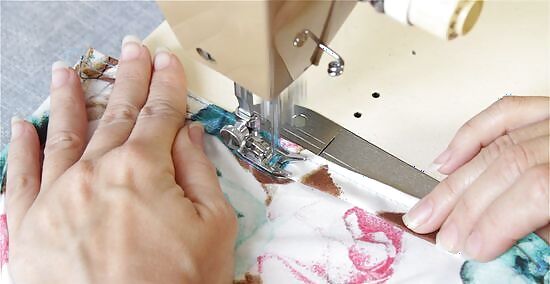
Sew a rolled hem along the bottom curved side of the skirt. To make it easier to hem, keep your fabric wrong side up and straight stitch ⁄2 inch (1.3 cm) away from the raw edge. Once you've sewed across the curved side, fold the fabric over and iron it in place. Then, tuck the raw edge under and press it again. Straight stitch ⁄4 inch (0.64 cm) away from the folded edge to finish the rolled hem. Rolling the hem prevents the curved edge from bunching up as you sew.
Adding an Optional Reversible Side
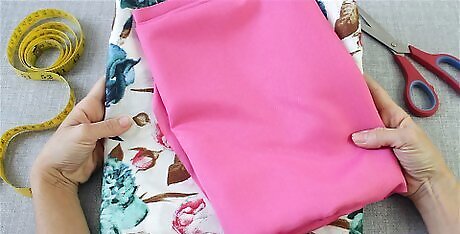
Make an additional skirt piece using a different fabric. This way, you can reverse the skirt for a totally different look! Since the same waistband will be visible, choose a fabric that also compliments the waistband fabric. For example, you might sew a solid blue skirt piece and make a light floral print for the second piece. Both would look great with an ivory or pastel waistband. Skip this method if you don't want to make a reversible wrap skirt.
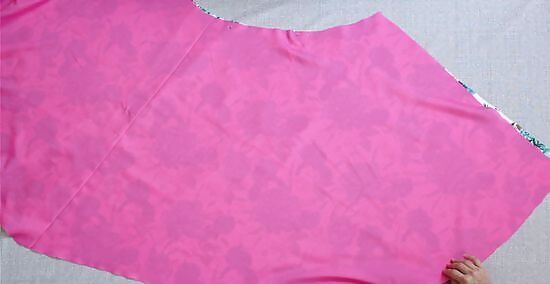
Stack the 2 skirt pieces with the right sides together and pin them in place. Lay 1 of the skirt pieces flat so the pattern or right side faces up. Arrange the other skirt piece so the right side with the pattern faces down. Line up the edges and then insert sewing pins along the sides and bottom so the fabric doesn't slide around.Tip: To give your hem a cute finish, make false piping. Instead of sewing a strip of piping to the hem, just slide 1 of the skirt pieces down by about ⁄8 inch (0.32 cm) so it's visible from that side. Keep in mind that you won't be able to see the false piping on the reverse side.
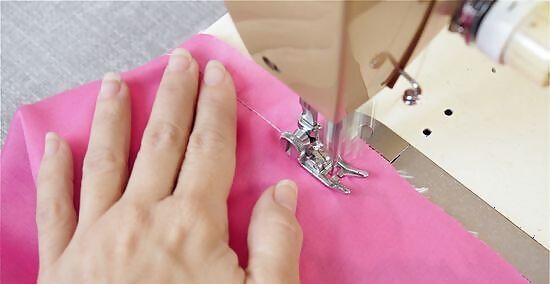
Straight stitch along the sides and bottom edge of the reversible skirt. Take your pinned fabric over the sewing machine and set your machine to straight stitch. Sew from the top of 1 side down to the bottom of the skirt leaving a ⁄2 inch (1.3 cm) seam allowance. Then, stitch across the bottom and up the other side of the skirt. Don't sew across the top of the skirt, which will become the waist, since you'll need to reach in to flip the skirt right side out.
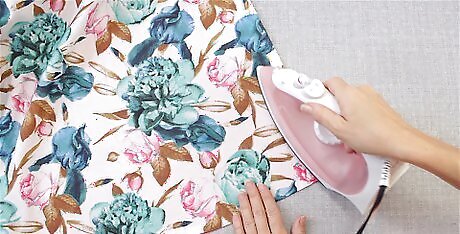
Turn the skirt right side out and iron the edges. Flip the fabric so the right side is visible on both sides of the skirt. Lay the fabric on an ironing board and iron the skirt so it lays flat. Read the care instructions for the fabric you chose so you know what temperature to heat the iron to.
Attaching a Waistband
Cut a strip of fabric so it's 4 ⁄2 by 90 inches (11 by 229 cm) in size. You'll sew the strip to the skirt in order to make a waistband. It's important to make the waistband 90 inches (230 cm) long so you'll have enough fabric to wrap and tie the skirt. If you don't have a piece of fabric that's 90 inches (230 cm) long, you can sew 2 shorter pieces together. This creates a waistband that's about 1 ⁄4 inches (4.4 cm) wide. If you'd like a wider waistband, cut the fabric strip so it's 6 inches (15 cm) wide. You want the waistband to be about 2.5-3 times your waist measurement.
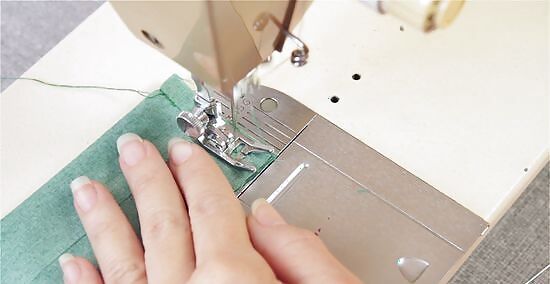
Fold the waistband in half so the wrong side faces up and sew the short ends. Lay the waistband flat and fold it in half so it's about 2 ⁄4 inches (5.7 cm) wide. Line up the corners and sides so they're even and then insert sewing pins through both layers of fabric at the ends. Straight stitch down each short end leaving a ⁄2 inch (1.3 cm) seam allowance. You can trim away the excess fabric from the ends so the waistband doesn't feel bulky. Just don't cut into your stitches or they'll unravel.
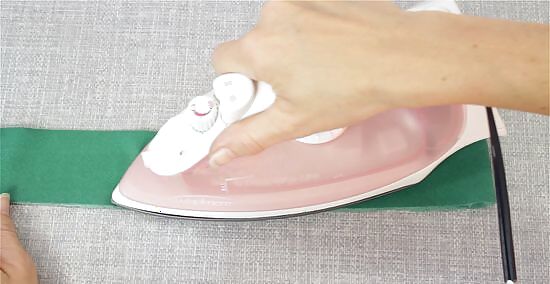
Turn the waistband right side out and iron it in place. Now that you've secured the ends, flip the waistband fabric so the pattern faces out and you can't see the seam you just sewed. Then, fold the waistband in half lengthwise and iron it to make it lay flat. Read the care label for the fabric you bought so you know what temperature to heat the iron to.
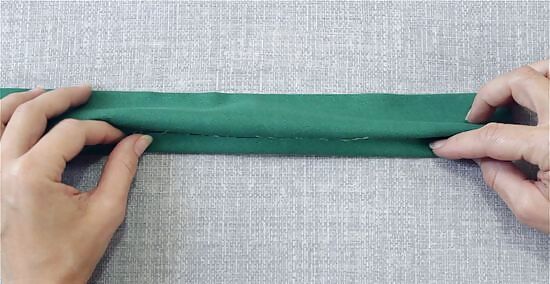
Fold the raw edges under by ⁄2 in (1.3 cm) and lay the waistband on the skirt waist. Tuck the raw edges of the waistband under so they won't come unraveled. Then, find the center of the waistband and line it up on the center of the skirt waist. By sewing the waistband to the skirt waist, you'll be finishing the raw edges of both pieces at the same time.
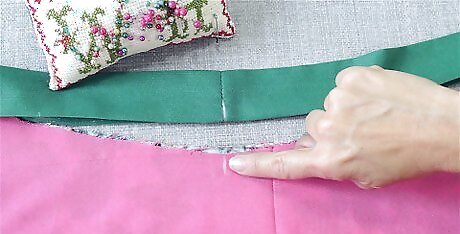
Slide the raw edge of the skirt into the waistband and pin it in place. Once you've lined up the waistband, carefully insert the raw edge of the skirt waist into the center of the waistband. Then, push sewing pins through the fabric pieces to prevent them from slipping. Check the waistband ends to ensure they're the same length. If they aren't, unpin the middle of the waistband and move it so the ends are equal.

Sew straight along the entire waistband to finish it and secure it to the skirt. Make a straight topstitch from 1 end of the waistband all the way to the opposite end. Sew about ⁄4 inch (0.64 cm) from the folded edge of the waistband.Variation: For an extra-sturdy way of fastening the waistband, create a buttonhole about 1/3 of the way from the center of the waistband. Then, sew the button on the other side of the waistband where it meets the side of the skirt. Now, you can button the waistband before tying the ends in place. Since you're topstitching the waistband, choose a thread color that blends in or compliments your fabric. For example, if you have a blue waistband, choose matching blue thread or a pretty ivory color that stands out, but works with your fabric.


Comments
0 comment