
views
- Check your apartment’s lease to see if you’re allowed to install a shower filter.
- Choose an inline or all-in-one shower filter that uses KDF filtration and is certified by the National Sanitation Foundation (NSF).
- Install the filter by removing your shower head and wrapping plumber’s tape around the pipe threads. Flush the filter with water then screw it onto the pipe.
- Shower filters remove chlorine from water to help hydrate your skin and hair.
Choosing a Shower Filter
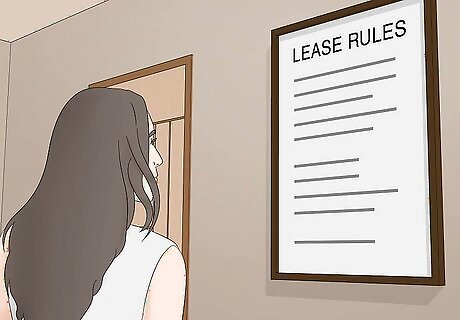
Check your lease to confirm you're allowed to install a shower filter. Before you go out and buy a shower filter, check that you’re not violating your lease by adding one to your shower. Simply find your lease’s rules about making small repairs. If you can’t find any specific rules, reach out to your landlord directly to make sure it’s okay.
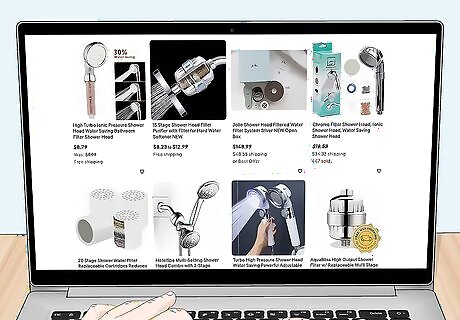
Buy an inline filter or an all-in-one filter. Shower filters come in 2 main styles: inline and all-in-one. Inline filters are an attachment that you install behind your shower head. It works by filtering the water before it reaches the shower head. All-in-one filters have a filter built into the shower head itself. Both options are easy to install and cost around $20-60. So, simply decide if you want a new shower head along with your filter.
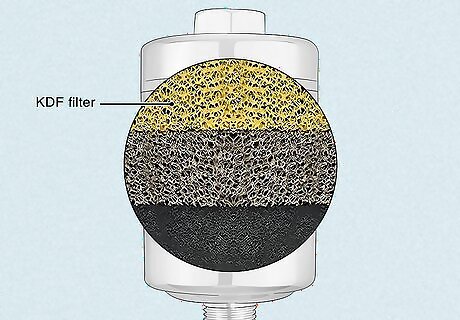
Select a filter with a KDF filtration system certified by the NSF. Shower filters use several different processes to filter out chemicals and minerals like chlorine. While charcoal and Vitamin C filters can be effective, KDF (kinetic degradation fluxion) filters are typically the best on the market. Just make sure your filter of choice is certified for use by the NSF, or National Sanitation Foundation. KDF filters are made with copper and zinc. These metals transform chlorine into a chloride, which is less damaging to your skin and hair. They also help kill bacteria.
Installing a Shower Filter
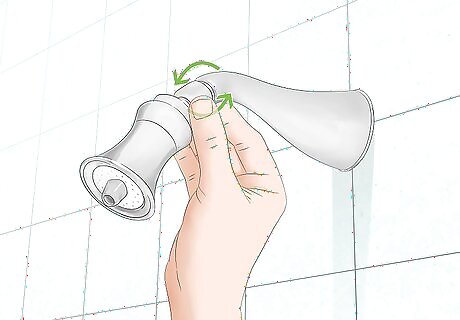
Unscrew your shower head from the pipe counterclockwise. Use your hands to rotate your shower head to the left and off of the shower head pipe arm. Once it's fully removed, set it to the side in a safe location. If the shower head is on too tight to loosen it with your hands, wrap a rag around the pipe. Then, use channel-lock pliers to turn the shower head counterclockwise.
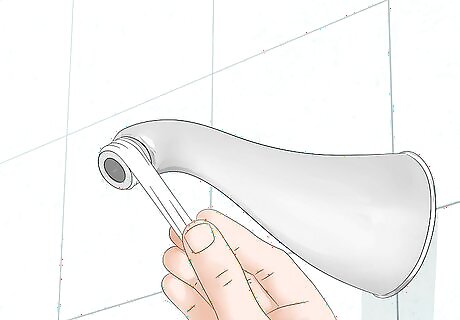
Wrap the exposed pipe threads with plumber’s tape or teflon tape. Plumber’s tape helps prevent leaks by giving your filter and shower head a tighter seal around the pipe. Simply clean the threads with a wet cloth or brush to remove any dirt or debris. Then, wrap the tape around the threads about 3 to 6 times to ensure you have a good seal. If there is already tape on the threads, remove it and add fresh tape. Optionally, wrap the threads on your shower filter with plumber’s tape, too.
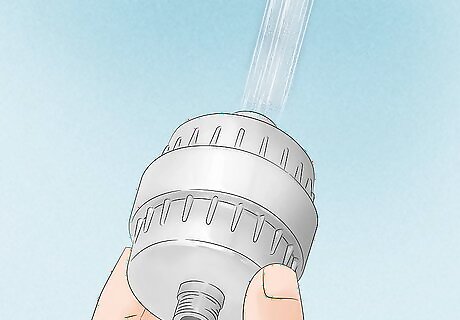
Flush the filter with water for 5 minutes. Running water through the filter activates the filter cartridge and removes any buildup inside. Just read your filter’s instructions to find out what temperature water to use, as some companies recommend using hot, cold, or lukewarm water. For inline filters: flush with water after you install the filter on the shower pipe. For all-in-one filters: flush the filter with water in the sink before you attach it to the pipe.
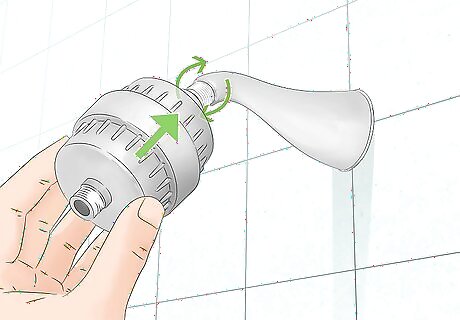
Screw the filter clockwise onto the pipe. Place the filter on the pipe and use your hands to rotate it to the right. Tighten the filter all the way so that it is fully snug against the pipe. If you’re having trouble tightening the filter all the way, use a channel-lock plier to screw it on the pipe.
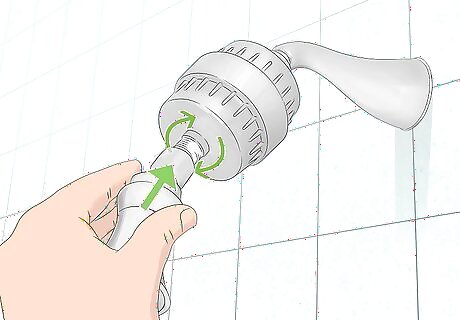
Attach your shower head if you’re installing an inline filter. If you’re not replacing your shower head with an all-in-one shower filter, screw your shower head onto the exposed threads of the inline filter. Simply use your hands to turn it clockwise over the threads and tighten it to the filter.
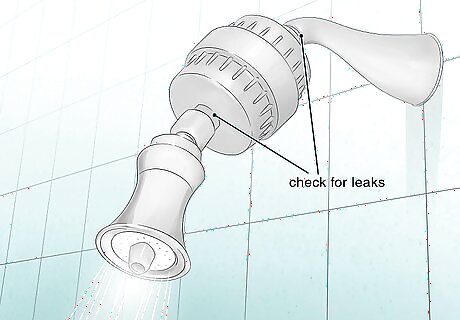
Turn on the shower and check for leaks along the pipe and filter. To make sure your filter is tightly attached to the pipe, start your shower. Look for running water where the filter screws into the pipe. If you find any leaks, turn off the water and tighten the filter. Keep testing the water until you see no more leaks. For inline filters, look for leaks where the shower head screws into the filter, too.
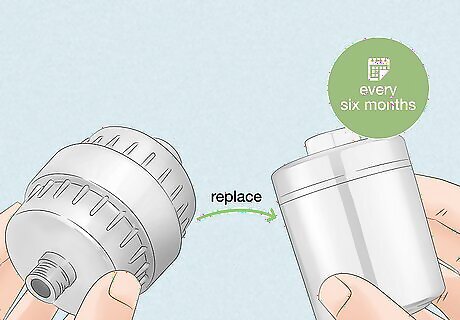
Change your filter cartridge every 6 months. Generally, most inline and all-in-one filters last about 6 months. Fortunately, most companies make replaceable filter cartridges. Simply unscrew the top part of the filter from the part attached to the pipe by rotating it counterclockwise. Then, remove the old filter. Pop in a new one, attach the pieces back together, and you’re good to go! If you’re using an inline filter, it might be easier to remove your shower head and then take apart the filter.
What are the benefits of using a shower head filter?
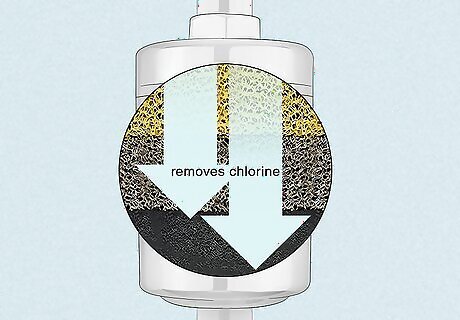
Shower filters can add moisture back to your skin and hair. The biggest benefit of shower filters is that they remove chlorine from water. This mineral is typically found in hard water and is responsible for leaving your hair and skin dry after a shower. Adding a shower filter can rehydrate your rough dry skin and frizzy, brittle hair, returning them back to their former selves. Filters that use KDF filtration typically also remove hard metals like iron and copper from water, leaving your skin and hair feeling cleaner and smoother. Some shower filters also balance the pH of your water, making it less harsh on your skin and hair.
Do shower head filters help with hard water?
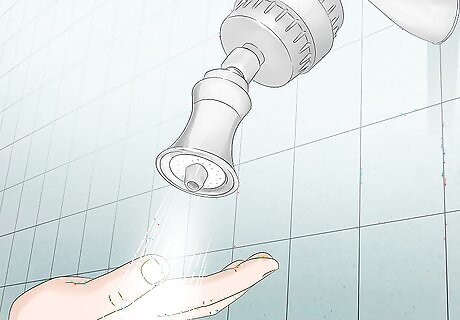
Shower filters help reduce hard water, but don’t replace water softeners. Some areas have hard water, which is water rich in compounds like calcium and magnesium. While these minerals aren’t harmful, they often make your hair feel dry and leave lots of limescale buildup around your shower head. While shower filters can’t treat hard water like a water softener can, they can filter out some of the chemicals like chlorine, which reduces the drying effects of hard water. Unfortunately, installing a water softener isn’t feasible when you’re renting an apartment. These systems are attached to a building’s main water line. Of course, it’s always an option to ask your landlord if they’ll consider getting a softener installed. If you think you have hard water, test it to make sure. Fill up a clear bottle with water and add several drops of dish soap. Then, shake up the bottle. If very few suds form, your water is likely hard.


Comments
0 comment