views
Getting To The Island
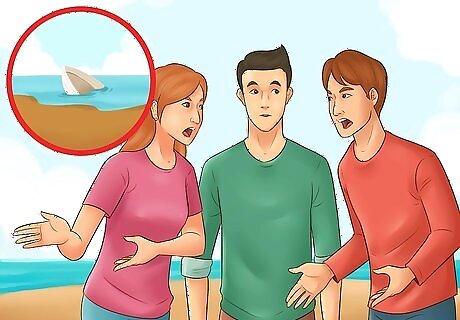
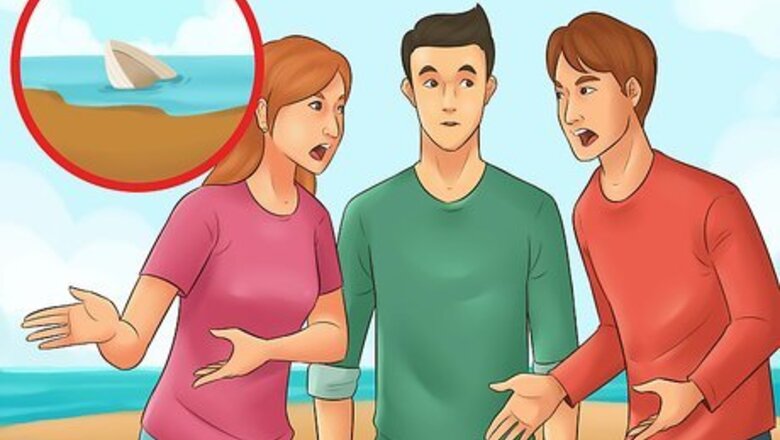
Look for others. If your plane or boat has failed at sea, the first thing you will want to do is look for survivors. There may be others who are injured and in need of help. Try to gather up as many survivors as you can and help the injured to shore. Having others with you can help make the situation more bearable, psychologically. Surviving with others means that you won't have to do all the work yourself. Other survivors may have skills or knowledge that can be of great benefit while surviving on the island.
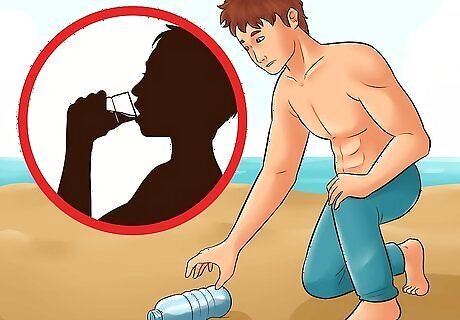
Scavenge anything you can. Before you head to shore, it can be a good idea to gather up any supplies or materials near you. There may be useful items floating on the waters surface that will help you survive and await rescue. Try to look for anything you can use before heading to shore. Sheets of plastic can be used to build water stills. Cloth, fabric, or clothing can be dried and used later on. Grabbing up any bottled water or other containers can help keep you hydrated on the island. It's still possible to survive on the island, even if you have nothing with you. Grab whatever you can. Even things you would normally consider to be junk might have a use.
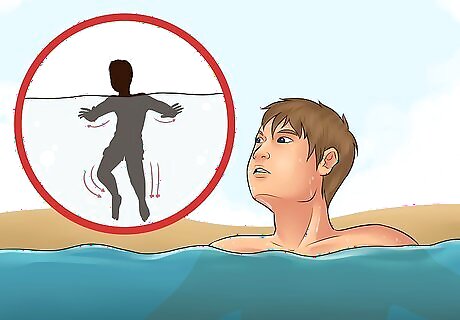
Swim to shore. Once you've collected others who need help and have gathered up any useful things you can, it's time to swim towards land. After you arrive at the island, you can get started assessing your situation and setting yourself up for survival. You can tread water by moving your arms out to the sides and pulling them back in, meeting in front of your chest. At the same time, bring one leg up towards your body and kick the other down. Switch which leg you bring up and kick down to help keep you floating. You can also try a swim-float-swim technique, where you swim and then roll and float on your back. Watch out for any strong currents that you can see. Try to avoid swimming into these, as they can sweep you back out to sea. Be careful when approaching the island. Look for any large rocks or rough coast lines before swimming to shore. You can float in water by laying on your back and keeping your lungs full. Use your hands and arms to steer the direction of your float. Survival floats involve facing down, with your face in the water. Relax your body and hold your breath as you easily float on the water. When you need a breath, just raise your head up and get some air.
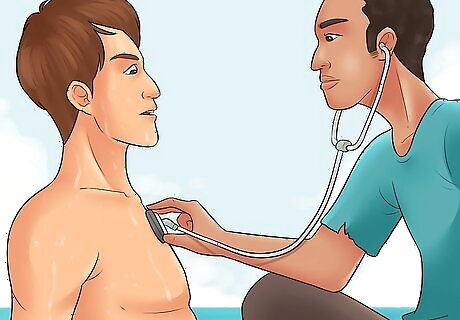
Delegate survival tasks. If you've made it to the island with other survivors, it can be a good idea to figure out what everyone is skilled at. If other survivors have specific skill sets, they should handle relevant tasks on the island. Even if no one has a set of special skills, survival tasks can still be delegated to make things easier on everyone. For example, if someone is a doctor, they should get to work treating injuries. Even without special skill sets, you can still assign basic tasks. For instance, someone might be in charge of getting a fire started while another person looks for water. If you are alone and able, start looking for water before doing anything else.
Taking Immediate Actions
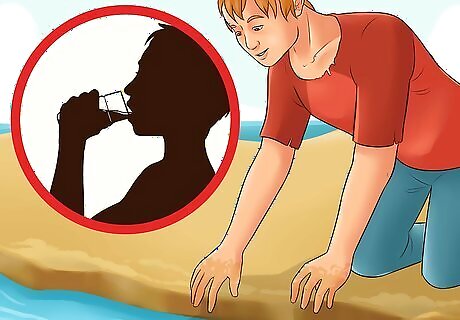
Find drinkable water. The very first thing you will want to do is find a drinkable source of water. Water is critical when maintaining health and surviving. Dehydration can kill a person very quickly, sometimes in as little as three days. For this reason, it's important that you quickly locate water that is safe to drink. Keep some of these ideas in mind while locating drinking water on the island: Streams or rivers will usually have fresh water in them. Keep in mind that although there is no salt in this water, it may still contain parasites or diseases. It's always a good idea to boil water you plan on drinking. Do not drink salt water. Salt water will only cause further dehydration and health issues. If there is no water available, you may need to build a water still. You can drink rain or dew that has been collected in leaves. If you find plants, there is a good chance that water is nearby. Try looking ahead for a pool of water or digging down into the ground to find the source of water. Some thicker vines can be cut open to reveal water. Most water carrying vines will look thick and wooden. Cut a vine open and examine the water. If it looks milky or discolored, don't drink it. Many foods contain water. If you find something like a coconut or fruit, you can enjoy the meal and get some hydration.
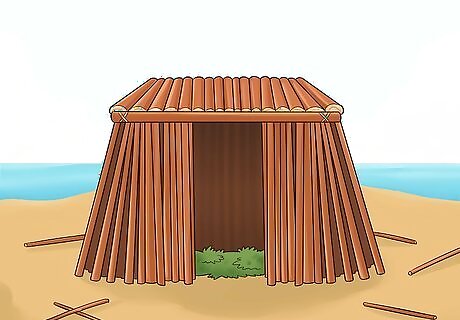
Create a shelter. Shelters are vital when it comes to keeping you safe and out of the elements. Shelters can also give you a place to rest and recover while you consider your next moves. There are many different types of shelters you can build. The natural material found on the island will dictate what kind of shelter you can create. As an example, you may try to create a simple lean-to shelter, using these steps: Find a long and solid stick or branch. This log should be longer than you are tall. Lean this log up against a tree. The log will be your roof line, so find an angle that works for your height. Lay smaller branches or sticks over the main branch. These sticks should go down the length of the main log and will be placed at 45 degree angles. Cover these smaller sticks with branches and leaves to create the walls of your shelter. You might also want to put leaves or other plant matter on the inside floor of the shelter to create a bed.
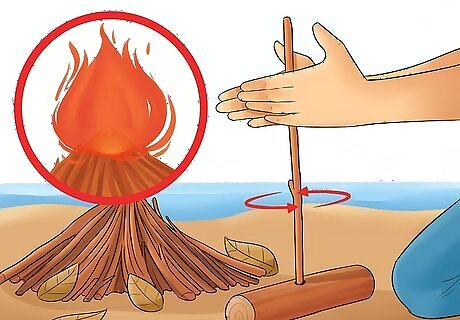
Build a fire. After you've found water and built a shelter, it's time to keep warm and cozy. Building a fire can be done without any tools. All you will need is some natural material and a fire-starting technique. There are many techniques that you can use to actually start the fire. As an example, take a look at these steps to get an idea of how you can start a fire without tools: Find small pieces of wood, tinder, dry leaves or twigs and arrange them in a small tepee. Having good tinder is important. Try using dry grass, pine resin, birch tree bark or any other dry material that will easily take a flame. Locate a length of soft wood. Ideally this will have a small groove in it already. However, you could also make a grove by cutting the wood with a sharp stone. Find a hardwood stick and gather your tinder together. Put the tinder in the groove. Rub the hardwood stick up and down the groove quickly to create friction. Eventually the tinder will ignite. Place this tinder in your small kindling tepee to start the fire. Add larger pieces of wood to build the fire higher.
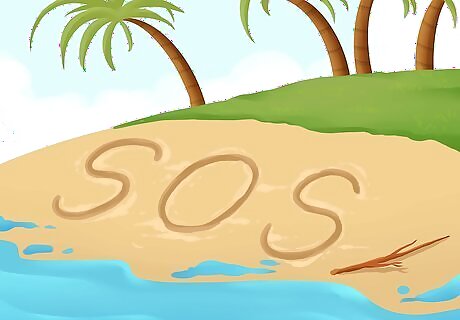
Create a rescue signal. If you hope to be rescued, it's a good idea to leave rescuers with a signal. The signal you create will help search parties find your location and get you home more quickly than you would otherwise. You might try making some of these rescue signals to make you more visible: Burning damp or wet wood can produce a lot of smoke. Tree fires or flares arranged in a triangle is also recognized internationally as a distress signal. Piling large rocks on the beach can be effective. Try to spell out S.O.S. or HELP with them. You can also spell messages by drawing in the sand or using large sticks to spell the message out. If you move locations, use stones to draw an arrow on the ground, indicating which direction you went.
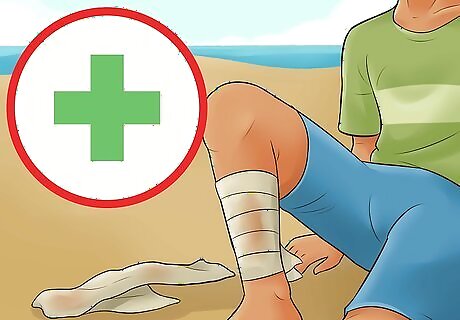
Take care of first aid. Although you might not have any supplies handy, you can still do some very basic first aid if needed. It's important that you take care of any injuries as best you can to avoid them worsening or threatening your chances of survival. Take a look at some of these basic first aid techniques you can use while surviving on your deserted island. For cuts, hold the wound together by pinching the sides of it together. You can use a bit of cloth as a bandage. Lie down and elevate the wound above heart level. Treat shock by laying down, keeping quiet and staying warm. Handle hypothermia by first getting out of the wind, rain, or snow. Remove any wet clothes, and change into dry clothes if you have them. Get warm by drinking heated water and staying near a fire.
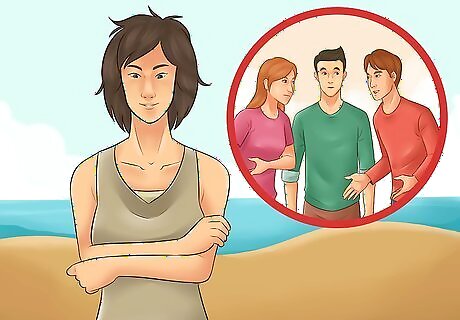
Focus on survival. Although you may have taken care of the basics of survival, you'll need to make sure you are focused, collected and in the right mindset. If you're not in the right frame of mind, survival can become a lot more difficult and dangerous. Try to focus your thoughts and attitudes towards useful survival mindsets to help make your time on the island easier. Be realistic about your situation. If there are serious problems, accept and address them. Try to stay positive. Even if you're faced with a tough situation, staying positive can help keep you motivated and alert to new solutions. Remind yourself that your life is at risk. You can't afford to be careless or unaware when surviving. Panic can cause you to act in nonsensical and dangerous ways. Always try to avoid giving into fear or a sense of panic.
Surviving Until Rescued
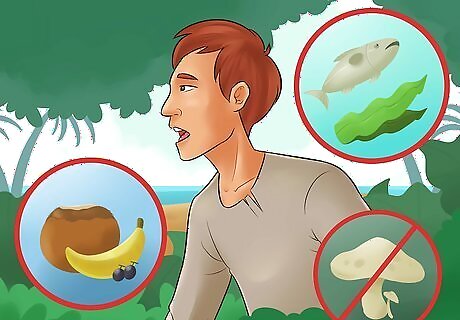
Find food. Once you've taken care of the immediate survival needs, you can focus on other important aspects. Locating, obtaining, and preparing food is one of these critical survival needs. Although you can survive for a while without food, eating will help keep your energy levels up and increase your chances of survival overall. When looking for food, keep these tips in mind: There will likely be fish that you can eat in the shallow water around the island. Making a simple spear out of a sharp stick can allow you to go spear-fishing. There may be edible fruit around the island. Try looking for bananas or coconuts to eat. You can usually eat seaweed if you find it growing nearby. Make sure you find it growing in the island shallows or tidal pools. Seaweed that has drifted to the island may be dangerous to eat. You should cook any food that you find to reduce the chances of eating a parasite or contracting a disease. If you aren't sure if something is poisonous, start by rubbing the food on your hand. If you don't get a rash or reaction, try rubbing it on your lips. If you don't notice anything, try holding it in your mouth for a few minutes before removing it. If you don't feel ill, you can try to eat it. Check out this guide to learn more about testing potentially poisonous plants.
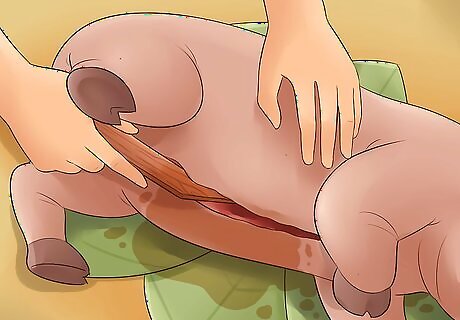
Preparing meat. If you've successfully hunted an animal, you'll want to properly prepare it before eating it. Although animals are a good source of nutrition, they can also carry diseases and can become inedible if improperly prepared. Take a look at some of these basic steps when preparing an animal to eat: Remove the skin or hide from the animal. Make sure the entire hide has been removed before proceeding. Take out the entrails. Carefully remove the organs from both the chest and stomach of the animal. Take special care with the digestive tract and bladder, as these can pose health risks if spilled. You can save and eat the heart and liver. You can roast or boil the meat, once it has been cleaned and prepared.
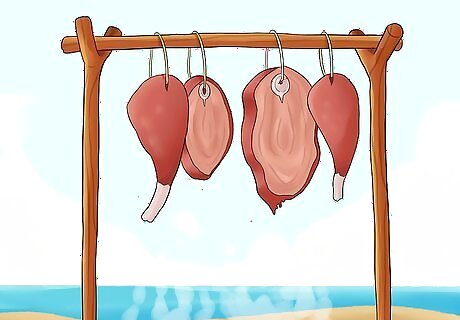
Preserve any meat that you've prepared. Once you've collected some meat, you'll need to either eat it quickly or preserve it. Meat will spoil fast if left untreated, so it's helpful to have a preservation method ready to go. Look over some of these basic ideas to learn how you could preserve any meat that you've found: Smoking the meat can help it last for a few weeks. You'll need to cover a small fire in a blanket or sheet to trap the smoke. Above the fire, hang the meat on sticks and leave them there in the smoke for around 2 days. You can dry meat by cutting it into thin slices and leaving it on a drying rack in the sun. You'll need to make sure animals and insects stay away from the meat while it is drying. It should be fully dry and crisp before you eat it. If you are on an island with snow or cold temperatures, freezing the meat can be an option. Even though it will be frozen, you will still need to cook it before eating.
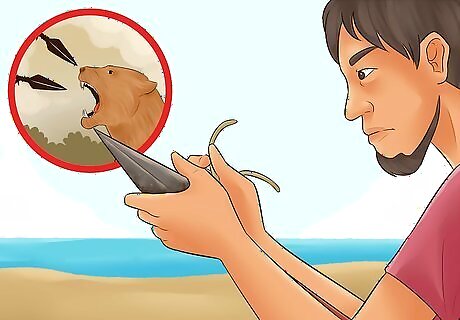
Think of defense. There may be dangerous predators sharing the island with you. Because of this possibility, you will need to think about defending yourself. Avoiding a conflict is the best course of action. However, you may also want to create some basic self defense items as well. Making a basic spear out of a sharpened stick can be an easy way to defend yourself. Stay out of deep waters to avoid encounters with sharks. Avoid going into any caves as they may be an animal den. Stay away from any snakes or insects that you might encounter, as many could be venomous or poisonous.
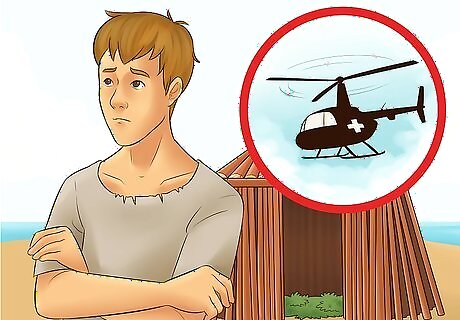
Wait for help. Often times, the safest course of action you can take is to stay put and wait for rescue. After you've set up your basic survival camp and shelters, maintain your rescue signals and focus on taking care of yourself. Staying in one place can reduce the danger of travel on an unknown island and increase the likelihood of rescuers narrowing your location down. Try to stay in whichever place you decided to build your survival camp. Moving around the island can increase your chances of getting lost or injured. If you keep moving your camp, you will likely be more difficult to find.

Keep calm and pass the time. While you will likely be very busy trying to survive on the island, it's also important to get some rest and relax. Taking a break can help you feel refreshed and ready for whatever comes next. Finding things to do in your free time can also help keep your outlook positive and make survival a bit more comfortable than it would be otherwise. If you're feeling lonely, try singing, dancing, or daydreaming. Being too tired can cause you to get careless. You need to stay as alert and focused as you can. It's okay to be afraid. However, don't let your fear stop you from doing what you must to survive. Think about your upcoming plans. Ask yourself what you can improve about your situation and how you might do it.
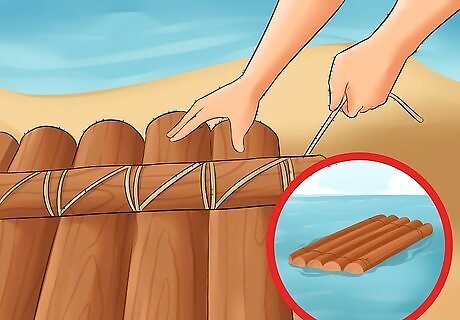
Consider building a raft. If the island is too harsh to survive on, you may need to create a raft and attempt to leave. You may also consider leaving the island if you think your rescuers believe you have died. However, sailing on a raft can be extremely dangerous and should be used only as a last resort. Try using these steps to build a simple raft, allowing you to self-rescue if need be. Find some larger logs to act as the base of the raft. Find many smaller logs to act as the braces and platform of the raft. If possible, try cutting small notches into the base logs for your support branches to fit inside of. Tie the smaller branches on top of the larger logs with vines. Make sure you loop the vines over and under each log before tying them off. Once the raft is complete, test in shallow waters before venturing further out. Bring extra logs and vines to make repairs if needed.


Comments
0 comment