
Preparation

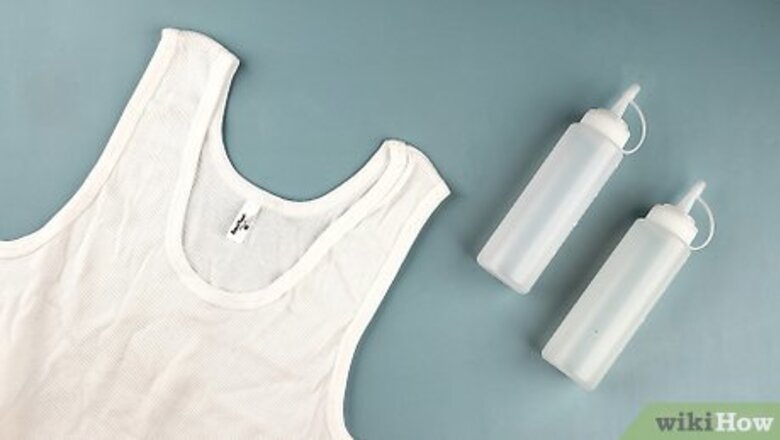
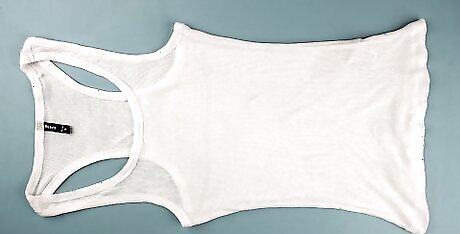
Pick up a tie dye kit and grab a clean, white T-shirt. Purchase a tie dye kit that contains your preferred dye colors, applicator bottles, gloves, and dye fixer. Grab a clean, white T-shirt to dye. If the shirt is brand new, pre-wash it to remove any oils or chemicals that may interfere with the dye. You can make your own tie dye if you’re feeling especially crafty, or use Kool Aid if you prefer. Shirts that are 100% cotton will work best. You can dye synthetic materials if you’d like, but the result will be kind of washed out. You can purchase everything you’ll need separately if you really want, but the dye kits make this a lot easier.
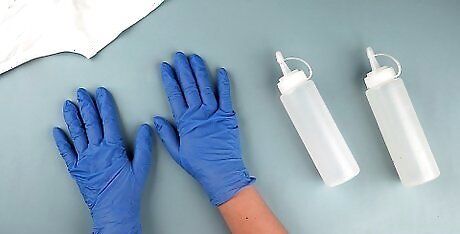
Put on gloves and an apron to keep the dye off of you. This is going to get messy, so throw on some rubber gloves. Put on some clothing you don’t mind getting dye on, and throw an apron on over it. This will keep you from making a mess or getting dye on your hands. Don’t touch your hair or scratch your head while you’re doing this. You may accidentally end up dyeing your hair if you do!
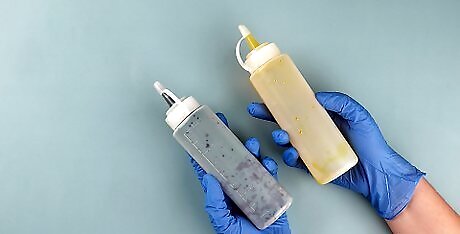
Follow the dye kit’s instructions to mix your dye bottles. If your dyes don’t come pre-mixed, follow the dye kit’s instructions to mix each color with water in a different squeeze bottle. Shake each container up to combine any separated ingredients. You can use any number of colors to dye a shirt, but 2-4 colors tends to be the most popular option. You can use colors that are close to another on the color wheel, like blue, purple and green, for a more uniform look. Alternatively, you could pick radically different colors, like red, yellow, and blue, for a brighter, more vibrant look.
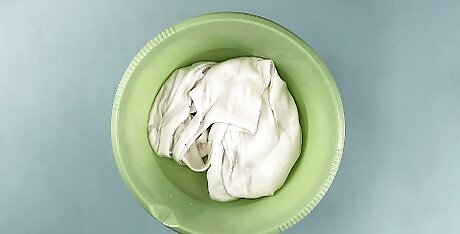
Soak your shirt in water or soda ash per the dye kit’s instructions. You typically have to pre-soak your T-shirt so that the dyes stick to the fabric and don’t fade. For some kits, you only need to soak the shirt in water. If you have soda ash in your kit, mix it with water and soak the shirt in that. Let the shirt soak for a minute or two and then wring the excess water out. If your dye kit doesn’t contain soda ash but it mentions “dye fixer,” you’re all good—they’re the same thing. The soda ash raises the pH level of the shirt, making it less acidic. This makes it easier for the dye to bind to the shirt’s fabric.
Spread your shirt over a few layers of plastic or newspaper. Lay out a plastic sheet, some newspaper, or a disposable tablecloth. This will protect your surface while you work. Lay your lightly damp T-shirt out over your working surface. Your shirt should be damp, but not soaking wet and dripping with water.
Patterns
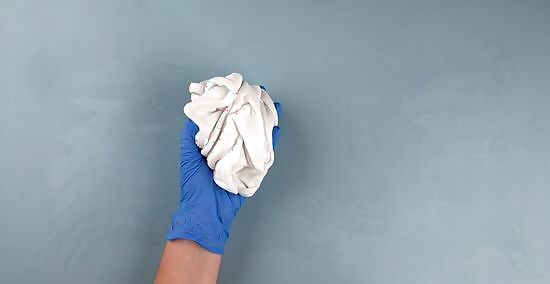
Bundle the shirt up randomly for a crumpled look. Using both hands, randomly pull the corners of the shirt towards the center of the shirt. Push the shirt into a big, central lump so that it’s compressed and squeezed together. Then, wrap 3-5 rubber bands around the shirt to keep it bundled up. The more rubber bands you use, the whiter the shirt will be.

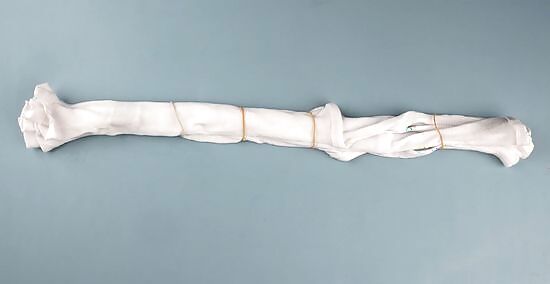
Twist the fabric in the center to make spirals. Spread the shirt out flat and pinch the center of the fabric. Choose a direction—either clockwise or counterclockwise—and begin twisting the shirt repeatedly. Then, wrap 4 rubber bands around the shirt. Place each band equidistant from one another so that they overlap in the center of the T-shirt. Straighten out any wrinkles or messy portions of the fabric as you’re twisting the shirt to keep it flat against the table underneath.
Fold the shirt like an accordion to create stripes. Lay the shirt flat and turn it sideways so the neck is pointing to the side. Fold the bottom 1/8 of the shirt up. Fold the next 1/8 of the shirt the other direction. Repeat this until the shirt is bundled up and wrap 4-8 rubber bands around the shirt in parallel rows. This will create horizontal stripes. If you want vertical stripes, fold the shirt starting from the bottom and work up to the neck. The number of rubber bands you use will determine the number of stripes on the shirt.
Dye Application
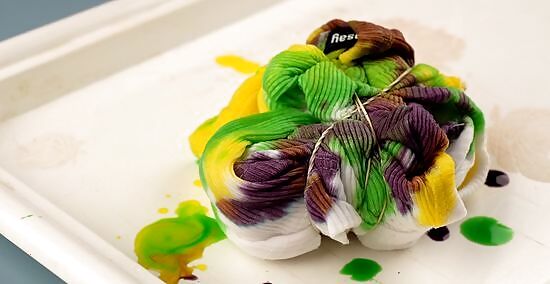
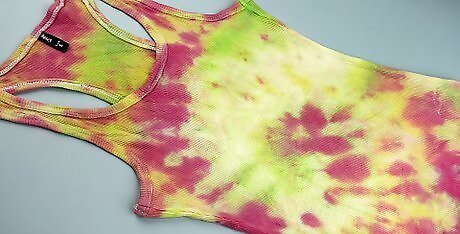
Apply your dyes to the shirt using the applicator bottles. You can apply the dyes randomly for a more chaotic, vibrant look, or dye sections of each shirt with a specific color to create a more cohesive look. Once you soak one side of the shirt, flip it over and soak the other side. If you’re going for the cleaner look, use the same colors on the opposite side that you used on the front. The dye should be soaked all the way through the T-shirt on both sides. For the crumpled look, apply the dye as randomly as you possibly can if you want a cleaner look. With the spirals, you may want to apply 3 colors in alternating sections to give the spirals a vibrant style. If you’re doing stripes, you can go for the random dye application or use different colors for each section.
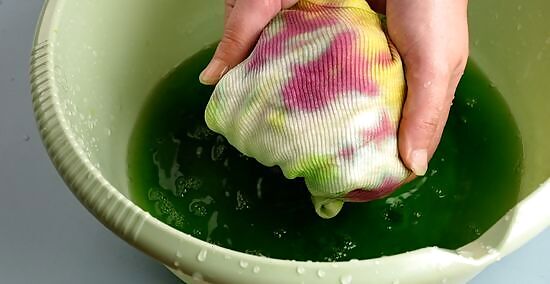
Rinse the shirt in cool water and take the rubber bands off. Put rubber gloves on and take your shirt to the sink. Run the cold water and hold the shirt underneath it. Squeeze and wring the shirt repeatedly to remove the excess dye. Once the water runs clear, use scissors to clip the rubber bands off or pull them off by hand. It may take a minute to wring out all of the excess dye, so don’t rush it! Don’t freak out if you see super colorful water. It’s extra dye—you aren’t actually removing anything from the shirt.
Wash and dry the shirt to permanently affix the colors. Launder your shirt on its own using hot water and the highest heat you can use for the fabric. Washing and drying the shirt will remove the trace amounts of dye and cure the colors permanently to the shirt. You can now enjoy your tie dyed T-shirt! If you wash your shirt with other clothes, they may accidentally change colors. Launder your T-shirt separately for the first 3-5 washes just to make sure that you don’t ruin any of your other clothes.


Comments
0 comment