
views
Opening Paint

Open Start Windows Start. Click the Windows logo in the bottom-left corner of the screen.
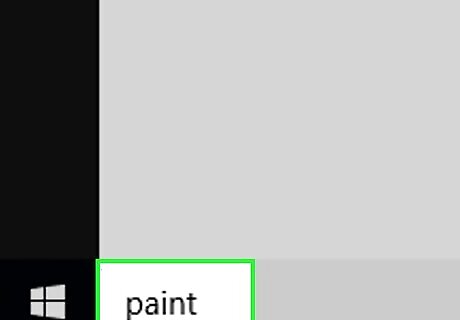
Type in paint. This will search your computer for the Paint program.
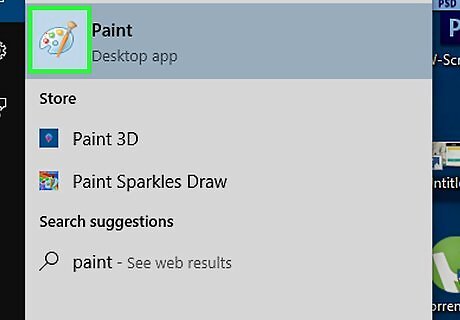
Look for the Paint app icon. In the Start menu, look for the Paint app icon, which resembles a paint palette with paint on it.
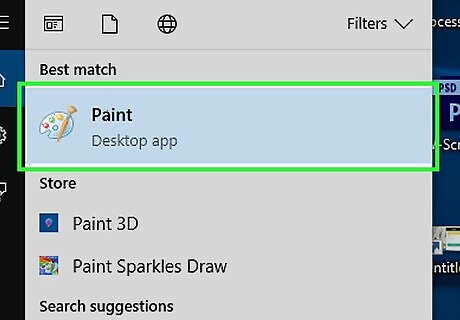
Click Paint. It's next to the Paint app icon. Doing so will open a new Paint window.
Drawing and Erasing
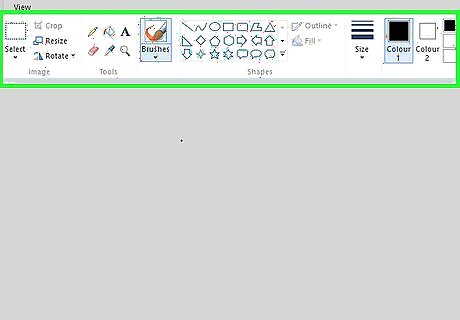
Review the toolbar. The toolbar, which is at the top of the Paint window, is where you'll find all of the options used to interact with the Paint canvas.
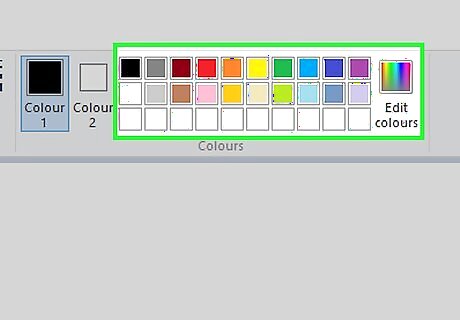
Select a primary color. Click any color in the palette that's in the top-right side of the Paint window to apply it to the "Color 1" box. This is the color that you'll use when using the left mouse button on the canvas. You can create a custom color by clicking Edit colors in the upper-right corner of the window, selecting a color and shade you want to use in the color wheel, and clicking OK.
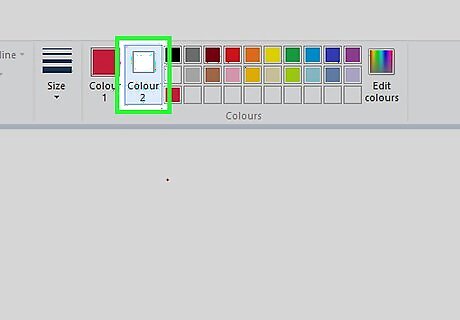
Select a secondary color. Click the "Color 2" box to the left of the color palette, then click the color you'd like to use as your secondary color. You'll activate this color by using the right mouse button on the canvas.
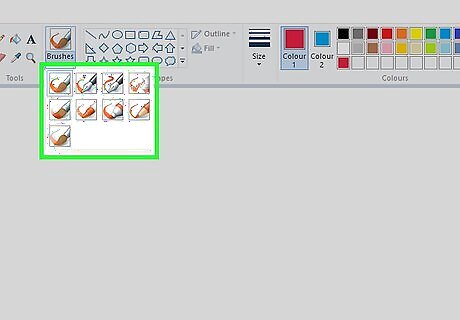
Select a brush type. Click the Brushes option at the top of the Paint window, then click the type of brush tip you want to use. This is what affects the line size, shape, and width options. If you just want to draw a regular free-form line, click the pencil-shaped "Pencil" icon in the "Tools" section.
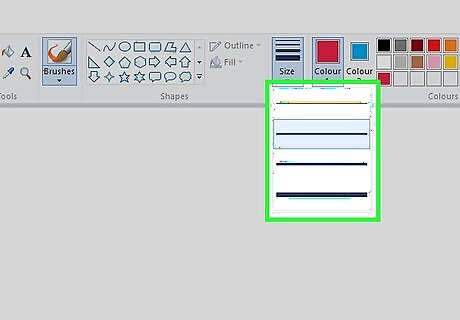
Select a line thickness. Click the Size option to the left of the color palette, then click the line thickness you want to use while drawing.
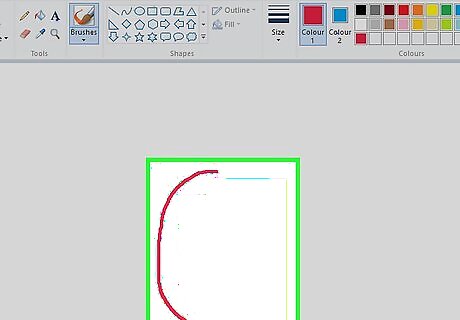
Click and drag across the canvas to draw. Holding down the left mouse button while dragging will draw your line. You can click and drag with the right mouse button to use your secondary color.
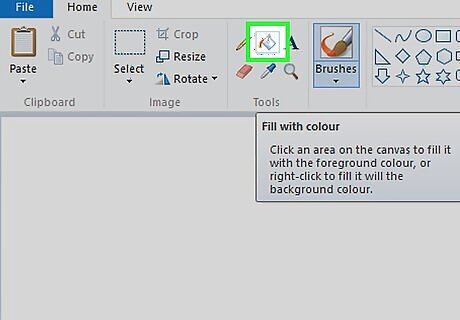
Fill a section with color. Click the "Fill with color" tool, which resembles a paint bucket, in the "Tools" section, then click the canvas to change an entire section of it to your primary color (you can right-click to use your secondary color instead). If you have the canvas sectioned off (e.g., a line dividing the canvas in two), only the section in which you click will be filled with color. If your canvas is blank or contains no full sections, your whole canvas will be filled in when you use the "Fill with color" tool.
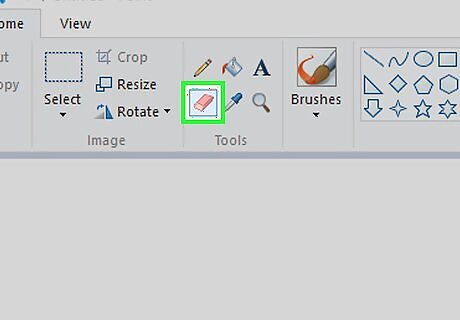
Erase mistakes. You can use the eraser function by clicking the pink "Eraser" icon in the "Tools" section and then clicking and dragging the eraser over the portion of the image you want to erase. The eraser will use your secondary color, so you may have to reset the secondary color to white (or your drawing's background color, if different) before erasing.
Creating a Shape
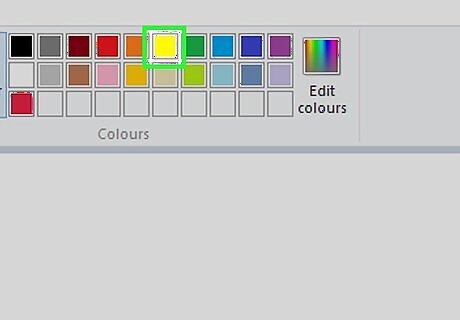
Select a color. Click the color you want to use as your shape's outline.
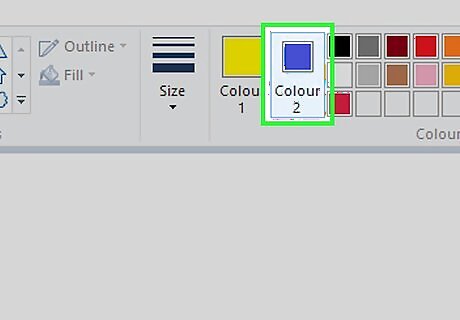
Select a "Fill" color if necessary. If you want to fill the shape with a color rather than just drawing the outline of the shape, click the "Color 2" box and then click the color you want to use for the fill color.
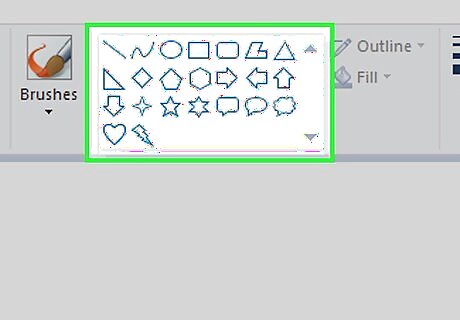
Find a shape to use. In the "Shapes" section of the toolbar, scroll up or down to see all of the available shapes.
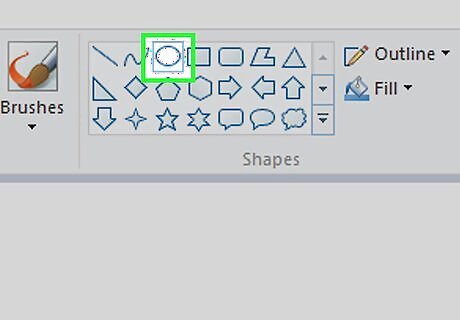
Select your preferred shape. Click the shape you want to use to select it.
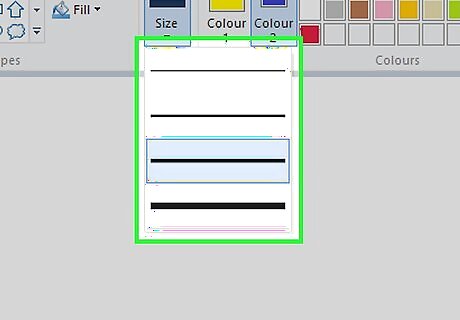
Select a line thickness. Click Size, then click the line thickness you want to use in the resulting drop-down menu.
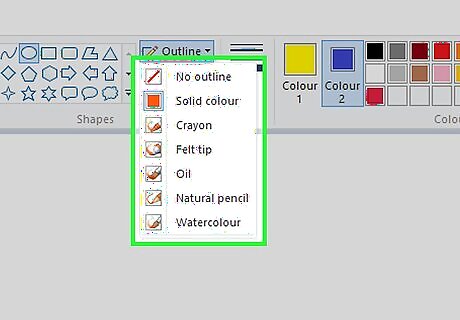
Select an "Outline" option if needed. By default, the shape's outline will be the same color as the "Color 1" box; if you want to change the consistency of the color or remove it entirely, click the Outline drop-down box, then click an option (e.g., No outline) to apply it.
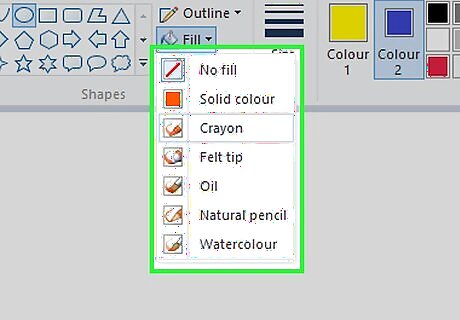
Select a "Fill" option if you like. If you selected a "Fill" color, you can add the "Fill" option to your shape: click Fill, then click Solid color. You can select a different "Fill" option (e.g., Crayon) to use a stylized fill texture.
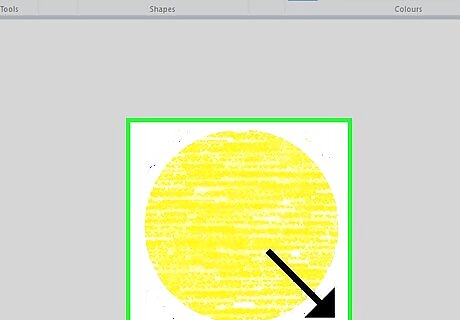
Click and drag diagonally across the canvas. This will draw your shape.
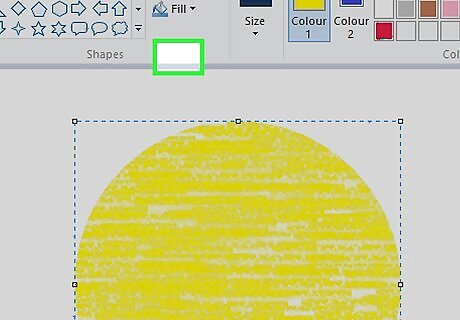
Anchor the shape. Once the shape fits the size and location you had in mind, release the mouse button and click outside of the Paint canvas.
Adding Text
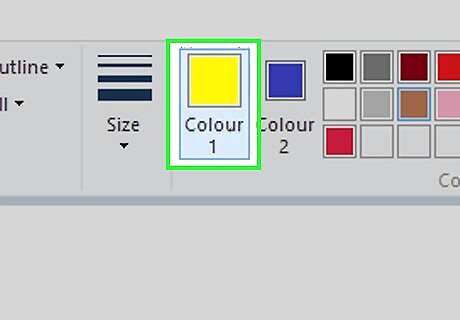
Select a text color. Click the "Color 1" box, then click the color you want to use.
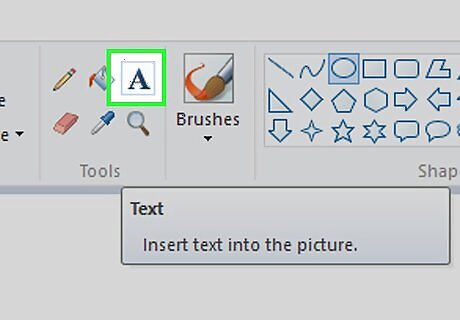
Click A. It's at the top of the window.
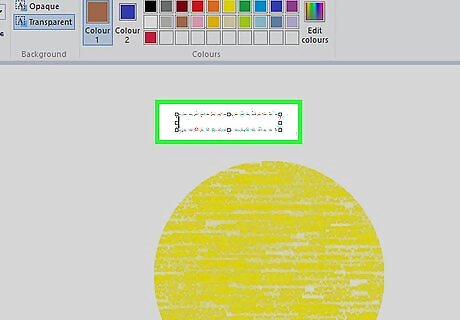
Select a location for your text. Find the place on your canvas in which you want to place the text, then click the place in question. You should see a dotted line indicating a text box appear.
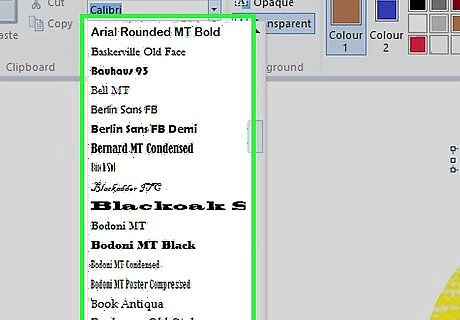
Change the text's font. In the "Font" section of the toolbar, click the top text box and then click the font you want to use in the resulting drop-down menu.
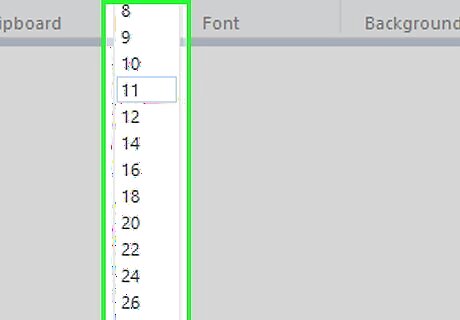
Change the font's size. Click the number below the font name, then click the number you want to use for your font.
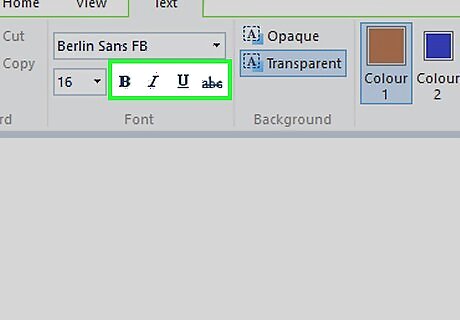
Add formatting to the text. If you want to bold, italicize, and/or underline your text, click the B, I, and/or U button(s) in the "Font" section of the toolbar.
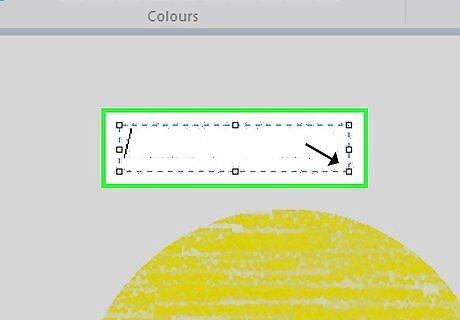
Increase the text box's size if necessary. Since you adjusted the default font and size, you may need to enlarge the text box. You can do this by placing your mouse cursor over one of the corners of the text box and then dragging diagonally away from the text box's center.
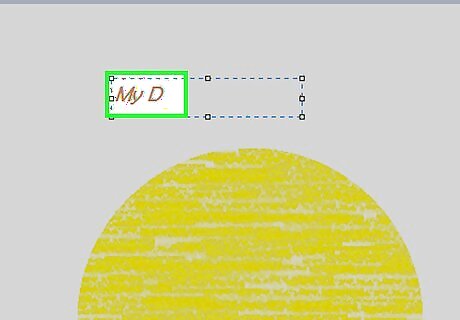
Enter your text. In the text box, type in the text that you want to display.
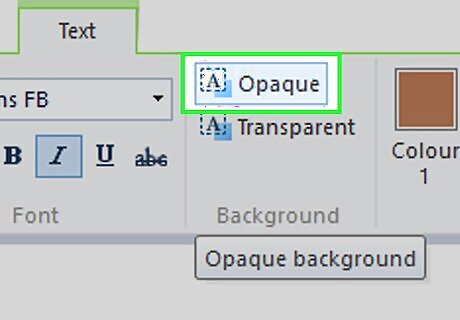
Give your text a background if you like. If you don't want your text to sit on whatever background items are on your canvas, click Opaque in the "Background" section of the toolbar. Your text's background will be the secondary color listed in the "Color 2" box.
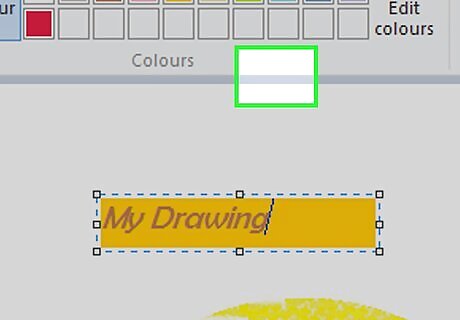
Anchor your text. When you're done editing your text, click anywhere on the canvas (or outside of it) to anchor the text. Once text has been anchored, you can't move it.
Opening an Image
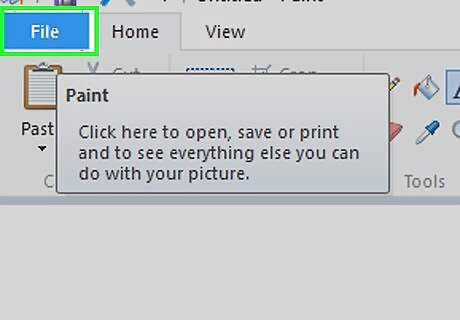
Click File. It's in the top-left corner of the Paint window. A menu will appear.
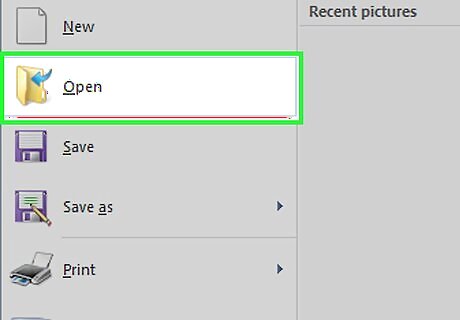
Click Open. This is in the middle of the menu. Doing so opens a File Explorer window.
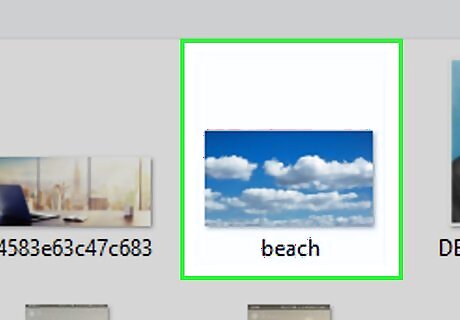
Select a photo. Go to the file location of the photo that you want to open in Paint, then click the photo to select it.
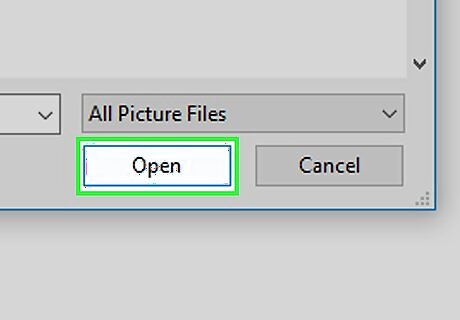
Click Open. It's in the bottom-right corner of the window. Your photo will be uploaded to Paint, and your Paint canvas should resize to fit the photo.
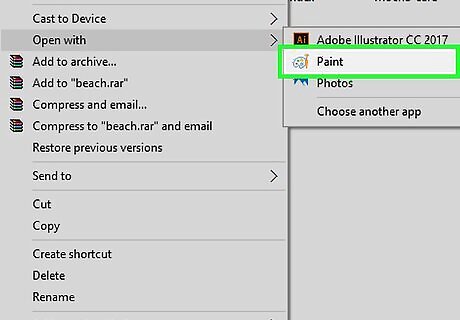
Use the right-click menu to open images in Paint. If you ever want to open an image in Paint when Paint isn't already open, you can right-click the image, select Open with in the drop-down menu, and click Paint in the resulting pop-out menu.
Cropping and Rotating an Image
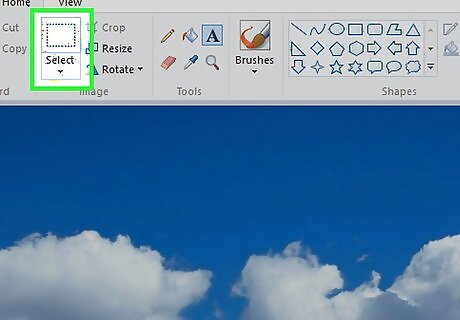
Click Select. It's in the upper-left side of the Paint toolbar. A drop-down menu will appear.
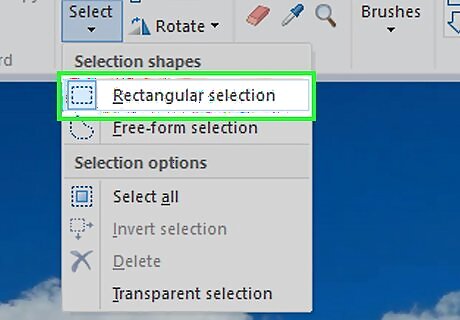
Click Rectangular selection. This is in the drop-down menu. If you want to draw the selection by hand, click Free-form selection here instead.
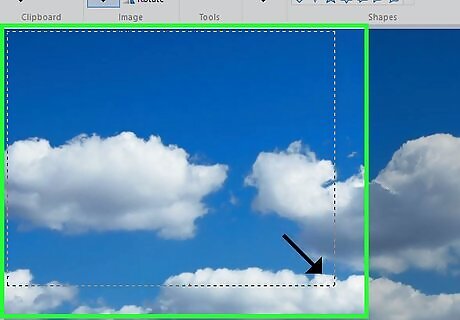
Create your selection. Click and drag diagonally from the top-left side of the area you want to save down to the bottom-right side, then release the mouse button. If you're using a free-form selection, click and drag around the item you want to crop, making sure to connect the two ends of the selection before proceeding.
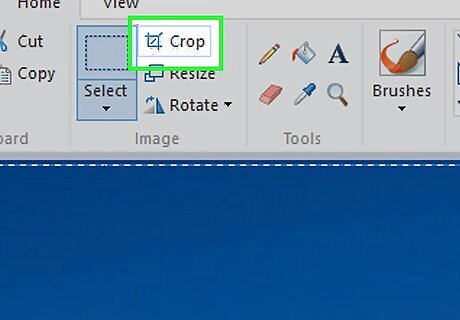
Click Crop. It's at the top of the Paint window. Doing so will remove any part of the photo that's outside of the selected area, leaving only the area inside of the selection. If you want to cut your selected section out of the photo and leave the rest of the photo in, press the Del key instead.
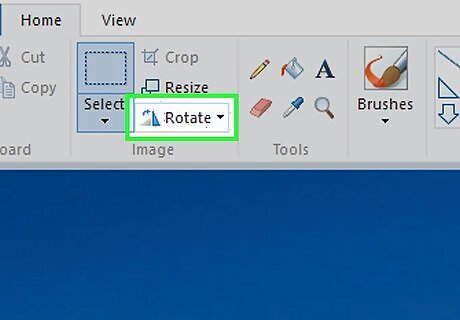
Click Rotate. This option is at the top of the Paint window. A drop-down menu will appear.
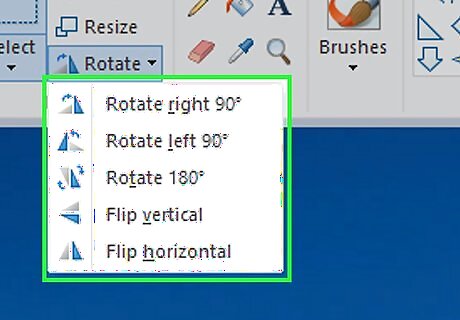
Select a rotation option. Click one of the rotation options in the drop-down menu to apply it to the photo. For example, clicking Rotate right 90º would rotate the photo so that the right-most edge would become the bottom edge.
Resizing an Image
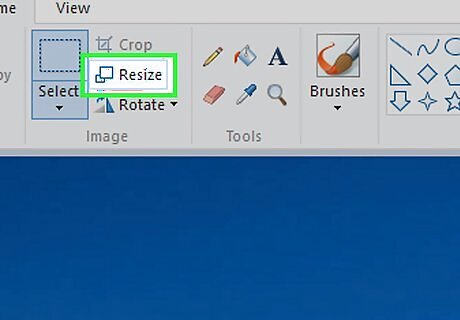
Click Resize. It's in the Paint toolbar. A pop-up window will appear.
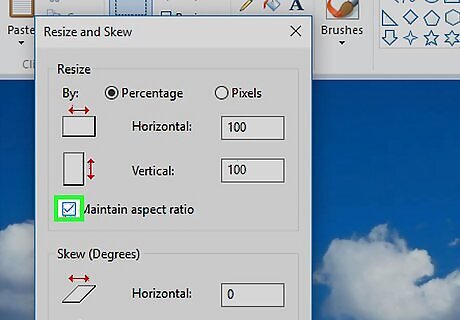
Check the "Maintain aspect ratio" box. This option is in the middle of the window. Doing so ensures that any changes you make to either of the size values won't distort your photo. If you want to increase your photo's height without increasing its width (or vice versa), skip this step.
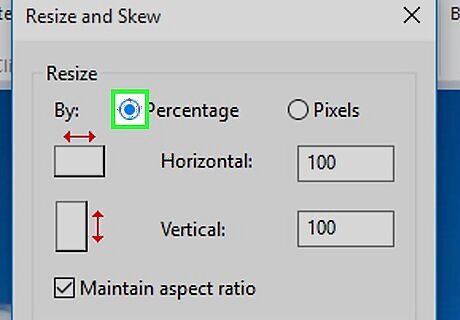
Check the "Percentage" box. It's at the top of the window. If you want to resize your image to a specific pixel rating, check the "Pixels" box instead.
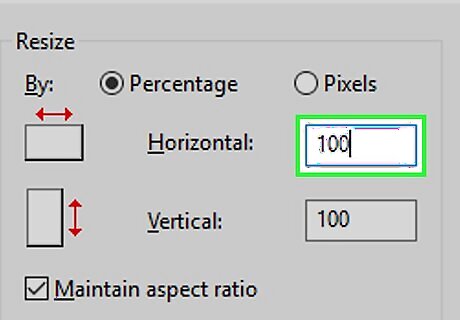
Change the "Horizontal" value. In the "Horizontal" text box, type in whatever number you want to use to resize your photo (e.g., to double its size, you would type in 200). If you're using pixels instead of a percentage, you'll type the number of pixels to use into the "Horizontal" text box. If you left the "Maintain aspect ratio" box unchecked, you'll also need to change the "Vertical" text box's value.
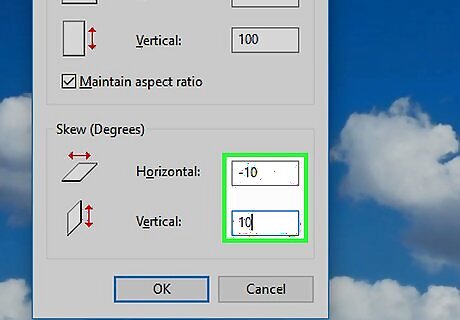
Skew your photo if you like. Skewing a photo will angle it to the left or right. To skew your photo, type a number into the "Horizontal" and/or "Vertical" text fields under the "Skew (Degrees)" heading. If you want to skew the photo in the opposite direction, type in a negative value (e.g., "-10" instead of "10").
Saving Your Project
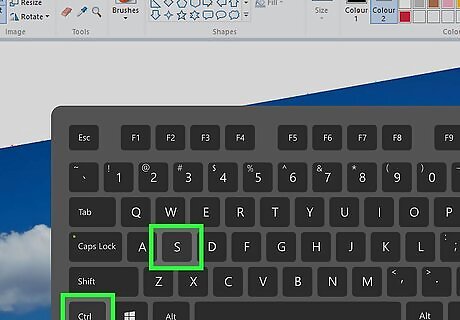
Save changes to an existing Paint project. If you've already saved your project, you can press Ctrl+S (or click the floppy disk icon in the upper-left corner of the screen) to save the changes. Keep in mind that doing this while editing an existing photo will replace the photo with your edited version. For this reason, it's advisable to create a copy of the photo and edit it rather than editing the original.
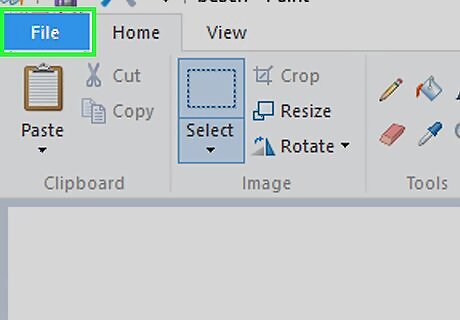
Click File. It's in the top-left corner of the Paint window. The menu will appear.
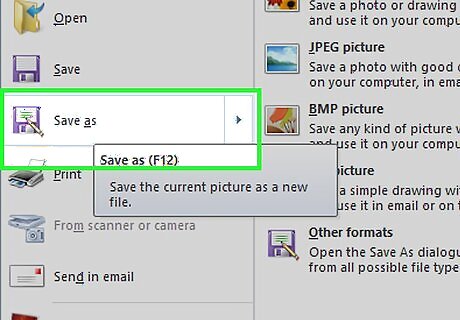
Select Save as. This option is in the middle of the menu. Selecting it prompts another menu to appear to its right.
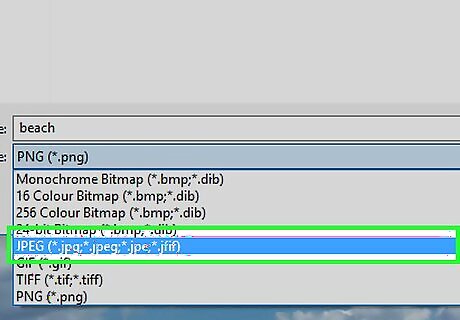
Click JPEG picture. It's in the right-hand menu. A "Save As" window will open. You can select any other picture format (e.g., PNG picture here).
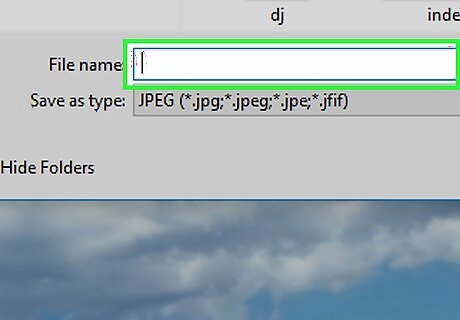
Enter a file name. In the "File name" text box, type in whatever you want to name your project.
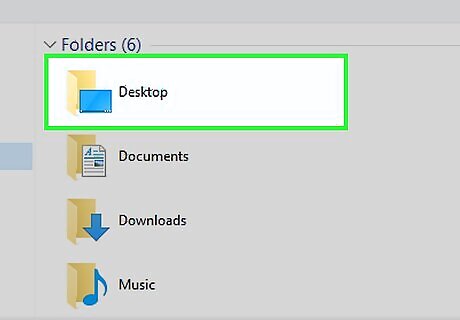
Select a save location. Click a folder on the left side of the window (e.g., Desktop) to select it as the place in which to save your project.
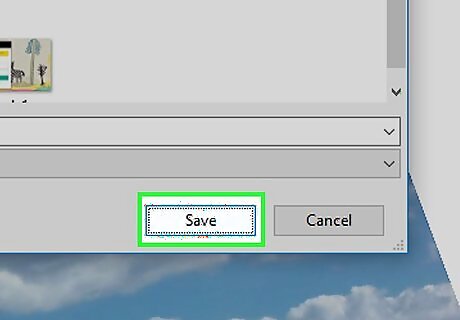
Click Save. It's in the bottom-right corner of the window. Doing so will save your file under your selected name in your specified save location.


Comments
0 comment