
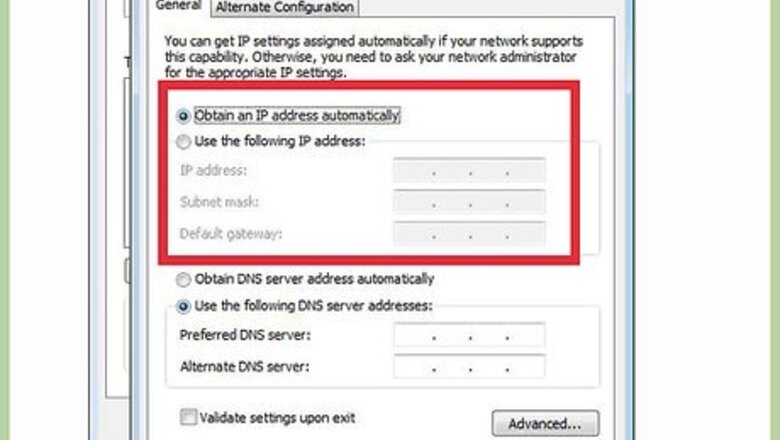

Decide what range of IP addresses you would like to use. You should use a "Private IP Range", otherwise you may well have problems related to traffic to and from your network being routed incorrectly. For a simple LAN, stick with 192.168.0.100, a subnet mask of 255.255.255.0, and a pool size of 50. This will allow up to 50 machines to be set up on your network without having to change anything.
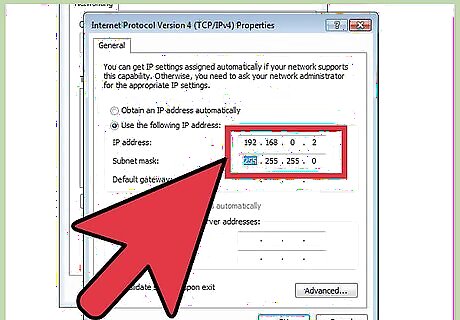
Set the IP address of your computer to 192.168.0.2 with a subnet mask of 255.255.255.0 (an address in the same subnet as the addresses in the pool, but not an address in the pool itself!)

Download tftpd32 from http://tftpd32.jounin.net/
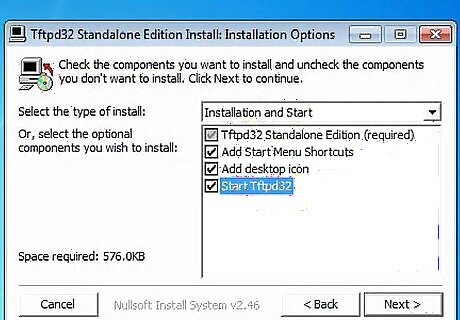
Unzip the file to your computer and run tftpd32.exe.

Click Settings.
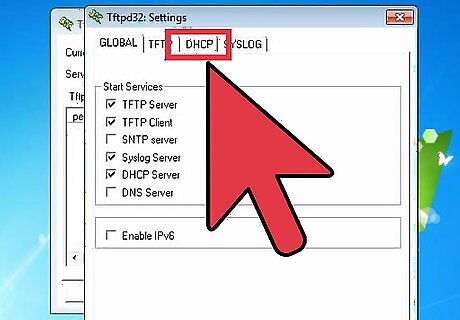
Select the DHCP tab in the Settings window.
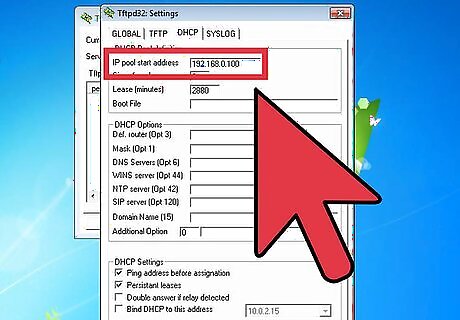
Set the "IP pool starting address" to the address you want the first computer to use DHCP to have. (192.168.0.100 if you're not sure!)

Set the "Size of pool" to a little more than the number of computers and devices you think you'll need on your LAN. (if in doubt, 50 is a nice number)
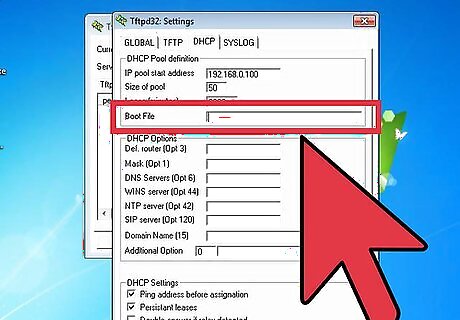
Leave the "Boot File" field blank
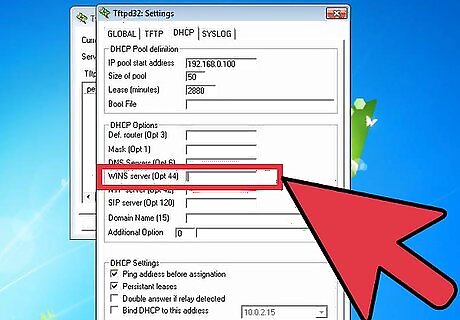
Enter the IP address you gave the computer (192.168.0.2) in the field "Def. Router (Opt 3) If you have a DNS server on your network, or one accessible to the machines on your network, enter its IP address in the "WINS/DNS Server" box. If you don't or don't know what it means, leave it blank.Set up DHCP on a Local Area Network Step 10 Version 2.jpg
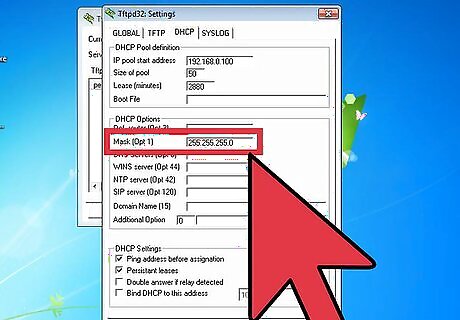
Set "Mask" to your subnet mask. If you don't know what that is, follow my addressing scheme and set it to 255.255.255.0

Leave the "Domain Name" and "Additional Option" boxes as they are.
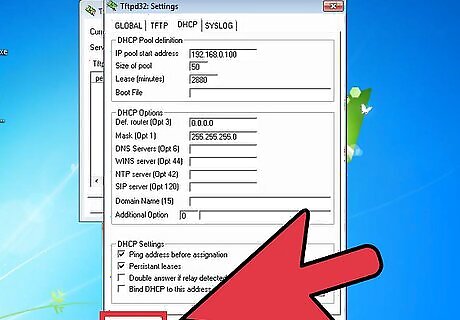
Press "OK". Your DHCP server is now set up!


Comments
0 comment