views
- Patch leaks temporarily by molding epoxy putty onto the pipe and letting it harden. Alternatively, cover the leak with a rubber sleeve and secure a clamp around it.
- Or, apply 1–4 wraps of plumbers tape around the pipe threading where metal pipes connect. Check the washers inside connections, and replace any that are damaged.
- Cut out the damaged section of pipe with a pipe cutter. Smooth the ends of the pipe and slide a slip coupling over the cut pipe ends for a permanent fix.
Quick and Temporary Fixes
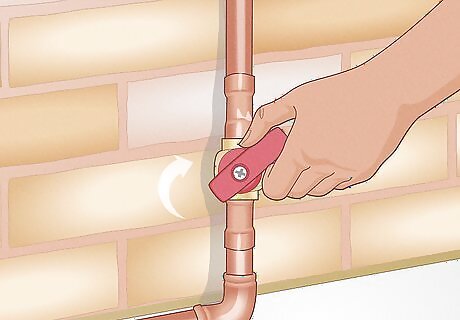
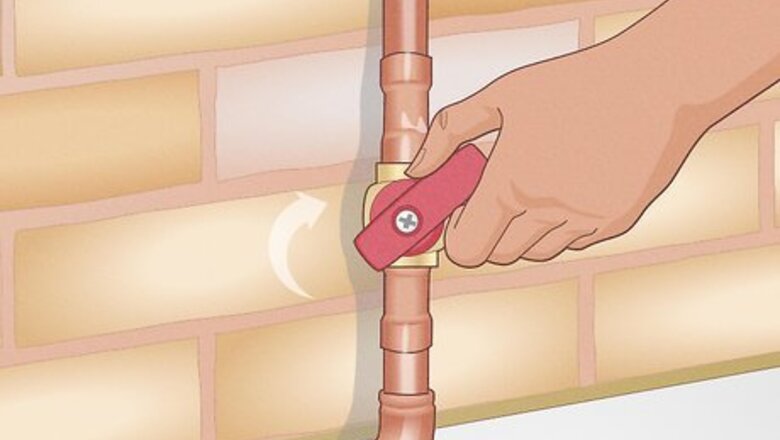
Turn off your water supply until you repair the leak. Locate your main water supply valve, which is typically in your basement or crawl space. Turn the dial clockwise to shut off the water going into your home.Turn on the faucet at the lowest point in your home, such as an outdoor hose pipe or a sink in the basement, and let the water run until the pipe is completely empty. Then, turn off the faucet. In an emergency, call your water company and see if they can shut off the water leading to your home. If the leak is on a pipe leading to a specific fixture, then turn on that faucet to drain it.
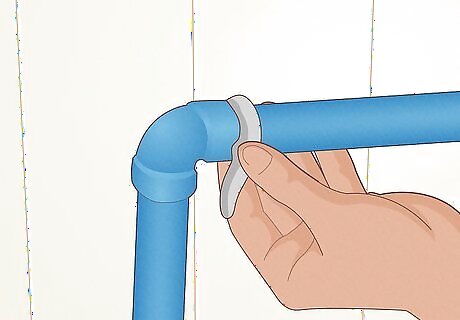
Apply a layer of epoxy putty to the leaky pipe to stop small leaks. Wipe off any water or dust on the pipe around the leak. Take a small ball of epoxy putty out from the packaging and knead it together between your fingers until it has a uniform color. Mold the putty into a ⁄2 in (1.3 cm) layer around the leak so it’s completely covered. Taper the edges of the putty onto the pipe so it makes a watertight seal. Then, just let the putty set and harden for about 5-10 minutes before turning your water on. Epoxy putty works on straight lengths of pipes as well as joints. You may use it on metal, plastic, or PVC to patch the leak until you’re able to repair it permanently. Epoxy putty heats up while you’re working with it, so put on a pair of nitrile gloves before you start working.
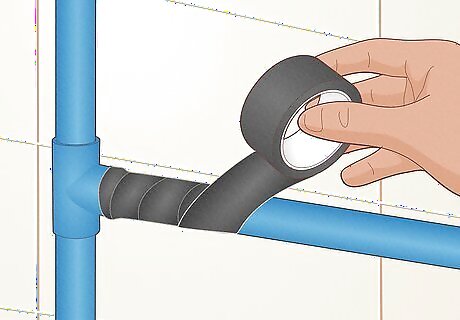
Wrap self-fusing silicone tape around breaks in low-pressure pipes. Dry off the pipe around the leaking section to help the tape stay better. Press the end of the tape down against the pipe and pull it tight. Coil the tape around the pipe so you overlap each layer by ⁄2 inch (1.3 cm). Once you completely wrap the leaky section, cut the piece of tape off with a knife or pair of scissors. Self-fusing silicone tape works best on metal or copper pipes, but it may also be effective for repairing PVC or PEX pipes. Once you apply the tape, turn the water supply back on by turning the valve counter-clockwise. You may instead try wrapping Flex Tape around the leaky pipe to make a waterproof seal. However, some plumbers recommend against using it because the tape may not hold up well under water pressure. If you ever need to remove the silicone tape, simply slice it off with a utility knife. The tape sticks to itself, but will easily peel off of the pipe.
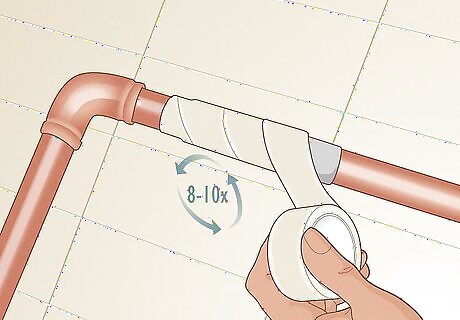
Cover the leak with a repair cast to make a hardened patch. Repair casts typically contain an epoxy-like putty and fiberglass tape to create a more secure hold. Dry off the pipe and ensure that it’s clean. Work the putty between your fingers until it has a uniform color and wrap it around the leakage. Then, soak the fiberglass tape in water for about 1 minute. Then, wrap it tightly around the epoxy so it extends 2 inches (5.1 cm) on each side and there are 8–10 layers over the leak. Once the repair cast hardens, turn your water supply valve back on. Repair casts work well on straight sections of pipe with pinhole leaks as well as connection joints between pipes. The repair cast tape may try coming undone while it’s curing. Hold and twist the tape tightly against the pipe for a few minutes until the tape doesn’t unwind or loosen on its own.
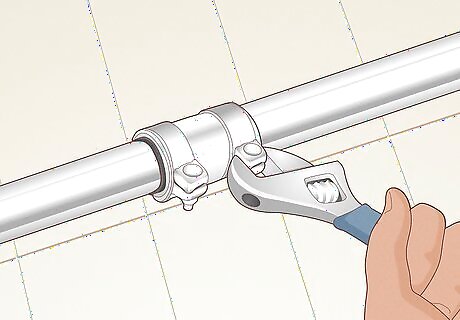
Secure a repair sleeve and clamp to cover a hole in a straight pipe. Repair sleeves use a rubber gasket and clamp to create a tight seal over the leak. Choose a sleeve that’s large enough to completely cover the damage on the pipe. Set the rubber gasket on top of the hole in your pipe so it seals the leak. Close the clamp around your pipe so it holds the gasket sleeve tightly in place. Tighten the bolts that came with your clamp so it stays securely in place. As soon as you tighten the clamp, turn on your water supply. Clamps work well for repairs on PVC and copper pipes, but they aren’t meant to be a permanent solution.
Sealing Pipe Connections
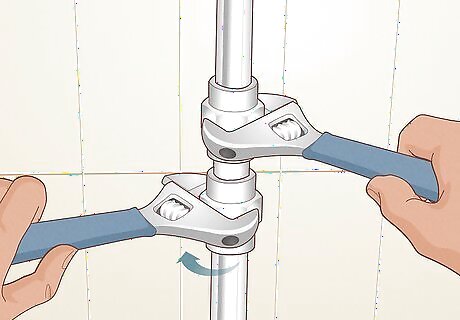
Tighten any loose coupling nuts. If you notice that your pipes are leaking where they connect to one another, first check the tightness of all the nuts holding the pieces together. Secure a wrench onto the pipe and hold it in place. Then, place a second wrench around the nut and turn clockwise to tighten the connection. If the nut is already tight and doesn’t turn, avoid trying to force it any further because you could damage the pipe even more. Coupling nuts are found on straight and angled pipe connections.
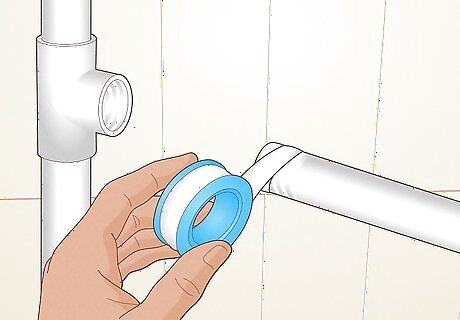
Apply plumbers tape to leaky metal pipe threading. Turn off the water supply valve leading to the pipe and run a faucet to drain out the water. Use a wrench to unscrew the nuts holding the pipes together to expose the threading. Start 2 threads back from the end of the pipe and apply the tape in the same direction as the thread spiral. Pull the tape tightly and press it firmly against the threads as you wrap it 2–4 times. Cut the tape and press down the loose end before reattaching your pipe and testing for leaks. Avoid using plumbers tape on PVC pipes because it could cause you to overtighten the connection. Plumbers tape works on straight and angled connections. If the pipe connection already uses a compression fitting or rubber gasket, then the plumbers tape won’t be an effective fix.
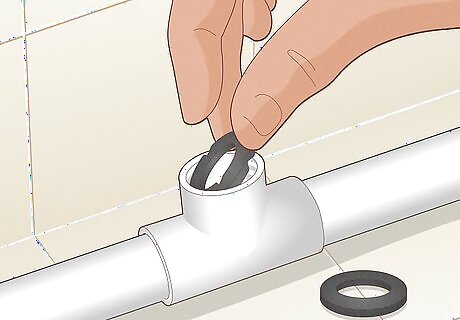
Replace rubber washers in pipe connections if they’re cracked or damaged. Turn off your water supply and unscrew the leaky connection. Look for a circular rubber washer inside of the straight or angled fitting, and inspect it for any damage. If the washer looks damaged, take it out and get a replacement that’s the same size. Fit the new washer into the pipe connection and secure it back onto your pipes. Rubber washers are usually found in PVC pipes, especially around connections between plastic and metal. If the PVC pipe is still leaking, then you may need to replace the joint section of pipe entirely.
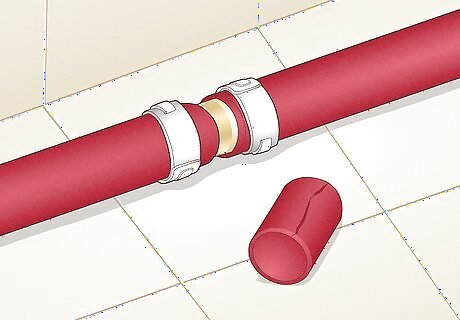
Replace damaged PEX piping sections with PEX fittings and pipe clamps. Turn off the water supply valve before you start repairs. Cut out the damaged section of your PEX pipe with pipe cutters. Slide a cylindrical PEX fitting into one cut end of the pipe. Connect the second pipe to the other end of the PEX fitting. Then, secure pipe clamps onto each side and tighten them securely to the fitting to create a tight seal. Turn on your water when you’re finished, and tighten any clamps that are still leaking.
Permanently Fixing a Leaking Pipe
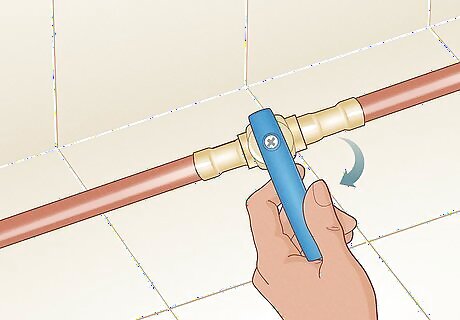
Turn off the water supply to the pipe. Find the water supply valve in your basement, garage, or crawl space. Turn the dial clockwise to shut off the water so more doesn’t leak out from the pipe. Then, turn on a faucet in the lowest part of your home and let the excess water drain out. If you’re fixing a section of pipe that connects from your wall to a plumbing fixture, you may be able to turn off the individual supply valve. Look for the valve on the wall behind the fixture and turn the valve clockwise.
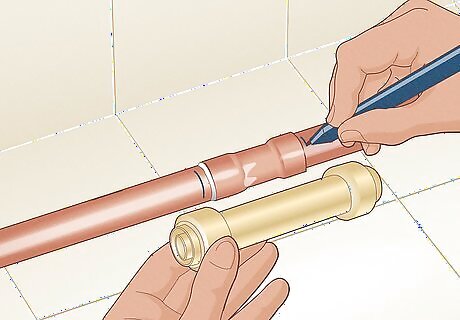
Mark the length of a slip coupling on your pipe. A slip coupling is a small, watertight connector that joins 2 pipes without soldering or extensive replacements. Get a slip coupling that matches the diameter of your pipe and is longer than the damaged pipe section. Hold the slip coupling up to the leaky spot on your pipe. Mark the pipe 1 inch (2.5 cm) shorter than the slip coupling on each end. Slip couplings are up to code, so they’re perfect for permanently stopping the leak. Slip couplings work for any type of pipe material. Just be sure to get couplings that are compatible with the type of pipe you’re repairing.
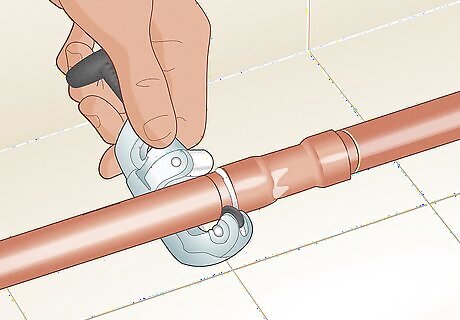
Use a pipe cutter to cut out the leaky area on the pipe. Pipe cutters either look like a large pair of scissors or a small circular device that rotates around the pipe to slice through it. Set the edge of your pipe cutter on one of the lines you drew. For a scissor-style cutter, just squeeze the handles together until you cut through the pipe. For a circular cutter, clamp it onto the pipe and rotate the cutter around the pipe’s circumference 2–3 times. Then, repeat the process on the other line you drew to take out the damaged section. Alternatively, you may use a hacksaw to cut through the pipe, though it may not be as straight or accurate of a cut. Use a pipe cutter that’s made for the material you’re cutting through so you don’t accidentally bend or damage the pipe.
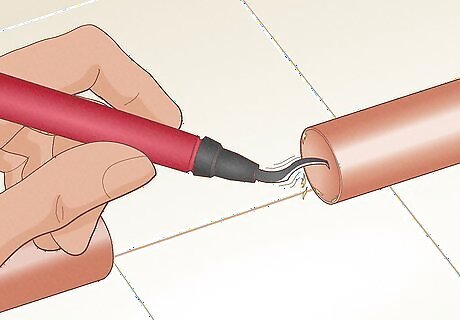
Scrape the inside and outside of the pipe with a deburring tool. A deburring tool scrapes the edge of the pipe to remove sharp edges after you make your cut. Hold the pipe steady with your non-dominant hand and set the blade edge of the deburring tool inside the pipe. Scrape around the inside edge of the pipe with your tool to deburr it. Then, take the tool out of the pipe and scrape along the outside edge. Deburr both metal and PVC pipes so they make a better connection with the slip coupling.
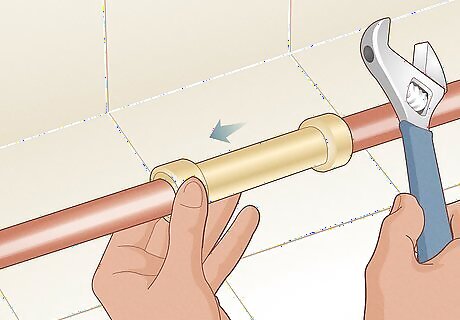
Slide the slip coupling onto the ends of your pipe. Slide the end of the coupling labeled “Slip” onto one of the pipes. Push the coupling far enough onto the pipe so the other end lines up with the second pipe. Place a wrench against the coupling and slide it onto the second pipe so it reaches about 1 inch (2.5 cm) in from the cut end. Once the coupling is set properly, turn on your water and the leak will disappear. If the coupling you’re using has nuts, use a wrench to tighten them and secure the fitting in place.


Comments
0 comment