views
- Wear your shoes with thick socks and walk around your home for 10 minutes. Wear the shoes for longer periods of time as they feel more comfortable.
- Warm up your shoes with a hairdryer and walk around in them to help the material stretch and bend easier.
- Put resealable bags of water inside of your shoes and stick them in the freezer overnight so the ice stretches them out.
Stretching Shoes with Heat
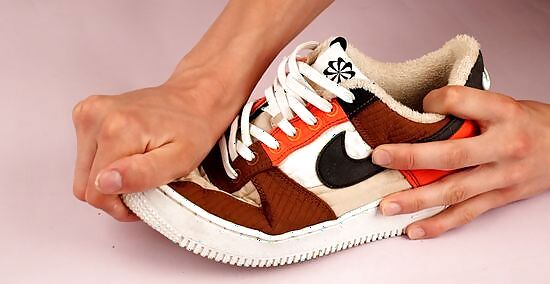
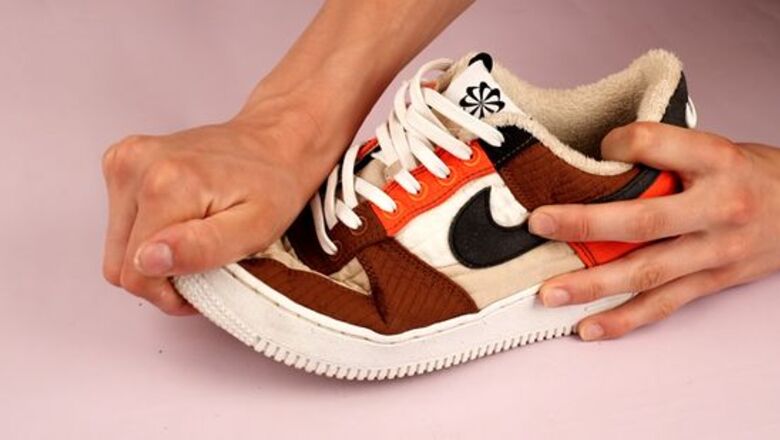
Take the shoes off and stretch them manually. After you warm them up for a little while, slip your shoes off and try gently twisting or bending them by hand. Focus on areas that are stiff or feel too tight to work the material so it’s more malleable. Just avoid forcing your shoes to move or bend more than they’re able to. If you’re breaking in running shoes, bend the toes where there are horizontal lines on the shoe soles. That helps your shoe feel more flexible while you’re jogging.
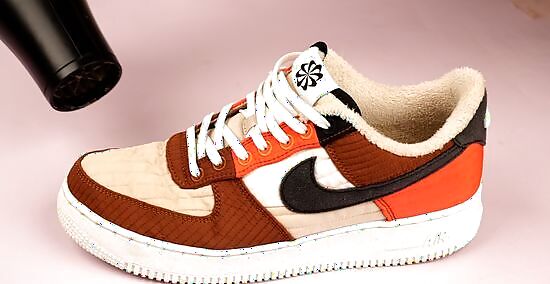
Heat your shoes with a hair dryer. Set a hair dryer to the warmest setting and hold it about 6 inches (15 cm) above your shoe. Wave the hair dryer over the tight spots on your shoes for about 2–3 minutes so the fabric bends easier. Heating the shoe helps the material expand so it becomes more flexible. If you don't have a hair drier, try placing your shoes next to an indoor heater, or even directly out in the sun. Just be cautious since heat could damage sensitive fabrics like leather or suede.
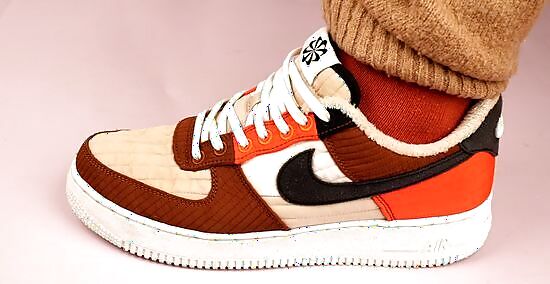
Put your shoes on immediately after heating them. Slip your shoes on while they’re still warm and wear them around for another 10 minutes. Try walking, sitting, or even running in your shoes to see how they feel on your feet. If your shoes are comfortable to walk in, then they’re broken in and ready to wear out. If your shoes still feel tight or uncomfortable, try heating them again. This time, leave your shoes on while you use the hair dryer so the material forms to the shape of your feet easier.
Breaking in Shoes with Ice
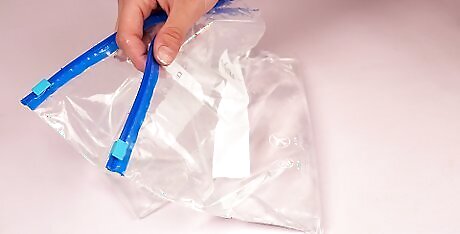
Fill up 2 sandwich bags halfway full of water. Use bags that are small enough to fit inside of your shoes. Add water to each bag and push out all the extra air before you seal them. Squeezing the air out makes it easier for the bag to shape into the contour of your shoe. This method involves placing bags of water in your shoes until they freeze, which could get your shoes wet and damage them. Check the care tags on your shoes to ensure they’re safe in case of a spill.
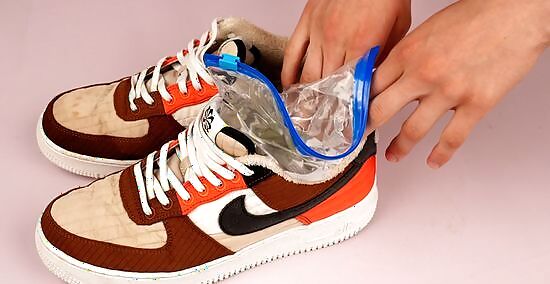
Place one bag of water into each shoe. Check that each bag is tightly sealed so it doesn’t spill onto your shoes. Push the bag into your shoes so it makes contact with the area you’re trying to stretch out. If the bag doesn’t touch the spot you’re stretching out, take it out of your shoe and fill it with a little more water. Try to keep the bag’s seal pointed up so it’s less likely to spill or get on your shoes.
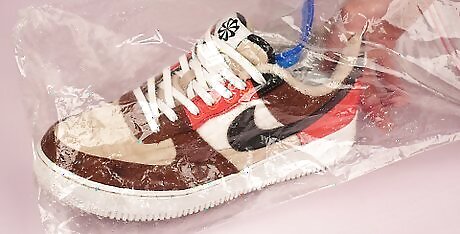
Put your shoes in a large sealed bag and place them in your freezer. Place your shoes in a large freezer bag and seal them to protect the material from any outside moisture and to keep food away from your new kicks. Make some shelf space inside your freezer and place your shoes inside so the seals on the water bags are still pointing up.
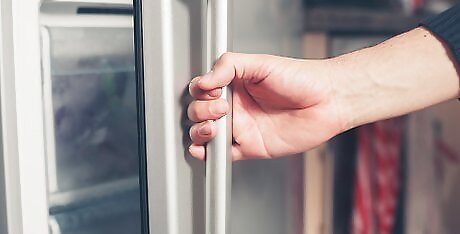
Take your shoes out of the freezer after 12 hours. Leave your shoes in the freezer for at least 12 hours, or overnight. As the water inside the shoe freezes, it expands and presses the inside of your shoe to help break them in and stretch them out. After the water freezes, take your shoes out and remove them from the bag. Freezing bags of water is really effective since they can form to the precise shape of your shoe to stretch it out.
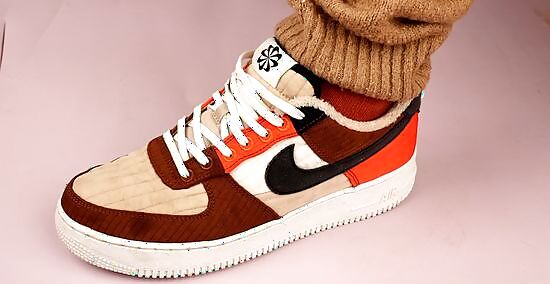
Take out the bags of ice and try on your shoes. Gently pull the bags of ice straight out and slip your feet into your shoes. Try walking in them and wearing them around your home to see if they fit your feet well. If your shoes are broken in and comfortable, then you’re finished. If you’re stretching athletic shoes, try running, jogging, or jumping in the shoes to see how well they fit while you’re being active. If your shoes still aren’t comfortable or are too small, then try freezing them again or using another method.
Wearing In Your Shoes
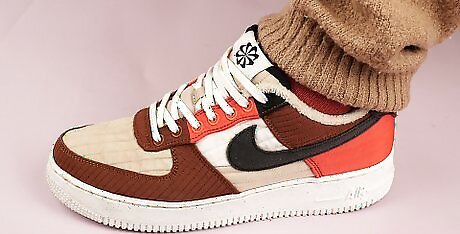
Wear your shoes for increasing lengths of time for 2–3 weeks. Put your shoes on and leave them on your feet for at least 10 minutes. Walk around, go up stairs, stand up while you’re cooking dinner or playing with a pet, or even work out at home while you’re wearing them. Try this for a couple of days, and check your feet for signs of pain or blisters. If your feet feel okay, start wearing your shoes in 20-minute increments. Keep gradually increasing the time you wear your shoes as you break them in. Only wear your shoes inside while you break them to avoid getting them scuffed or damaged. Avoid wearing your new shoes for a long time when you’re first breaking them in since they’re more likely to cause discomfort or blisters. Bring your new shoes to work or school and switch into them while you’re sitting at your desk. That way, you get used to wearing them and they can shape to your feet better.
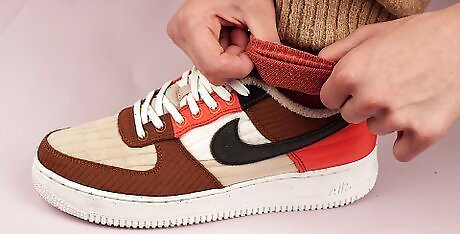
Wear your shoes with thick socks. Choose a sock size that’s slightly larger than your feet and made of thick material. Squeeze your feet into your shoes and wear them around so the material stretches out and doesn’t feel as stiff. Just sit with your shoes on or walk around in them so they have a chance to break in. Wearing thicker socks also prevents blistering when you’re getting used to new shoes. If you don’t have any thicker pairs of socks, don’t worry. Just put on 2–3 regular pairs of socks before slipping your shoes on.
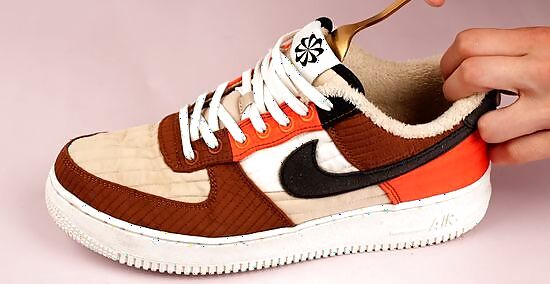
Press the inside of your shoes with the back of a spoon to stretch tight spots. Try your shoes on and make note of any areas where they feel tight on your feet. Once you take off your shoes, use the back of a spoon to press it into the insole or side where it feels too tight. Apply gentle pressure as you stretch the fabric and try your shoes on every few minutes to see if they fit properly. Using a spoon works since the rounded shape won’t leave scuffs or marks on your shoes. It also simulates the shape of your heel and toes when you press on the soles. This works best for breaking in leather shoes where they fit too tightly, like on straps or the heel.
Using Commercial Products & Services
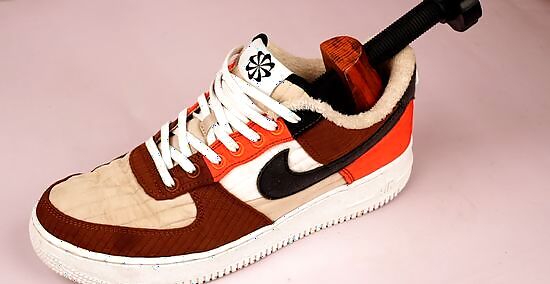
Leave a shoe stretcher inside of your shoes. A shoe stretcher is a wooden piece that fits inside your shoe and presses against the sides to shape it. Use the shoe stretcher by sliding into your shoe so it fills in the toe. Turn the knob on the end of the stretcher until it fits tightly inside of your shoe. Leave the stretchers in your shoes when you’re not wearing them to help them feel less tight. If you need to continue breaking in your shoes, turn the knob on the stretcher until it fits tightly again. Some shoe stretchers come with plastic pieces you can insert if you need to widen shoes for bunions or corns.
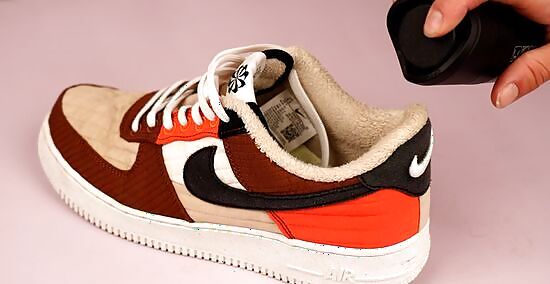
Apply stretching spray to your shoes before you wear them. Follow the directions on the spray’s package before applying it to your shoes. After you spray the solution onto your shoes, slip them on or gently bend them by hand to help break in the material even more. If your shoes have leather or reptile-skin exteriors, only use spray on the insides to avoid damaging the material.

Hire a cobbler to machine-stretch shoes for you. If you’re worried about damaging your shoes or you’re not able to break them in, look for cobblers in your area that offer stretching services. The cobbler will coat the shoe with a stretching spray and then stretch the shoe over a machine for a few hours while it dries. Cobblers usually only charge around $20–30 USD for stretching shoes.
Avoiding Blisters
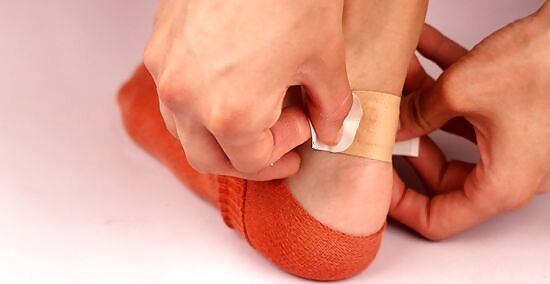
Put a bandage over the spot that’s irritated. If there’s a spot on your foot that keeps rubbing up against the side of your shoe, cover it with a moleskin or bandage to prevent blisters. That way, your shoes won’t press up against your skin and you’ll be able to wear your shoes more comfortably. Alternatively, spread petroleum jelly over the spot so your shoe doesn’t create any friction against your skin.
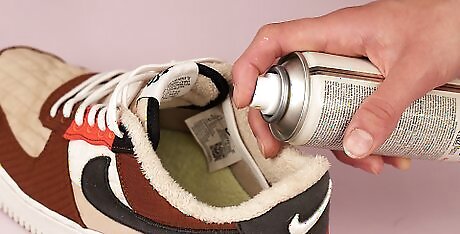
Use an antiperspirant in your shoes to prevent sweat. When your feet are wet or sweaty, they’re more likely to rub against your shoes and give you blisters. Sprinkle an antiperspirant powder in your shoes or apply it directly to the bottom of your feet to ensure they stay dry. If you get your socks wet, change them right away. Let your socks and shoes dry before putting them back on again.
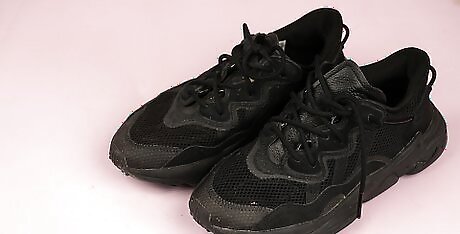
Bring an old pair of shoes with you. If you’re still not fully used to your new pair of shoes, keep an older more comfortable pair nearby to switch into. Try to wear your new shoes as much as you can, but don’t be afraid to change back into old shoes if you’re starting to feel friction or any sort of discomfort.


Comments
0 comment