views
X
Research source
Microsoft released Power Query and Power Pivot as Excel Add-ons in 2010 but these features are now standard in Excel 2016 under the "Get and Transform" function.[2]
X
Research source
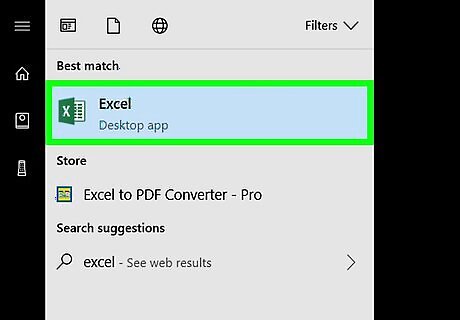
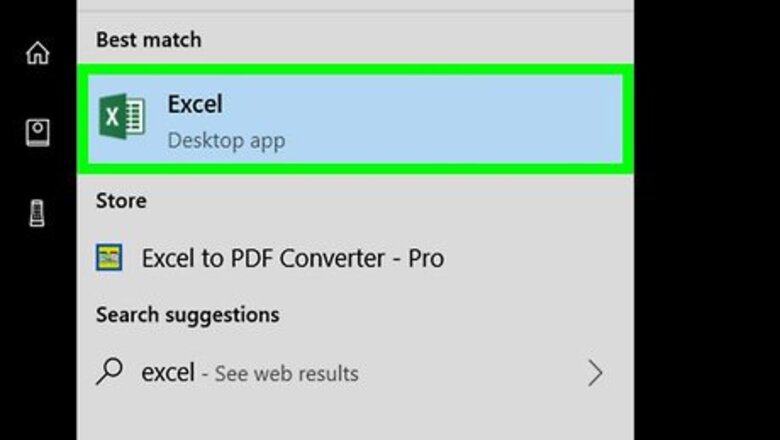
Open Excel. It's the app icon that resembles a green spreadsheet with a white "X" on the cover.
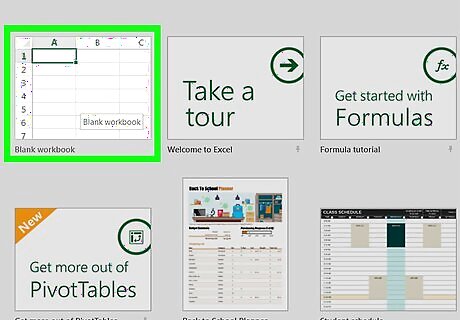
Open a new document. To open a new document, either click "New" in the green sidebar of the opening screen—or if you have an existing document open—click "File" and then click "New."
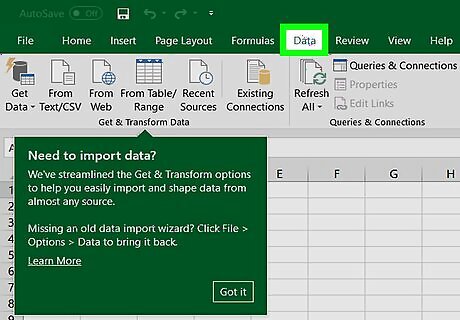
Click the Data tab. It's in the menu bar at the top of Excel 2016.
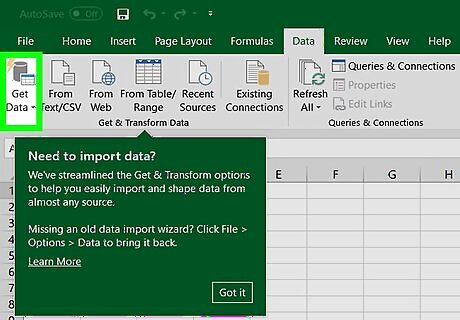
Click Get Data. It's next to an icon that resembles a table in front of a battery in the "Get and Transform" box. This displays a drop-down menu with a variety of source types you can import data from. On Mac, click either "From HTML", "From Text", or click "New Database Query."
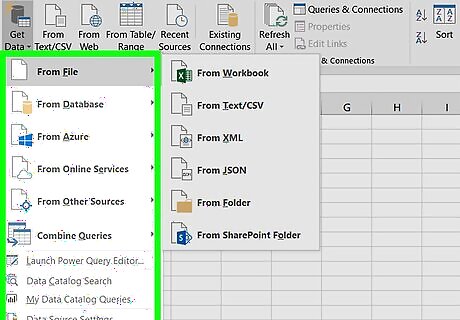
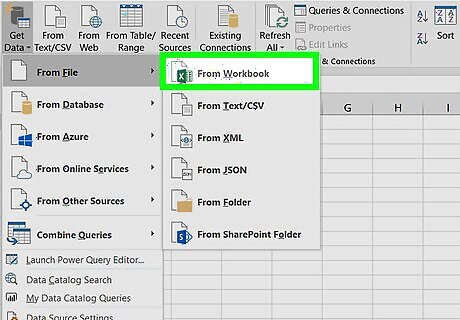
Select a data source. The "New Query" drop-down menu contains a variety of sub-menus that allow you to import data from a variety of data source types. This opens a browser menu to browse source files. Click a file to select it, and then click "Import". The source type menus include: From File: This menu allows you to import data from another Excel worksheet, a CSV file, XML file, JSON, and more. From Database: This menu allows you to import data from a database such as MySQL or Oracle. From Online Service: This menu allows you to import data from online sources, such as SharePoint, Microsoft Exchange, Salesforce, and Facebook. From Other Sources: This menu allows you to import data from other sources, such as the web, Active Directory, OData, Hadoop files, ODBC, OLEDB, and a blank query.
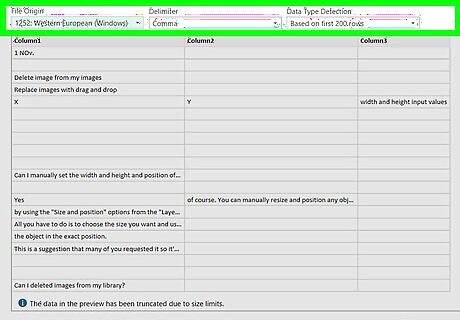
Select the data you want to import. When you import data from an external file or source, a window pops up that allows you to select specific data from your source. Click the data type you want to load in the sidebar to the right. Then click "Load" in the lower-right hand corner of the window. This loads the data and creates a connection to the data source.
Double-click a query to edit it. All queries are listed under the "Workbook Queries" sidebar to the right. Double-clicking a query opens the query editor. If the "Workbook Queries" sidebar isn't showing on-screen, click the "Data" tab and then click "Queries & Connections" in the "Get and Transform" section. On Mac, click the "Connections" button to list the current connections.
Edit and transform your data. The query editor has a ton of tools you can use to edit and transform your data. You can add or remove columns and rows, merge or append queries, and transform data in various ways. If you are merging two data queries together, click "Merge Queries". Then you will need to select a common data field that the two queries will be merged together by. Then use the "Join Kind" drop-down menu to select what information will be included after they are merged.
In the Query Editor, click Close and Load. It's the button that has an icon of a purple disk in front of a sheet of paper. It's on the far-left under the "Home" tab. This exports the data from the query editor into the Excel worksheet.


Comments
0 comment