views
Open GIMP. Do this by navigating to GIMP's icon in the Windows Start menu or clicking on its desktop shortcut. On Mac OS X, double-click on GIMP's icon in the "Applications" folder.
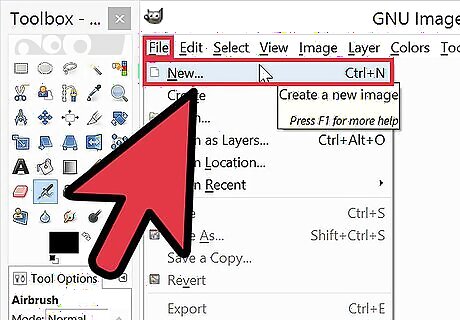
Create a new image. To do this, click on the "File" menu on the application's task bar, and then click "New." A dialog box will appear that will ask you to specify the dimensions of the new image. Specify them as desired, and then click "OK" to create the image.
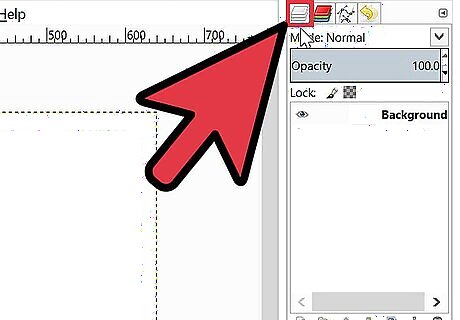
Make sure the Layers dock is visible. To manage the layers of the image you are working with, you must use the Layers dock. By default, this dock is open and located on the far right side of the application's window. If it is not open, click on "Windows" on the main task bar and select "Dockable Dialogs." Select "Layers" from the menu that appears. By default, new images are created with a single layer called "Background." You should see this layer listed in the Layers dock.
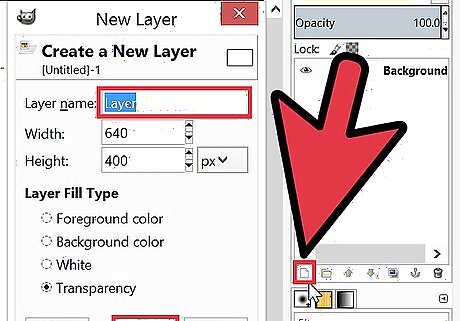
Add a new layer to the image. This can either be done by clicking the small "New Layer" icon in the Layers dock, or by selecting "New Layer" from the "Layer" menu on the task bar. Either option will generate a dialog box asking you to specify the layer's name, size and color. Note that all of these characteristics can be changed later. Click "OK" to add the layer.
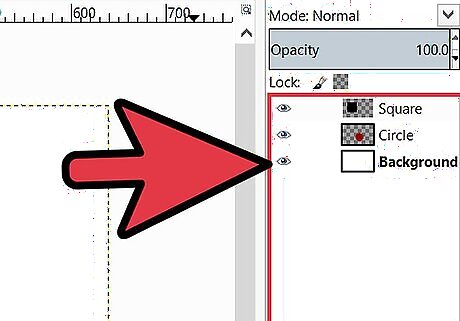
Add content to each layer. By placing each bit of your image's content on a separate layer, you can move or edit these bits of content independently of one another; this is why layers are so useful. To do this, select the desired layer first by clicking on its name in the Layers dock. Then, add the content (text, gradient, et cetera) to the main workspace. The content will then be associated with that layer.
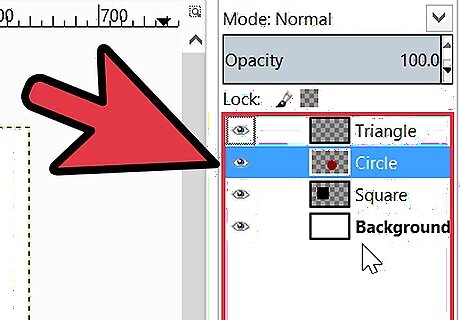
Order the layers of your image as desired. The order of your layers is important. For example, if a completely opaque layer is covering another layer, the lower layer will not be visible at all. To reorder your image's layers, click on their names in the Layers dock and drag them to a different spot in the list. Layers at the top of the list will appear in the foreground of your image, while layers at the bottom make up the background.
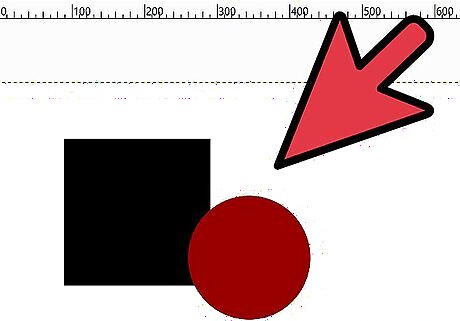
Finished.


Comments
0 comment