views
Prepping the Canvas and Paper
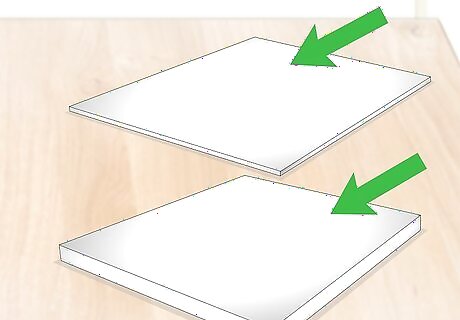
Choose a type of canvas. There are two main types of canvas: the thin type and the thick type. The thin canvases are a simple, light-weight board, ideal for framing. The thicker canvases are a sheet of canvas stretched over a wooden frame. They are ideal if you want to extend your design over the edges.
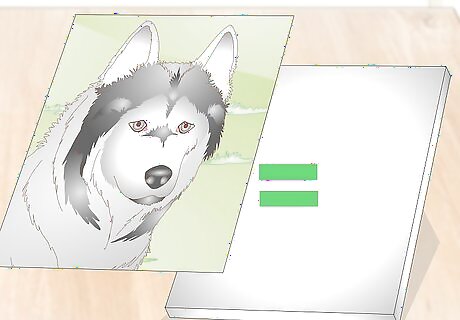
Choose a size for your project. If you are going to glue a picture or photo onto the canvas, choose something that is the same size as your image—or a little bit smaller. It is easier to trim an image down to fit a canvas than the other way around. If you are going to create a collage, however, you can choose any size of canvas you want.
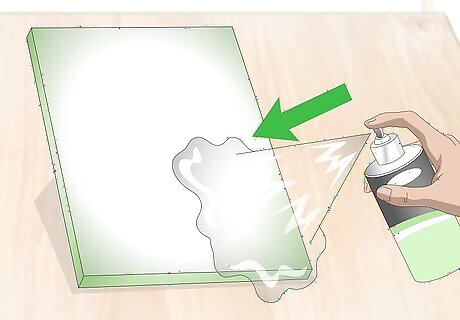
Paint your canvas a background color, if desired. This is only necessary if you will be creating a collage on it. If you are going to adhere an image onto a thick, wood-frame canvas, you do not need to paint the front, but you should paint the edges. Acrylic paint will work the best for this, because it dries the fastest. Avoid using oil paint or watercolor paint; oil paint will take too long to cure and watercolor paint won't stick. Choose a color that contrasts your images for a collage. Choose a color that matches or complements a single image that will cover the entire canvas.
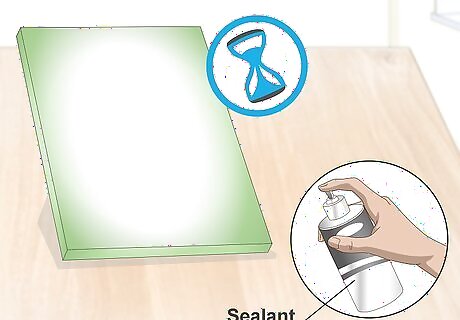
Allow the paint to dry, then apply a coat of sealant over it. Sealers come in many different finishes, so you should pick one that you like the best. If you did not paint the canvas, you can skip this step.
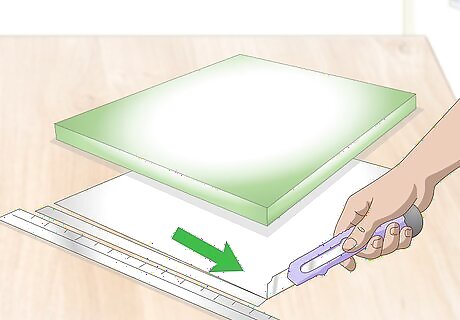
Trim the paper down, if needed. Use a paper slicer or a craft blade and a metal ruler to do this. Make sure that the edges are nice and neat. If you are going to cover the entire canvas with your image, you will need to trim the image down to fit the canvas. If you are making a collage, trim down the images to different sizes; this will make things look more interesting than if they were all one size. Trace the canvas onto the back of your image, then use a sharp blade and a metal ruler to cut the paper.
Adhering the Paper
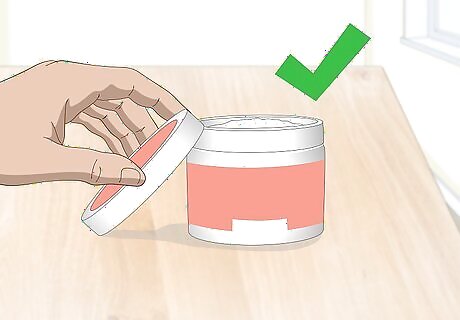
Choose a medium to work with. A decoupage glue, such as Mod Podge, is the cheapest, most readily-available option. Keep in mind that most decoupage glues are not waterproof, and they may get tacky if wet. Alternatively, you can use an acrylic paint medium instead. Unlike most decoupage glues, acrylic medium is waterproof and resistant to yellowing or discoloring.
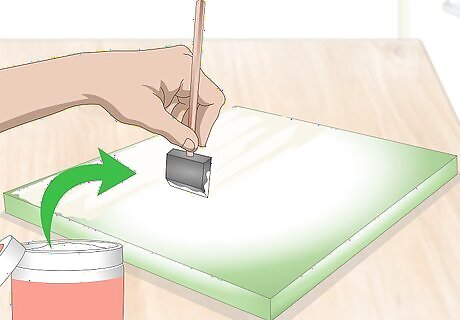
Apply a thin coat of your chosen medium to the front of the canvas. You can use a wide, flat paintbrush or a foam brush to do this. Avoid putting on too much medium, however, or the paper will soak it up and wrinkle. If you are building a collage, consider applying the glue to the back of your image instead; work one image at a time.
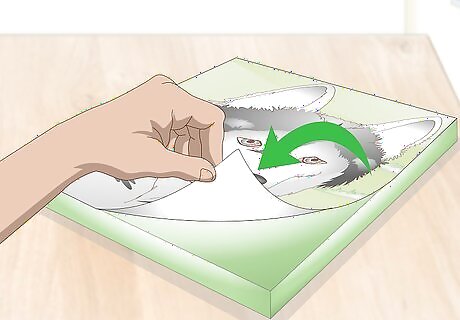
Set the paper onto the canvas. If you are covering the entire canvas, match up the bottom edge of the paper with the bottom edge of the canvas, then carefully lay it down. Carefully adjust the paper until you are happy with the placement.
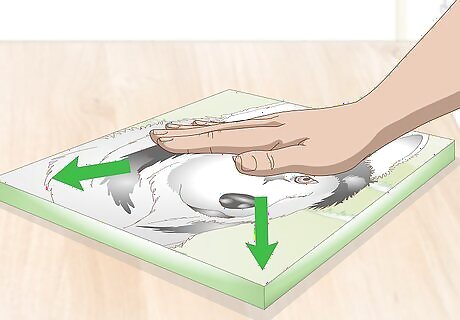
Smooth the paper down to adhere it. You can do this with your hands or with a special roller, which you can find alongside the other decoupaging supplies in an arts and crafts store. Smooth the paper out starting from the middle of the canvas, and work your way towards the outside edges.
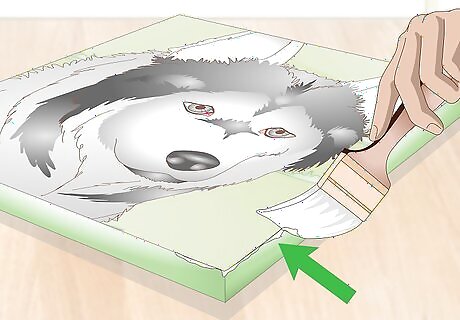
Clean up any excess medium. All that smoothing out likely resulted in some of your medium leaking out from under the paper. You can wipe it away with your paintbrush. This will have the added benefit of sealing the edge of the paper against the canvas.
Finishing the Piece
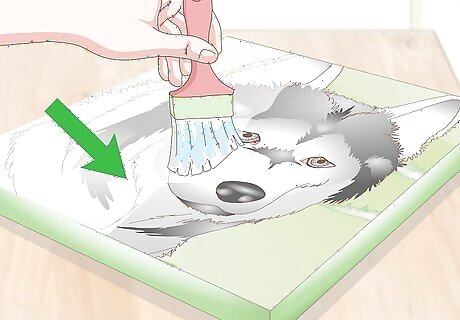
Apply a thin, even coat of your medium over the image. Brush the medium onto the image, starting from the center and working your way outwards. Be sure to extend the medium past the edges of the image to seal it in. If you are using a thick, wood-frame canvas, be sure to coat the sides as well. Use long, even strokes to give your image a nice, canvas-y texture.
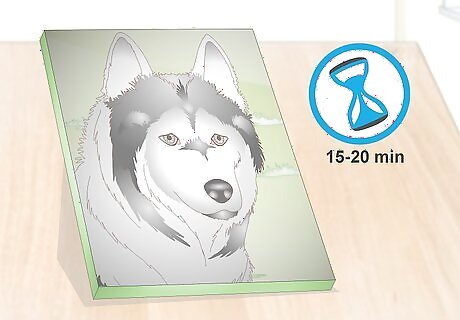
Allow the medium to dry. Depending on the type of medium you are using, you will need to wait 15 to 20 minutes. This is very important; if you apply the next layer too soon, you may get wrinkles or air bubbles. The layers also may not cure properly.
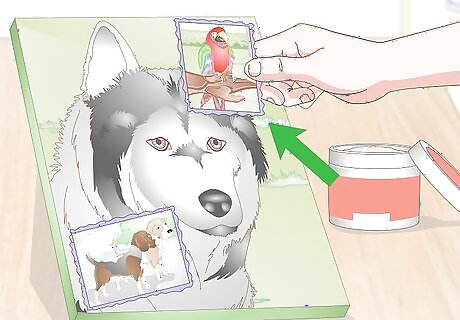
Consider adding more layers of images. You can make photos and collages look more interesting by layering smaller images and cutouts on top. Apply your medium to the back of the image, then press it against the canvas. Brush more medium over the image, and let it dry fully before moving on.
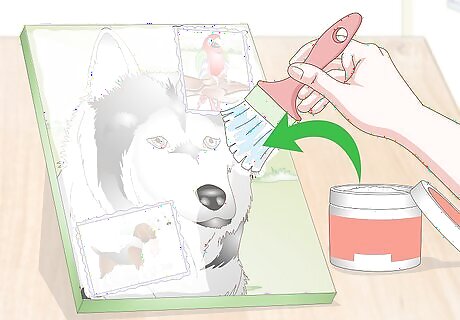
Apply a final top coat. Most decoupage glues and acrylic mediums can double-up as a sealer. They typically come in glossy, satin, and matte finishes. You can use the one you used earlier to adhere the paper, or you can pick a different one if you want a different finish. If you used a thick, wood-frame canvas, you will need to seal the side edges as well. You can apply more than one layer of top coat, but you will need to let the previous layer dry first.
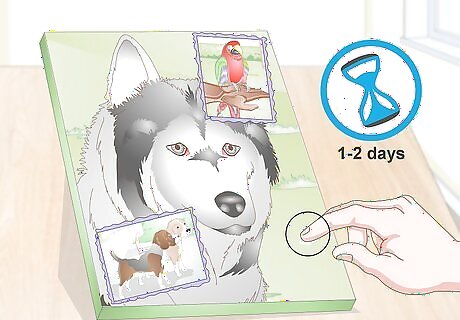
Allow the medium to dry and cure before displaying the piece. Just because something feels dry does not necessarily mean that it is fully dry and ready to use. Check the label on your bottle of medium, and look to see if there is a curing time; most mediums require at least a day or two to cure. Once the medium has cured, you can frame or hang the canvas as desired. If the medium feels tacky or sticky, it has not cured; you should wait a few more days.


Comments
0 comment