
views
- Apply a light, moisturizing lip balm so the liner goes on smoothly.
- Sharpen the liner and draw a few lines on your hand to warm the tip.
- Trace along your natural lip line using light, short strokes.
Preparing to Line Your Lips
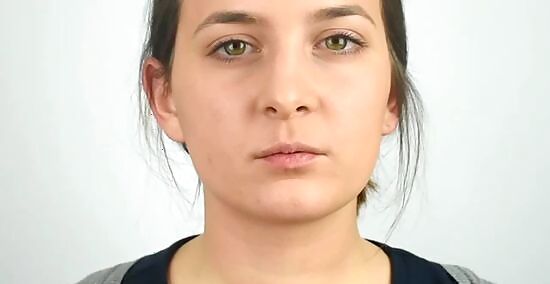
Exfoliate your lips (optional). If you don't have an exfoliating balm or scrub (available at most drug stores and shops that sell makeup), you can exfoliate your lips by applying a moisturizing lip balm and then gently scrubbing them with a clean toothbrush. Some experts recommend against exfoliating your lips, as this can cause small tears in the skin of your lips, making them dry and chapped in the long term. Having healthy, well-moisturized lips is better than exfoliating your lips, but if your lips are flaky, exfoliating is a quick way to make them smooth.
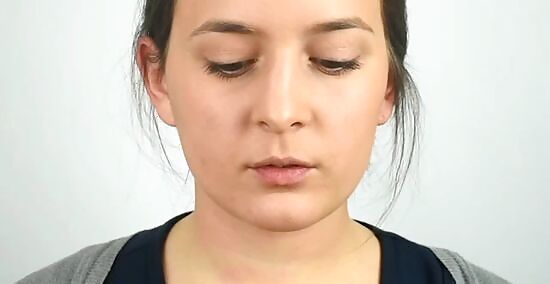
Moisturize your lips. Before applying anything else to your lips, apply a light moisturizing balm. Make sure the balm isn't too waxy — you want it to sink into your lips, not sit on top of them. If your lips are dry, chapped, or cracked, it will be difficult to apply a smooth line to them, particularly if you intend to fill them in completely with liner.

Wait for the balm to dry. Some experts recommend waiting 20 minutes to apply anything else to your lips after putting on a moisturizer. If you don't have that kind of time, wait at least a couple of minutes, and then dab your lips with tissue to remove any excess moisturizer. You want your lips to dry but well moisturized before you apply anything else to them. If you find your balm takes too long to dry, try applying it right before bed. This will help ensure that you have hydrated lips for when you do your makeup the next day.
Prime your lips (optional). A primer isn't 100% necessary, but some makeup artists do recommend it, as it can help smooth your lips and hold both the liner and lipstick on your lips longer. If you intend to wear lipstick, you can apply a lip liner to your entire lips, and this will also help hold the lipstick in place. Concealer or foundation can be used in place of primer. These are good options if you're planning to change the shape of your lips. You can also apply concealer around your lips to highlight them.
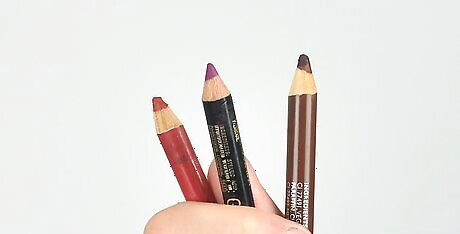
Choose your lip liner color. Choose your lip liner color based on what you intend to do with it. If you're planning to wear red lipstick, go for a red liner; if you're planning to keep your lips looking natural, go for a nude or soft pink liner. You can also look for a lip liner that matches your natural lip color. This will work with any shade, though it may mute some bolder colors a little bit.
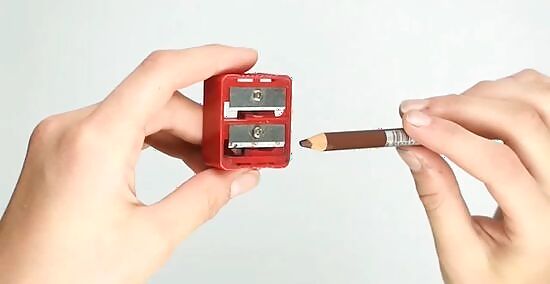
Sharpen your lip liner. Always sharpen your liner before using it. A sharp liner will give you a good, precise line. When your liner is dull, it's closer to the wood of the pencil, and if any pieces are sticking up from the wood they might scratch your lips. Sharpening your liner before each use helps to remove bacteria before you use it. A trick to make sharpening easier is to place your lip pencil in the freezer 20 minutes before sharpening it. This is supposed to help prevent the tip from breaking off, and should produce a cleaner, sharper point.
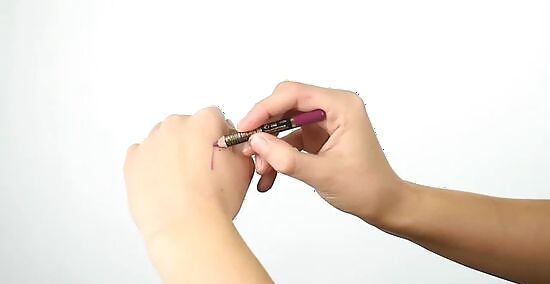
Warm up the lip liner. Before using your lip liner, warm up the tip by drawing on the back of your hand. This way it will go on to your lips more smoothly. Another way to warm up your lip liner is to rub the tip between your thumb and index finger.
Applying Lip Liner to Your Natural Lip Line
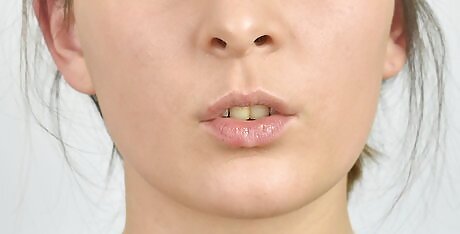
Part your lips slightly. Parting your lips slightly will help you stick to their natural shape as you line them.
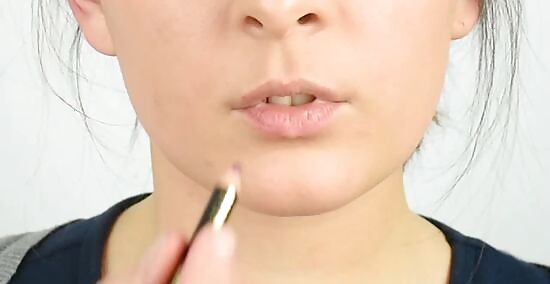
Trace your natural lip line. Many artists recommend sticking to your natural lip line, as overdrawn lips can look unnatural. A common thing to do is to start at the center-top and center-bottom of your lips and then work outward. Another common lining method is to start at the center, drawing an “x” at your cupid's bow, and then outline the corners and bottom of your mouth before lining the rest of your lips. This helps get achieve an even shape. You can even do this, then fill in your liner on your lips if you want to skip lipstick. As you trace your natural lip line, be extra careful to ensure that you've applied liner to any creases or cracks in your lips; this will help prevent your lipstick from bleeding. To get a fuller look without over lining, trace from the outside corner to the center of your lips instead of from the center out. This helps create a fuller, rounder shape.
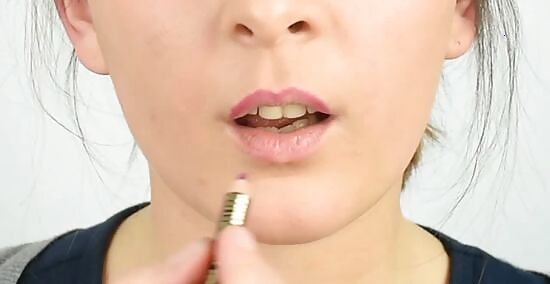
Move in light, short strokes. Moving in light, short strokes will give you a more precise line than trying to trace over your line in one smooth movement. If the liner tugs at your lips at all, it's too hard. Try warming the tip up by rolling it between your thumb and index finger, or drawing on the back of your hand; you can also see if sharpening it helps.
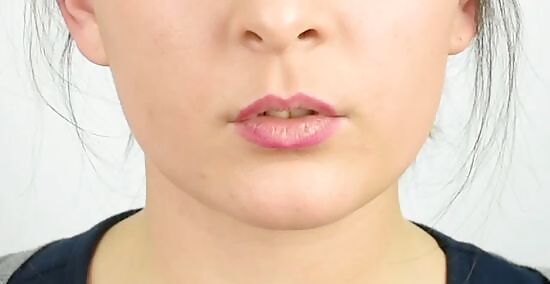
Complete your look. What you do after lining your lips depends on whether you plan to keep your lips looking natural, or to wear lipstick. If want a natural look, you'll blend the liner into your lips and follow it up with gloss. If you want to wear lipstick, you'll fill in your lips with liner before applying the lipstick.
Filling in Your Lips
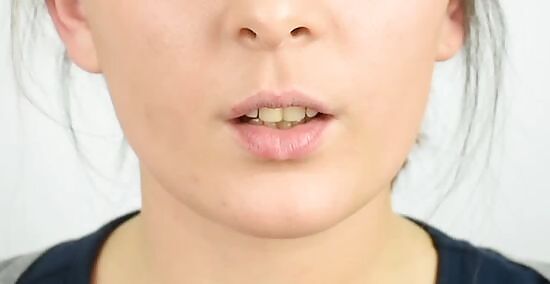
Blend a nude liner into your lips for a natural look (optional). If you're not wearing lipstick and simply want to use liner to define your lips, use a nude liner and fill in your lips with the pencil after you've outlined them. You could then finish the look off with a clear gloss. Even if you're not wearing lipstick, a little bit of lip liner lightly applied to your natural lip line can do wonders for helping to define your lips. If you're going for a natural lip, your lips should now be done!
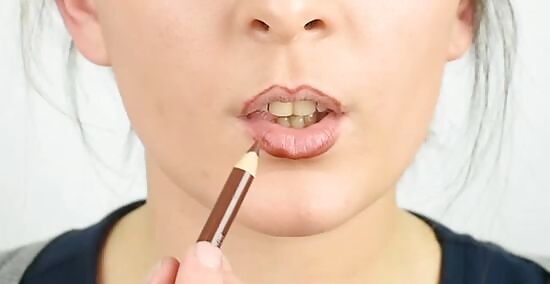
Fill in your lips with liner. Using swift, short strokes, fill in your entire lips with liner. This will give you a good base that will help your lipstick stay put longer. It will also help keep the lip color even, meaning the lipstick won't change color where it overlaps with the liner. Some people fill their lips in with liner and just wear the liner itself. If you do this, consider using a gloss or similarly colored lip balm over top of the liner to help it look smooth and even.

Apply your lipstick. Starting at the center of your lips and working outwards, apply your lipstick to your lips. For a lighter and/or more precise application, use a lip brush to apply your lipstick. Even if you want your lipstick to go on thick, you can use a brush — it'll just take a couple of layers to get the same thickness as using the lipstick.
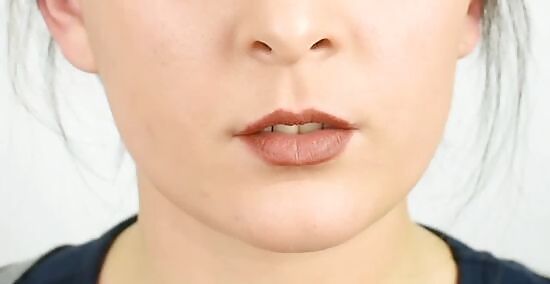
Refine your line. Once your lips are lined and filled, the last thing you'll want to do is clean up and even out your line. You can clean up the line with a bit of moisturizer or makeup remover on the edge of a cotton swab or kleenex. If you need to refine the line, simply draw over the necessary areas with your lip liner, then use your lip brush to blend where needed.
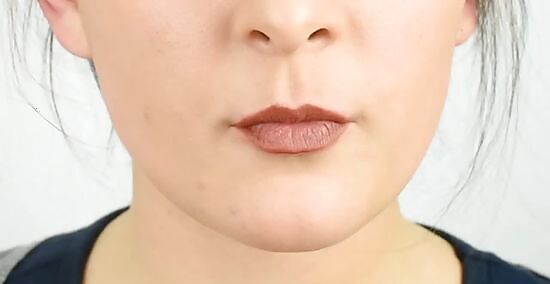
Apply concealer or foundation around lips (optional). This is particularly helpful if you're wearing a dramatic color that has left small stains around the edges of your lips; it also helps prevent your lip color from bleeding out to the skin around your lips. Use a small brush or a foundation brush to paint a small amount of concealer or foundation around your lips, as needed. You can also set the foundation/concealer with a small amount of powder.
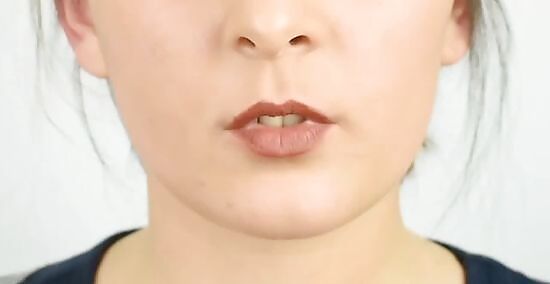
Blot between applications (optional). It's really common to apply one layer of lipstick, blot it and then apply another layer. Blot the finished look, too, to keep lipstick from transferring to your teeth. To blot your lips, open them, stick some tissue or blotting paper between them, and then close them gently in an “mmm” position. If you're going to use tissue paper, make sure it's a thick, good-quality tissue that won't leave any bits of fluff on your lips.
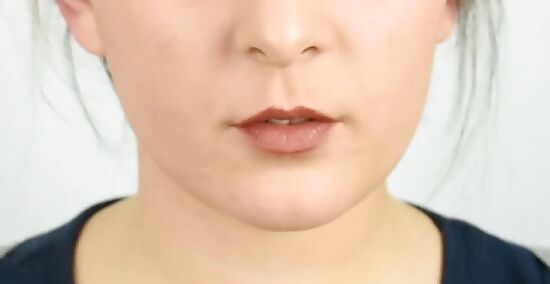
Set your lips (optional). Makeup artists often set lipstick by laying a thin layer of tissue over the lips and then dabbing a translucent powder over the tissue so that a small amount of powder gets on to the lips and helps hold the lipstick in place.
Making Your Lips Look Larger

Choose your colors. Choose a nude liner and nude lipstick for a natural look, or a more dramatic liner and matching lipstick if you're feeling more adventurous. Note that darker colors and mattes can make lips look smaller.
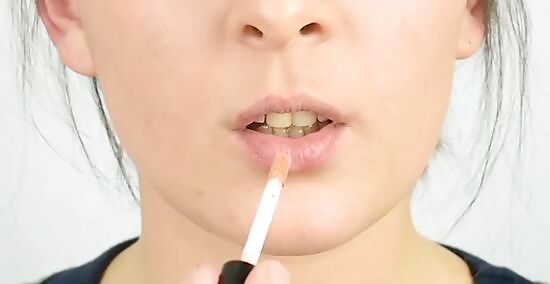
Apply a concealer to your lips and the surrounding area. This will help blur your natural lip line. It will also help your liner and lipstick stay put.
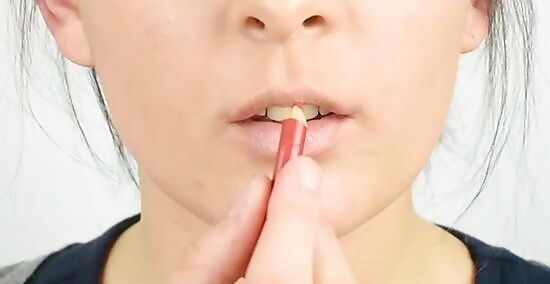
Keep it natural (optional). To make your lips look slightly larger, line just outside your natural lip line. To keep it looking natural, only go a very small step beyond your natural lip line.
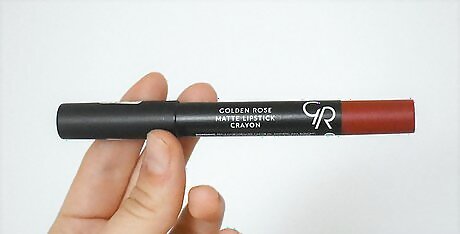
Go big (optional). If you want your lips to look significantly larger, you're better off using a two-toned method, with a liner that's slightly darker than your lipstick. In 2014 Kylie Jenner sported newly plumped lips with a '90s-inspired lining style of having a darker liner and a lighter lipstick. Experts say it's important to use a darker liner and then lipstick that's only slightly lighter (e.g., a burgundy liner and a cranberry lipstick) for this look.
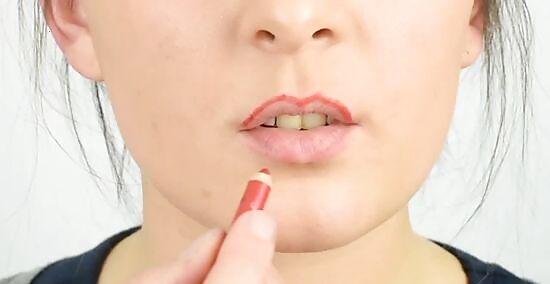
Return to your natural lip line at the corners of your mouth. Regardless of what size you go, make sure that you return to your natural lip line as you near the corners of your mouth. If you don't, you'll end up with clown lips.
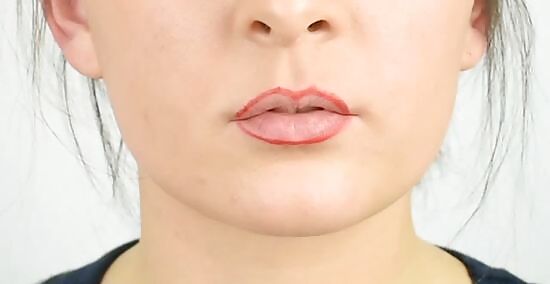
Heavily apply lipstick to the center of your lips. As you do this, be sure to leave space between the lipstick and the lip liner, as you'll be pulling the lipstick up into the liner and blending the two in the next step. Go thick with this application, as you'll need to be able to drag it up and blend it into your lip line.
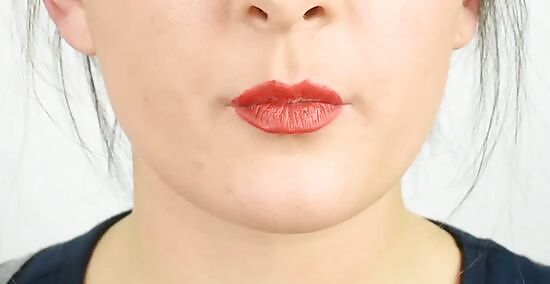
Blend the liner and lipstick together. Use a lip brush to pull the lipstick up to your lip liner, and blend the two.
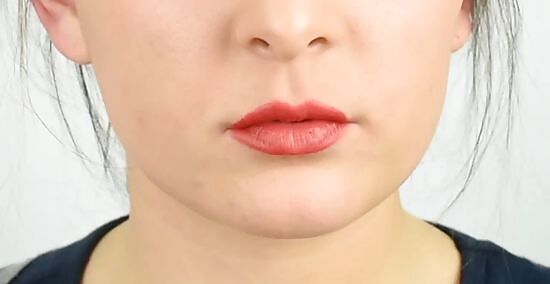
Run your ring finger or pinky finger over your lips. Do this gently back and forth until you've smoothed out any remaining hard lines. You want your lips to look smoothly graded, with just slightly darker edges leading into a lighter, plump center.
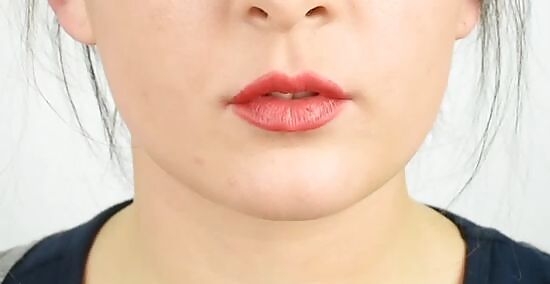
You're done! If you'd like you can dab a tiny amount of gloss or shimmery powder in the center of your bottom lip, which will help make it look a bit more plump.
Making Your Lips Look Smaller
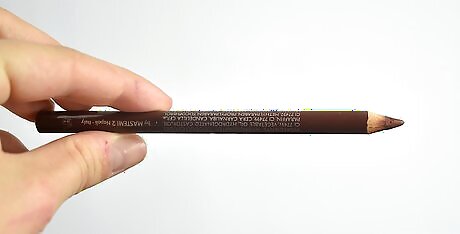
Choose your colors. Choose a nude liner and nude lipstick for a natural look, or a more dramatic liner and matching lipstick if you're feeling more adventurous. Note that darker colors and mattes can help make lips look smaller.
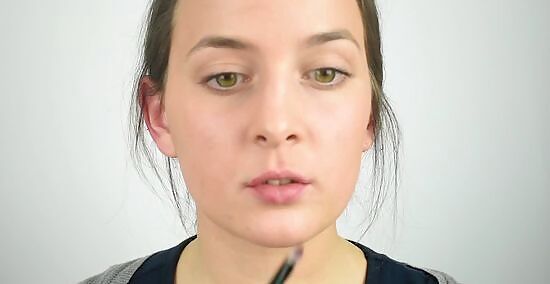
Apply a concealer to your lips and the surrounding area. This will help blur your natural lip line. It will also help your liner and lipstick stay put.
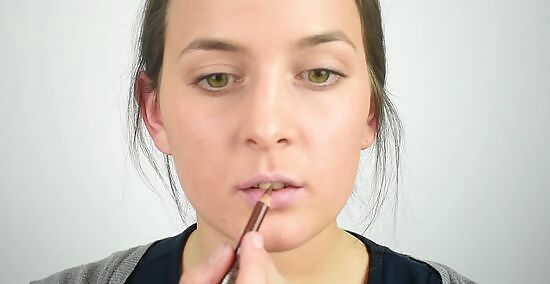
Draw slightly inside of your natural lip line. Using short and swift strokes, line just inside of your natural lip line. Use a nude lip liner for nude-looking lips, or a darker shade for a more dramatic effect. Darker colors can help make lips look smaller.
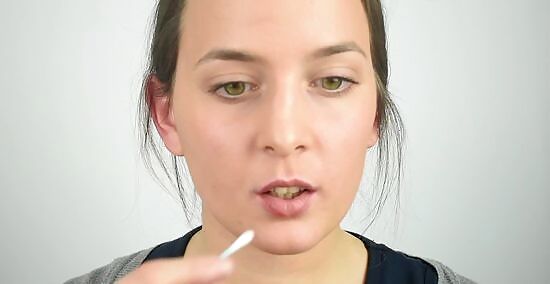
Clean up around your lips. Once you're done lining and filling in your lips, remove any stray lines with a kleenex or cotton swab, then use a concealer brush and some foundation or concealer to clean up around the lip liner and further hide your natural lip line.
Choosing the Right Tools
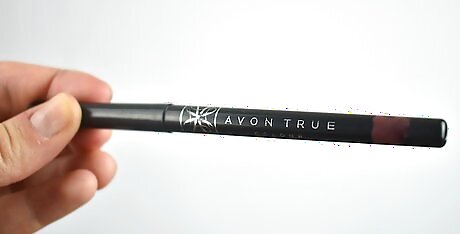
Buy a good-quality lip liner. Good-quality lip liners are available at drugstores and makeup shops: you just need to know what to look for. Always try before you buy. A good liner should easily draw a smooth, richly colored line on your hand. You should try to get a new pencil every 3-6 months. Avoid liners that go on translucent, chalky, and/or crumbly. If it's at all difficult to draw a line on the back of your hand with a liner, avoid it.
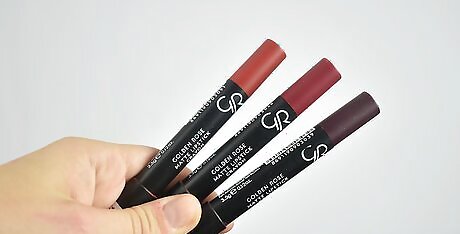
Know what colors to buy. Some makeup aficionados have a matching lip liner for every color of lipstick they own. If you only buy one color of lip liner, however, make it a nude or natural one. A solid beginner's set of lip liners would include one nude, one red, and one pink.
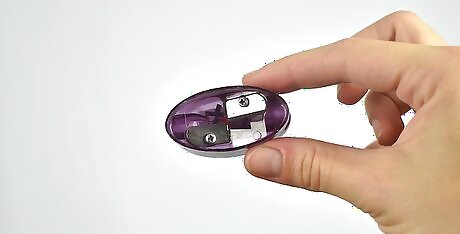
Get a good sharpener. Unless you're using a liner stick that twists up (these usually come in plastic casings), you'll be using something similar to a pencil crayon. You'll need a pencil sharpener to keep your liner in good shape. There isn't a lot of advice available as to how to purchase a good-quality sharpener; it's best to ask friends or do an online search for highly reviewed sharpeners within your price range. Sharpeners can cost anywhere from $2 to over $40, but it's certainly possible to get a good-quality one for under $10.
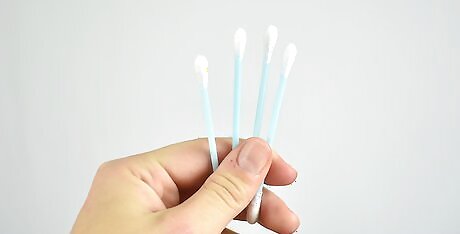
Have some tissue paper or cotton swabs available. Especially when you're new to lining your lips, you may need to clean up the lines. It's a lot easier to do if you have a cotton swab or tissue paper handy. For particularly stubborn marks, put a little bit of moisturizer or makeup remover on some tissue paper or the tip of a cotton swap, and gently rub at the mark until it disappears. It can help to dab a tiny amount of moisturizer on the mark then use the dry side of the cotton swab to rub the mark away.
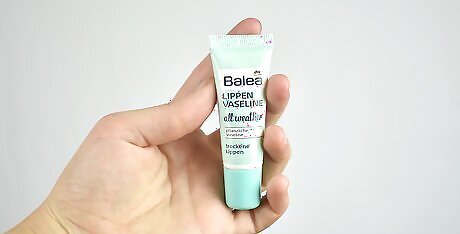
Get a good lip balm. Moisturizing your lips before applying a liner can help prevent them from drying out, which can make your liner look dry and crumbly when it sinks into the cracks that form in your lips when they're dry. A good lip balm will sink into your lips and make them feel moisturized. Avoid anything too goopy, which will make it difficult to apply anything else to your lips.
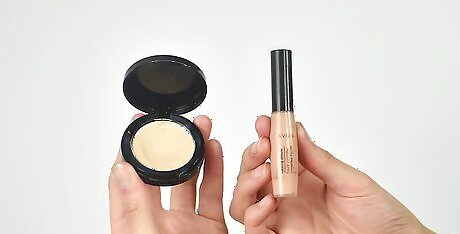
Get a lip primer (optional). Some makeup artists suggest applying a lip primer to your lips before doing anything else, as this can help lengthen the life of your liner and lipstick once they're on your lips. If you don't have a primer, you can also use concealer or foundation to prime your lips.


Comments
0 comment