views
Preparing Your Skin
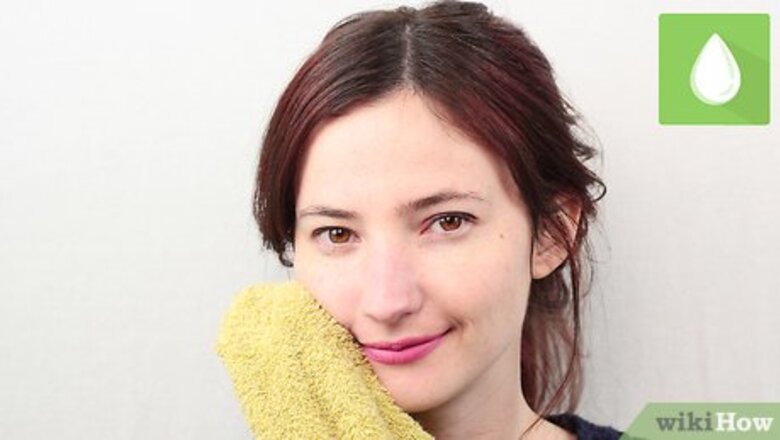
Wash your face with a mild cleanser. Use one pump of facial cleanser and lukewarm water to wash your face. Focus on areas of oil build up, such as the forehead and nose, scrubbing with your fingertips to deep clean. Rinse your face with cool water to close your pores, and dry with a clean towel. Cleansing your face will remove surface oils and create a clean canvas for your makeup.
Apply moisturizer. Rub a dime-sized amount of facial moisturizer into your face and neck to hydrate your skin. Moisturizing your skin will keep your powder foundation from looking dry. Allow the moisturizer to sit on your skin for 60 seconds for it to absorb fully. If you want your foundation to look even and smooth, take care of your skin with a regular routine, like cleansing and moisturizing your face each day and using a good night cream.
Apply primer. Squeeze a pea-sized amount of primer onto a fingertip and smooth over your face, working from the center outward. Work the primer into any areas of enlarged pores or creases for an even base. Primer makes pores appear smaller and fills in fine lines for more flawless makeup application. It will also make your foundation last longer. Choose a primer that suits your skin's needs. If you have large pores, for example, you can use a primer meant to fill in pores and fine lines. Putting on too much primer can leave your skin slick, as many are silicone-based and don’t absorb the same way lotion does. With that in mind, it’s best to put on just a little at first and use more as needed.
Applying the Foundation
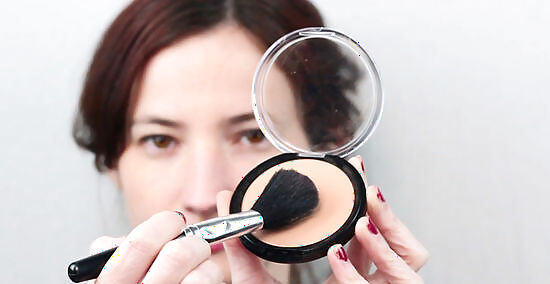
Swish a kabuki or rounded foundation brush over the powder foundation. Move the makeup brush back and forth over the pressed powder in short strokes to coat the bristles. Tap the edge of the brush against the sink to shake off any excess powder. This will ensure you don’t have too much product on the brush.
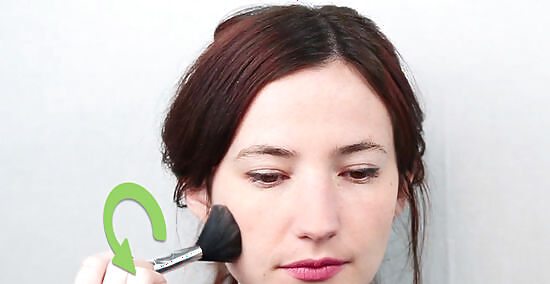
Press the powder over your skin with a slight rolling motion. Use gentle pressure to roll the brush over your skin, working from the center outward, to apply the foundation. Do this all over your skin for a smooth natural look. If you are wearing a low-cut top, you can apply makeup over your neck and décolleté as well for a smooth finish.
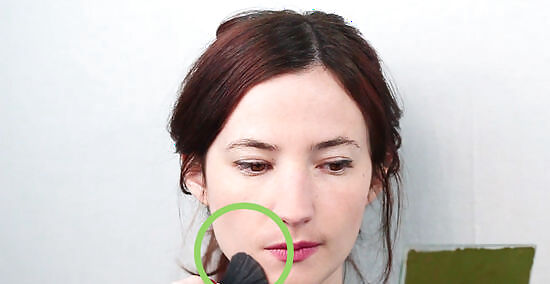
Build coverage where you need it. Using the same rolling motion, apply additional powder over any areas you’d like to cover more. Do a couple rolls at a time, and then pause to check the area in the mirror. Stop when the coverage is to your liking. This will ensure the areas you want camouflaged are hidden without putting excess makeup on the entire face.
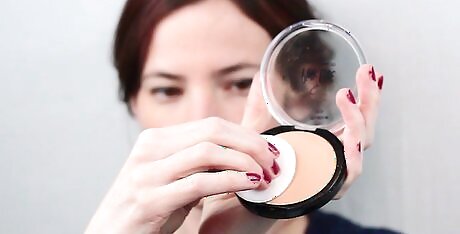
Use a damp beauty sponge for heavier coverage. Wet a beauty sponge with lukewarm water and dab it into your pressed powder. Use the makeup dampened sponge to apply your powder, gently dabbing the sponge against your skin as you work from the center outward. This will provide heavier makeup coverage if you have widespread blemishes or lots of discoloration you want to hide. This technique should be used before applying any pressed powder foundation with the foundation brush, if desired. Doing so after could cause your makeup to look cakey.
Performing Touch Ups
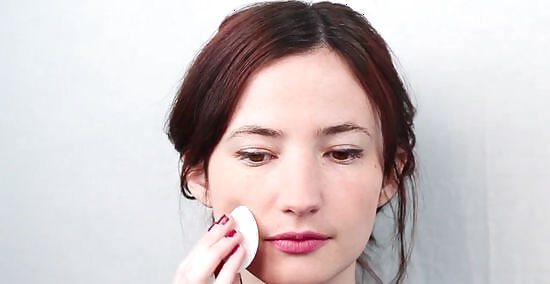
Use the built-in puff. Most pressed powders come with a built-in puff that can ensure smooth application even when you don’t have your brushes. If you’re on the go, press the puff into your powder, then dab gently on any areas where your foundation has faded.
Use rice paper to absorb excess oil throughout the day. Touch up your look when out and about by blotting with rice paper on areas of facial oil build-up, such as your nose and T-zone. This will keep your face looking polished with a nice matte finish. Reapply powder sparingly. Doing this too often can result in a cakey appearance. Powder foundation is great for anyone with oily skin, because it will help absorb some of the oil throughout the day.

Touch up any blemishes or imperfections. Roll your makeup puff around one finger and dab the edge in your powder. This will focus the foundation on a smaller area of the puff. Then, gently tap that part of the puff against the offending blemish or area you want more coverage. This will hide any imperfections that peek through your original makeup application.


Comments
0 comment