views
Getting Started Safely

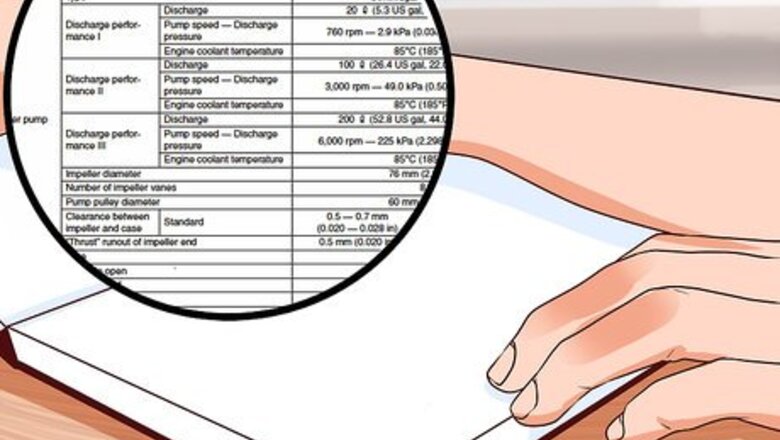
Look up your car’s coolant capacity. Coolant capacity specifications vary significantly from engine to engine, so it’s important that you look up the amount and type of coolant you will need to fill your car with ahead of time. Some vehicles require only four or five quarts of coolant, while others may require as much as fourteen. You can find the information you need in the vehicle’s owner’s manual. Make sure to purchase the coolant before you begin the project, as you will not be able to drive the car until you refill the drained radiator. You can ask the clerks at your local auto parts store to look up the capacity and type of coolant you need if you do not have the owner’s manual.
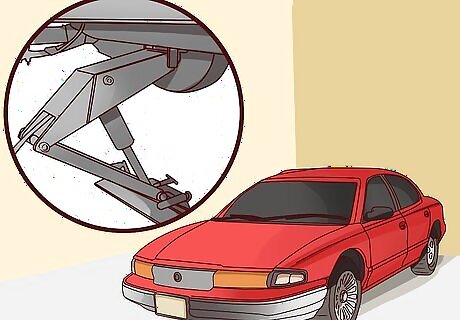
Park the car on level ground. The draining of your radiator fluid will likely require jacking the car up, so it’s imperative that you find a level surface to park the car on before you get started. Try to use concrete or blacktop, as gravel or dirt driveways may not provide adequate support for the jack or jack stands once the car is lifted off of its wheels. This project can be completed inside a garage if you have one available to you. Never jack a car up on grass, as jacks and jack stands can sink while you’re under the vehicle.
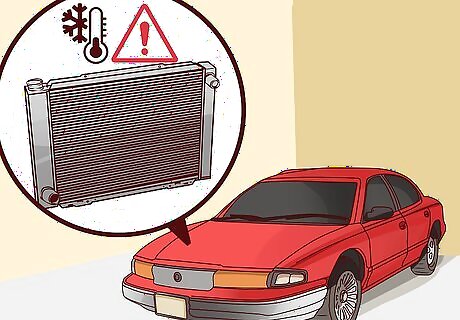
Wait for the car to cool sufficiently. Many cars operate at well over 200 degrees Fahrenheit and the heat can compound under the hood. Your radiator is designed to dissipate that heat by pumping coolant throughout the engine and into the radiator, where wind and the fan can cool it. Because of this, the fluid inside your radiator is extremely hot. This heat can pressurize the fluid in the radiator, causing it to expel extremely hot steam or coolant that can burn you. Wait until the radiator is cool enough to touch before opening any caps or valves. Depending on how long ago the car was running, you may need to wait a few hours before it’s cool enough.
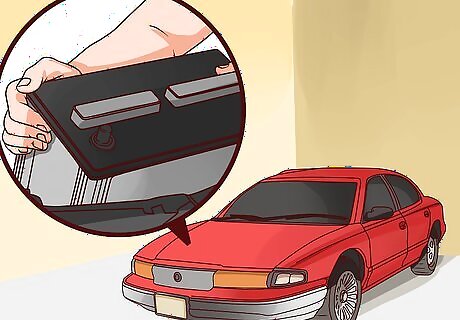
Disconnect the battery. While you will not be working on the electrical system of the car, disconnecting the battery is an important first step to any automotive maintenance or repair project. By disconnecting the battery, you ensure that the car cannot be started while you’re replacing the coolant. Disconnect the battery by loosening the bolt on the negative terminal of the battery and removing the cable from the terminal. Make sure the hood is propped up safely, either by hydraulic pistons or a sturdy hood prop.
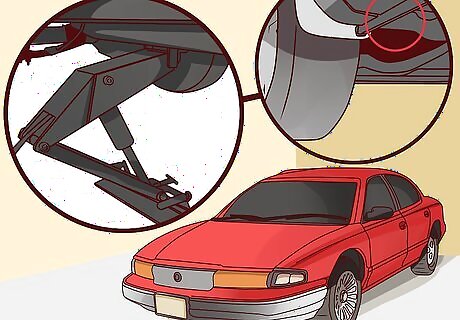
Jack the car up if necessary. Depending on the vehicle, you may have enough room to slide a bucket beneath the radiator to catch the draining coolant, but if there isn’t sufficient space, you will need to jack the car up to a height that permits it. Use jack stands to support the car after you have lifted it up. Do not leave the vehicle’s weight supported by the jack itself as you work. Make sure to jack the car up from appropriate jack points to ensure you do not damage the frame or body of the vehicle. Once you have the vehicle lifted up, use jack stands to take the weight off of the jack and support the vehicle. You can also use wheel ramps to lift the car, if you have them.
Draining the Radiator

Locate the drain valve on the radiator. Your radiator is located at the front of the engine bay, just behind the grill of the car. There will likely be one or two fans mounted on the front facing side of the radiator, with plastic or metal end tanks on either side of the aluminum body. The drain valve on your radiator is usually located on the driver’s side, near the bottom, on one of the end tanks. Depending on the make and model of the vehicle, there may be a plug in the drain valve called a “drain cock.” If you have difficulty locating the drain valve or cock, check in your owner’s manual.
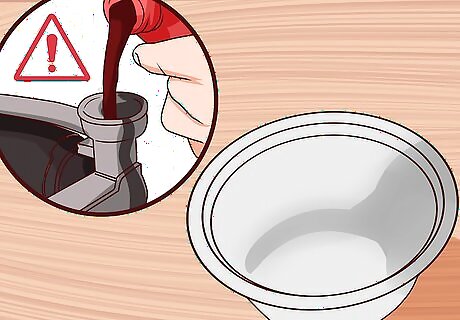
Place a bucket beneath the radiator and open the valve. Make sure you have a bucket that is large enough to hold all of the fluid that will be drained from the radiator, and place it beneath the drain valve. Open the drain valve or remove the drain cock and allow the coolant to drain into the bucket. Be careful, even if the radiator is only warm to the touch, the coolant pouring out may still be quite hot. Ensure you do not allow the coolant to drain onto the ground or into a drain. Coolant must be disposed of properly in order to protect the environment and adhere to the law.

Close the drain valve and open the radiator pressure cap. Once the radiator is drained, close the valve or replace the drain cock. Then open the radiator cap or the radiator pressure cap (depending on the vehicle). You can locate the cap by checking in the owner’s manual, or simply follow the piping that leads from the radiator to the engine. If there is a cap along the line, use that, or it may lead to a coolant reservoir with a cap on top. Once you locate the appropriate cap, open it and look inside; the level of fluid should be quite low after draining the radiator. Make sure to close the drain valve tightly so fluid will not leak out when you pour more in. The coolant pressure cap will often be marked with warnings like, “Do not open when engine is hot.”
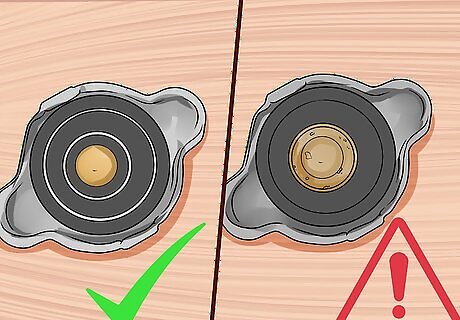
Replace the radiator cap if necessary. If you can hear coolant boiling despite the car’s temperature gauge indicating a normal temperature or if you notice bubbling coolant leaking from beneath the radiator cap, you will likely need to replace it. Doing so will require the purchase of the appropriate radiator cap from your local auto parts store. Make sure to provide them with the make, model and year of your vehicle as well as the engine size so you can be sure you receive the right cap. To install a new radiator cap, simply screw the replacement cap on in place of the old cap once you’ve removed it. A faulty radiator cap can inhibit your vehicle’s ability to regulate its operating temperature, resulting in overheating and damage.
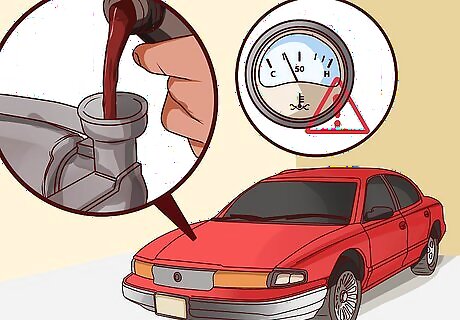
Fill the radiator with water. Use a jug to pour water into the opening for the radiator pressure cap or into the coolant reservoir. Once filled, close the cap and start the engine. Turn the heat on to full inside the cabin of the vehicle and allow it to run for about ten minutes, this will cycle the water through the coolant system to help you get the last of the old coolant drained. Keep an eye on the temperature gauge of your vehicle while it’s running. If the hand approaches the red portion of the gauge, shut the car off immediately. Do not allow it to reach the red, as that indicates overheating. If your vehicle has an engine temperature warning light instead of a gauge, shut the vehicle off immediately if the light turns on.

Pour the drained coolant into sealable containers. You will need to transport the drained coolant to an authorized coolant disposal location. Many auto part stores and county recycling centers/waste disposal centers will allow you to drop off used coolant free of charge, but depending on your location you may need to pay for disposal service. Pour the bucket you used to drain the coolant into old jugs or something else that can be sealed to avoid spilling it along the way. Old coolant jugs work well to store used coolant. Do not pour the used coolant into old oil containers, as mixing the two fluids may prevent some locations from taking the waste coolant.
Replacing Your Car’s Thermostat

Locate the thermostat while the coolant system is empty. If your vehicle has been overheating or failing to reach appropriate operating temperature, it may be because you need to replace the thermostat. While the thermostat may be located in different places depending on the make and model of your vehicle, it can usually be found where the top most radiator hose meets the engine. You can search for the location of your specific vehicle’s thermostat online or ask the clerk at your auto parts store to help by pointing out where it should be. Some vehicles come with maintenance booklets that go along with the owner’s manual. The location of the thermostat should be listed in your maintenance booklet.
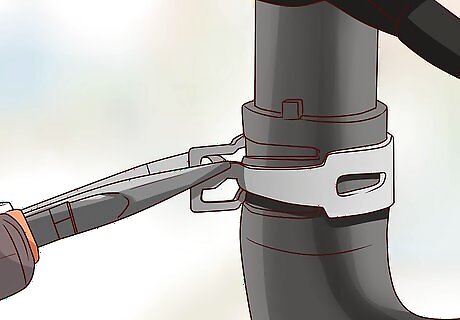
Disconnect the radiator hose. The line will likely be attached to a nozzle and held in place using a hose clamp. Some hose clamps require the use of a flat or phillips head screwdriver to loosen, while others need to be squeezed with pliers. Determine the right way to loosen the hose clamp, then do so and remove the hose from the metal nozzle. Make sure there is a bucket under the hose to catch any remaining coolant that may drain out of the hose when you disconnect it. Leave the radiator line connected on the radiator end.

Unbolt the thermostat housing and remove it. The nozzle the hose used to be connected to should have two bolts (but possibly as many as four) securing it to the engine. Using a hand or socket wrench, remove these bolts and attempt to remove the housing (nozzle). If it doesn’t come off easily, do not use a tool to pry against it, as you can damage the parts and make it impossible to re-seal the coolant system. If it won’t budge, tap on it with a piece of wood or rubber mallet until the rubber gasket holding it in place gives way. Remove the housing (nozzle) and set it aside.
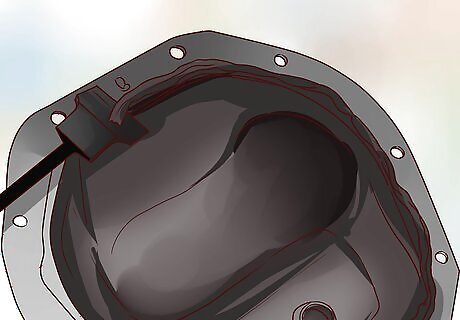
Scrape off the old gasket material. The thermostat housing is sealed using a gasket that will have to be replaced. Before the new gasket can be put in place, the old damaged gasket must be scraped off both the housing and where it mounts to the engine. You can use a scraper or razor blade to scrape off the remaining gasket material. All of the material must be removed in order for the new gasket to seal properly. Be very careful not to damage the housing. The housing must sit securely on the engine in order to ensure it seals.
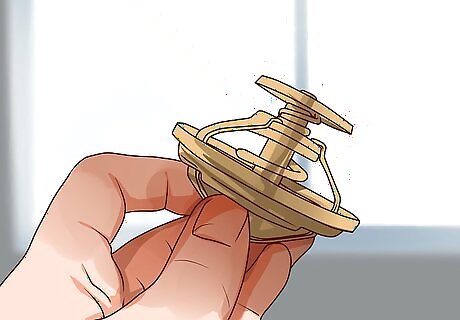
Replace the thermostat and install the new gasket. To remove the thermostat, simply lift it out of the now open thermostat housing. Place the new thermostat in the housing in the exact same way you found the old one. Once the new thermostat is in the housing, place the new gasket on the housing taking care to align the holes for the bolts. You can purchase the appropriate gasket at your local auto parts store. Make sure to provide your vehicle’s make, model, year and engine size when purchasing the gasket to ensure you receive the correct one.
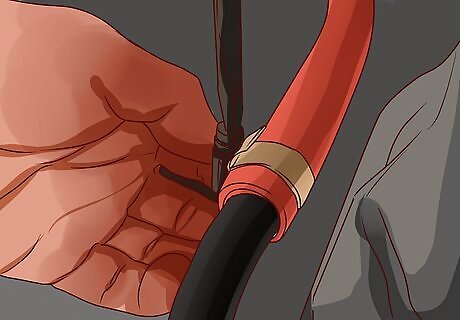
Bolt the housing back into place and reconnect the hose. With the gasket in place, put the nozzle back over the thermostat and secure it with the bolts you removed previously. You can then reattach the hose and secure it in place with the hose clamp. Make sure everything is tight, otherwise your coolant system could leak. You may need to replace the hose clamp if it was ruined while you removed it. You can purchase hose clamps at more hardware or auto parts stores.
Adding New Coolant
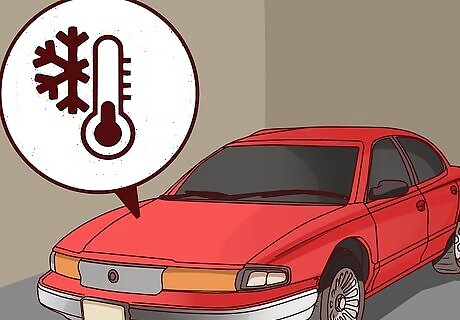
Allow the vehicle to cool again. Shut the vehicle off and allow it to cool again before attempting to progress further. Although you only let it run for ten minutes or so, it may take quite a bit longer than that for it to cool enough for you to begin working. If the car’s temperature gauge was beginning to rise toward the red, it will likely take even longer. Wait until the radiator is once again cool enough to touch before moving forward. If the vehicle was approaching overheating, you may need to wait an hour or longer.

Drain the water from the radiator. Follow the same steps you used to drain the old coolant from the radiator to drain the water you added. This water will flush out the remaining old coolant as you drain it, leaving your coolant system ready for you to fill it with a new coolant mixture. You will need to dispose of this waste water in the same way as the coolant, so you should transfer it into sealable containers. Make sure to securely close the drain valve after draining the water before adding any coolant to the vehicle.
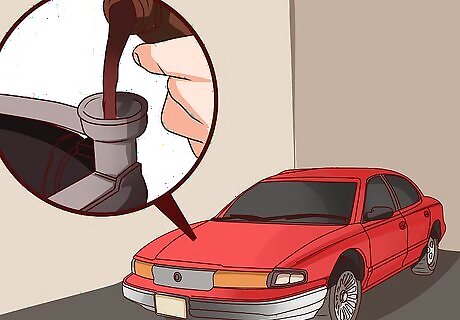
Pour in the new coolant. Refer to your vehicle’s owner’s manual to ensure you fill the vehicle with the correct coolant. Most vehicles require a 50/50 mixture of coolant and water, so you can either mix it yourself or purchase pre-mixed coolant and water from your local retailer. Pour the coolant into the same open cap you previously used to fill the radiator with water. Some systems require you to pour the fluid in slowly, as it gradually displaces the fluid out of the reservoir and into the coolant lines, so be patient to avoid overflowing. Make sure to pour in the amount of coolant/water mixture your owner’s manual indicates is correct for your vehicle’s engine. Check below the car for any leaks, particularly near the drain valve. If the drain valve is leaking, tighten it to stop the leak, as it will get worse under pressure. If you spot leaks elsewhere, you will likely need to take your vehicle in for professional repairs. When filled, the coolant/water mix should reach the “max” line on the reservoir if your vehicle has one.
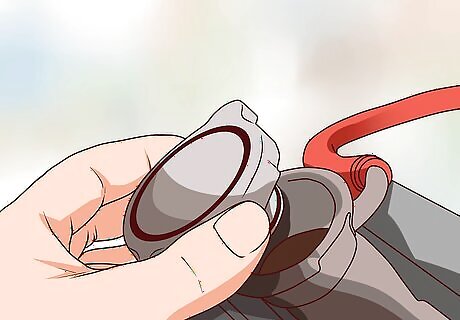
Close the cap and start the engine again. Run the engine for another ten minutes with the heater in the cabin of the vehicle on high. Watch the temperature gauge as the engine cycles the water/coolant mixture throughout the coolant system. The gauge is likely to go up a bit before returning to normal, which should be indicated in blue or as the “middle” of the gauge. If the temperature begins to climb toward overheating, turn off the vehicle and check the coolant levels to make sure it is filled. After about ten minutes, shut the vehicle off. If the temperature read normal, the coolant change is complete. Lower the vehicle off of the jack stands and clean up the area, paying special attention not to spill any waste coolant or water.

Check the fluid levels again after a few days. After a few days of regular driving, check the coolant levels again. The fluid levels may have lowered as the coolant/water mixture filled all of the coolant lines and the radiator, so add fluids if you notice the level is low in the coolant reservoir. There are usually lines that indicate minimum and maximum coolant levels. Fill the reservoir until it reaches the “max” line if it has fallen below it. If the coolant levels are seriously low, you likely have a leak and should bring your vehicle to a professional service location to be looked at. If you accidentally overfill the reservoir, you can drain some fluid in the same manner as you have before, but be very careful, as it can be difficult to stop the radiator from draining once you open the valve.


Comments
0 comment