
Changing Your Local Account Name
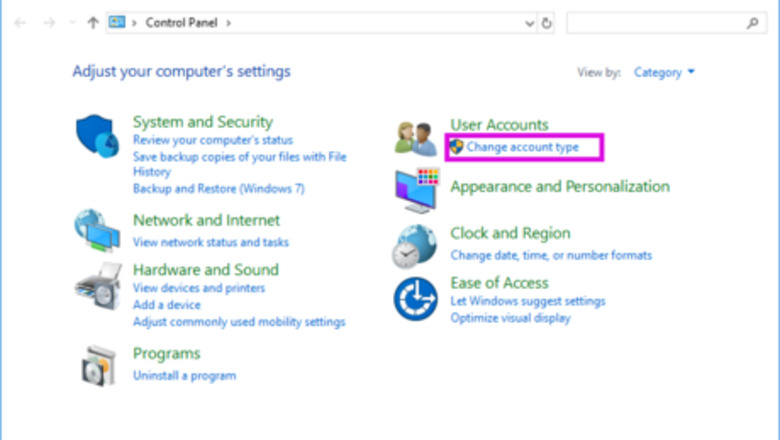
Open Control Panel. In the left bottom search box for your computer, type in control panel, and then click the Control Panel to open it.
Click on Change account type under User Accounts.
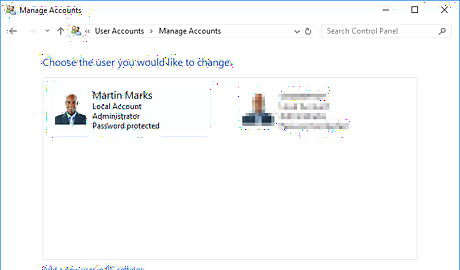
Click on the user account you want to change.
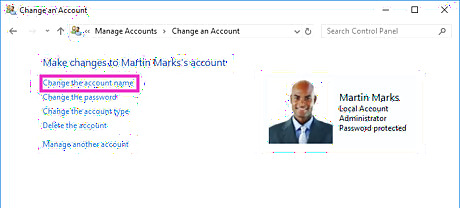
Click on Change the account name.
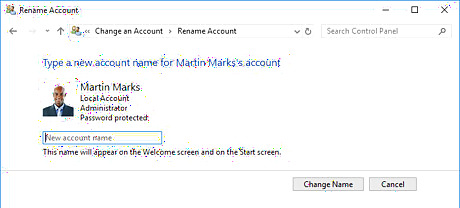
Type in the new account name. Click on Change Name.
Sign out of your user account. You will see your user account name has been changed on the logon screen.
Changing Your Microsoft Account Name
Open Settings. Click on the Windows icon on the left bottom, and then click on Settings.
Click on Accounts.
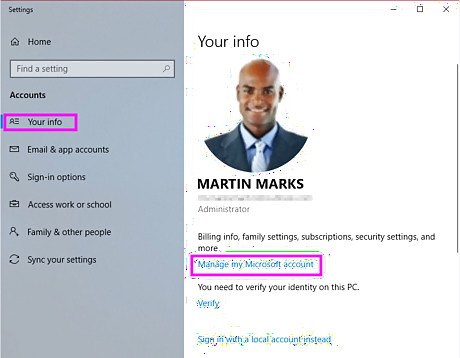
Click on Your info in the left panel. Then click on Manage my Microsoft account on the right panel.

Sign into your Microsoft account in the browser. Click on More actions, and then select Edit profile. If it is the first time you’ve logged in with your Microsoft account you may need to enter your Microsoft account and password to sign into microsoft.com.
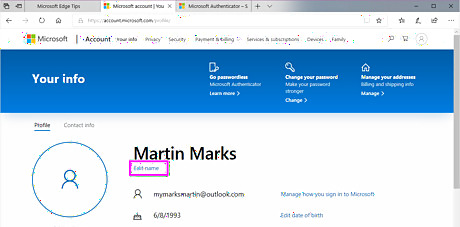
Click on Edit name under your user account.
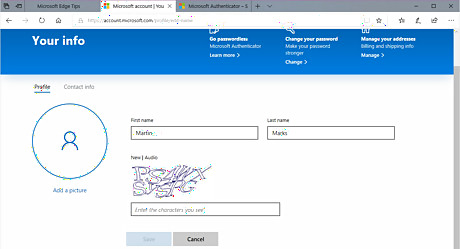
Type in your new user name. Then click Save.
Restart your PC to the logon screen. You will see your user account name has been changed.


Comments
0 comment