views
Find the Perfect Window “Canvas”
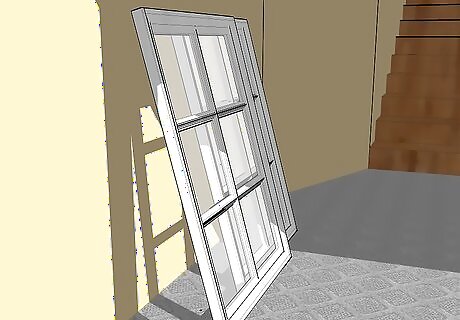
Use a window that has special meaning. If you've inherited a piece of family history or carried something special from your past, use that window as your display. Make sure your vintage piece is able to be hung or displayed. While it may hold sentimental value you want to make sure the piece is functional. Check for cracks in the glass or issues with the pane itself. Consider if the window needs to be restored. Your vintage window may be charming the way it is but may need some restoration. Think about what may need to be done and what is needed to restore it.
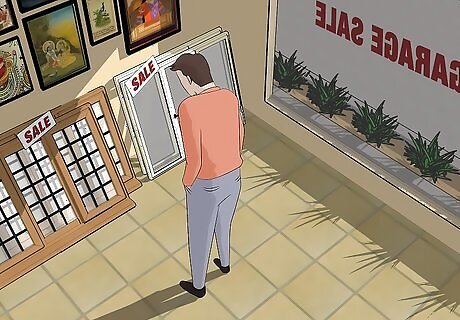
Shop for an old window. Hit garage sales, estate sales or second hand stores to find that perfect window. Visit a “going out of business” sale. Retailers or restaurants may be selling everything at a very good price, including pieces like window panes. Check out foreclosure sales. Sometimes the lender or bank may be interested in unloading old appliances or pieces of a home that is no longer needed.
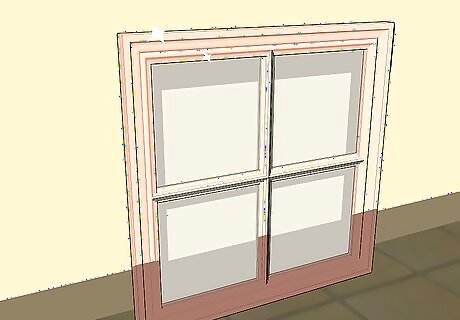
Purchase a new window pane and make it look like new. Just because you don’t have access to a vintage “stumble upon” window doesn't mean you can’t complete the project. Hit the home improvement stores to uncover a variety of possibilities.
Choose Your Photos
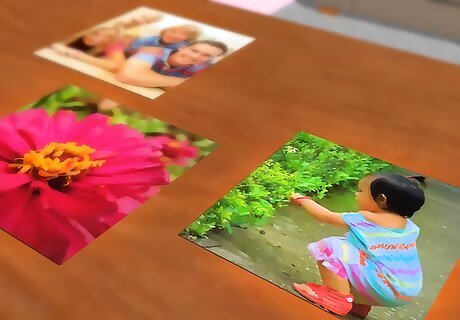
Select your artwork/photos based on where you plan to hang the window and the window style. Consider the overall theme with the project. Do you hope to display photos your child through the years or focus on a recent trip overseas? Know the photo theme and how it plays on the window style. Take the room into consideration. You may not want to hang intimate family portraits in the living room so consider the location destination.

Determine if you plan to enhance the photos. You may not want just straight photos but instead something with more of an edge. Try black and white photos for extra drama. Or you can add a splash of color on the black and white photos for a color pop. Use a computer photo program to change or enhance the photos. Try creating a watercolor look or a pencil drawing from your photos for your project. Alternate between color and black and white photos. Some photos in your window could be color whereas others could still be black and white-there are no hard and fast rules so tap into your creativity and have fun.
Put Your Window Frame Together and Hang
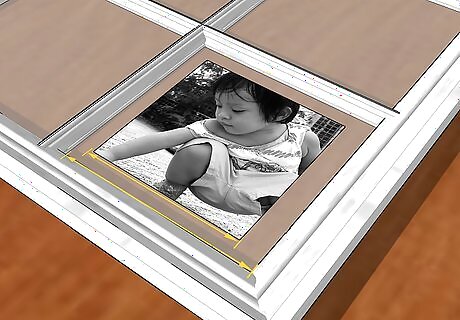
Size photos to fit inside each window pane. You may want to give the photos the look of “floating” so you may want to size them smaller than the pane or you may want to fill the pane.
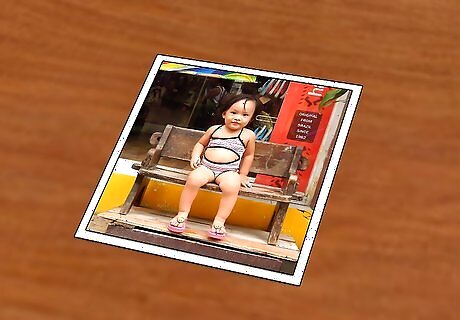
Determine if you want to add a border around each photo. If you plan to add a border, make sure the design not only compliments the picture but also the window frame.
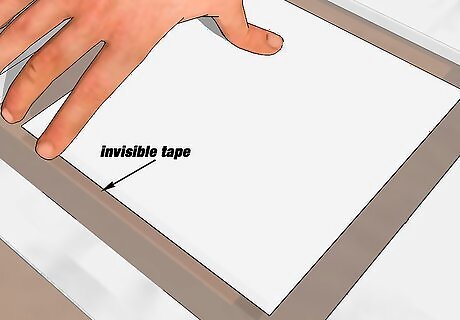
Mount photos behind the glass. One way to mount the photos is to spray the edges with spray mount and affix to the glass. Or you can lay the photo down on the glass and use invisible tape to secure it to the glass.
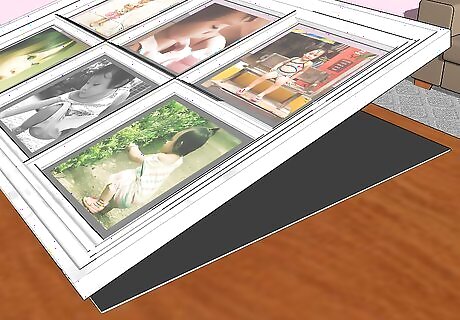
Consider if you should add a back to your frame. You most likely do not have a backing to your window so think about if a back support is necessary. If so, use heavy cardboard cut to size. Add sliding hooks to each side of the wood on the window frame and rotate in place after the cardboard has been put in place.

Use a high quality picture hanging kit to hang the window. Remember, this window frame will be extremely heavy so you must use a kit design for industrial hanging. Follow the directions on the kit and consider using up to three hangers to fully secure the frame.
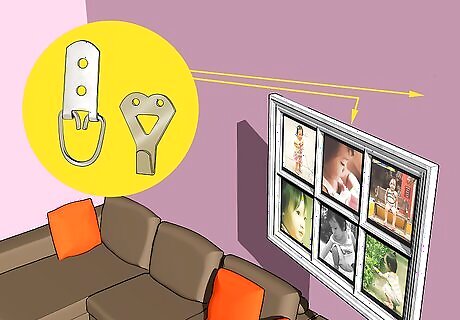
Set the window frame on each hanger or drill hanger rounds along the back of the frame.

Finished.


Comments
0 comment