
Choose an automobile to modify. If you're planning to drive your art car on a regular basis, you'll want one that is in good mechanical working order. Some "cartists", however, prefer to leave their art cars parked, and only move them by towing to destinations such as art shows. Since you'll probably be modifying the outside heavily, it doesn't matter too much if the finish is damaged, although an additional investment of time and effort will be required to remove any rust if you're going to paint the car.
Choose your theme. Themes are unlimited. You can go with a hobby, a political statement, self-expression or a commercial venture. If the car is going to be driven, it's likely to draw attention and can be a good medium through which to advance a cause or promote a business.
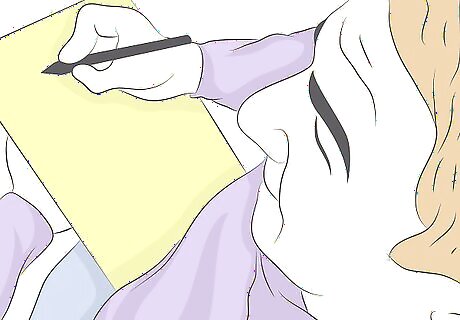
Plan your car art and start where it draws you. During the planning stage, let your creativity run wild. Make sketches or collect swatches and samples of possible materials or colors to use. Then, choose an idea and modify it so that you can execute it.
Make any pre-paint modifications to the car itself. If your plan calls for see-through panels, for instance, it's best to make the cuts before painting.
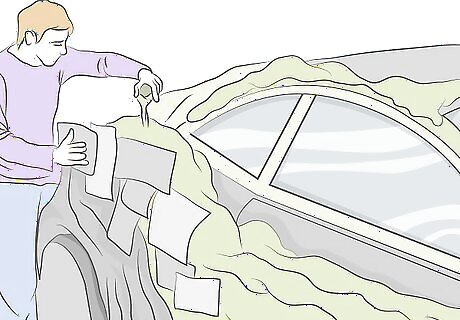
Create any sculptures or larger items you plan to attach to the car. If you can do these separately from the car itself, they will help you to get the colors and arrangement right on the rest of the vehicle. It's also a good idea to do these first, at least the larger ones, to determine whether you're really committed to the project before you cut and paint. Keep in mind that you can also expand the surface of the car with expandable spray foam or Bondo body-filler. This may reduce the need to attach separate large objects to the car.
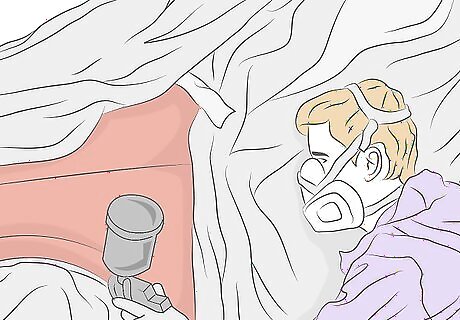
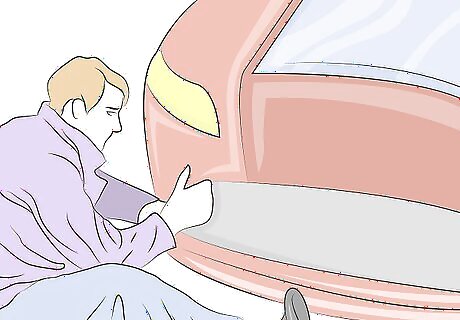
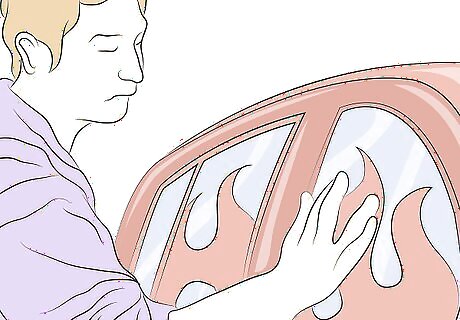
Paint the car. Choose a color or colors that will go with your theme. The paint can be the art in itself or it can be a background for other additions, or both. One-shot sign enamel is available in bright colors and is very durable, but you can also use oil paint (for more expression and less convenience) or even poster paint (for a temporary design).
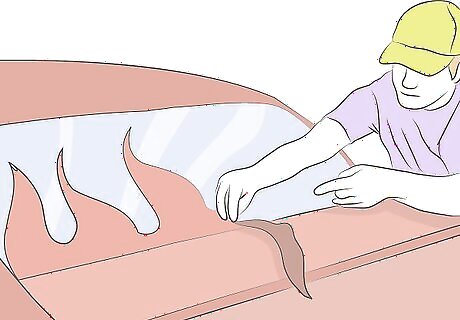
Attach any large pieces where they will go. For larger pieces, be very sure that you secure them firmly (see warnings below). It's likely that you'll need to use bolts, screws, pop rivets or welding. There are, however, ways to attach large pieces temporarily, such as with string or rope, or even creating edges that wrap around doors and trunks so that they are secured when the door or trunk is closed.
Attach any other background materials, such as tile, fur, bottle caps, etc. A car that has its surface almost covered in small objects is often referred to as a "gluey". You can use silicone adhesive, epoxy or liquid nails. Use the larger works to get the spacing and arrangement right. Smaller objects can be attached temporarily with magnets. This is useful if you only want the car to be a work of art for a short time, or if there's a chance the objects will be stolen when the car is unattended. Don't forget that if the car is driven, these items will see vibration, acceleration, and high wind. They should also be relatively weatherproof.
Light it up. If the art car will be on display after hours, you can add Christmas lights, el wire or neon tubes, which can be powered independently (battery in the back seat?), through the cigarette lighter, or wired to the battery.
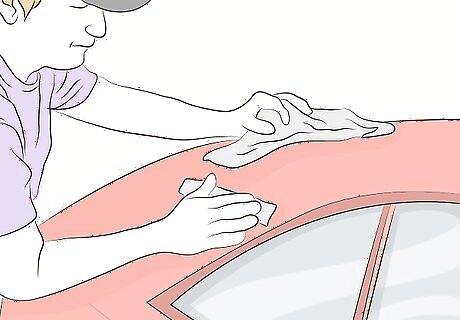
Apply any finish coatings to the outside. Will you add a protective coating of shellac or fill in grooves with caulk of some sort?
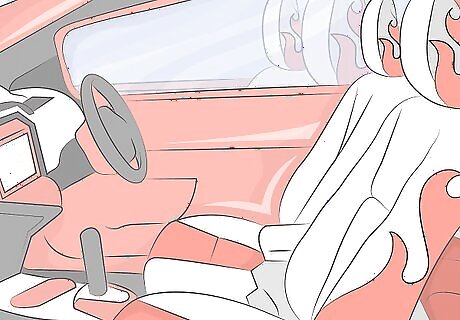
Decorate the inside of the car, if you are going to. Will you add furry trim or bright colors to go with your theme?
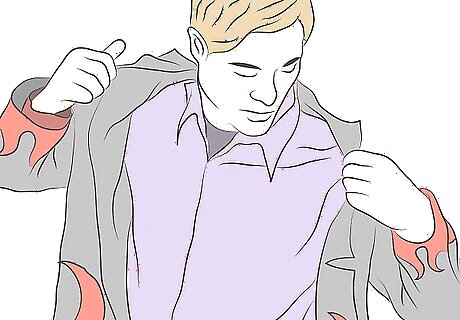
Decorate yourself to match. Wear outfits that match or compliment the design of the car.
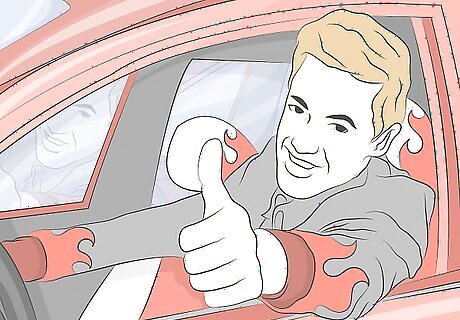
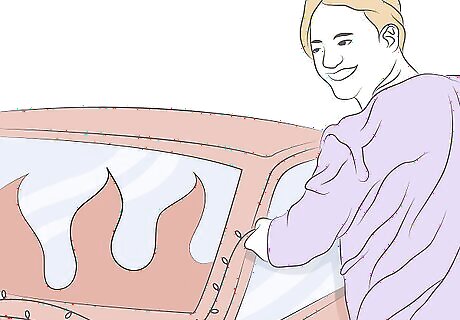
Show off your art car. Go to shows, parades, or just drive around town. Be prepared to answer questions! To find other "cartists" go to an art car parade.


Comments
0 comment