views
Pulping
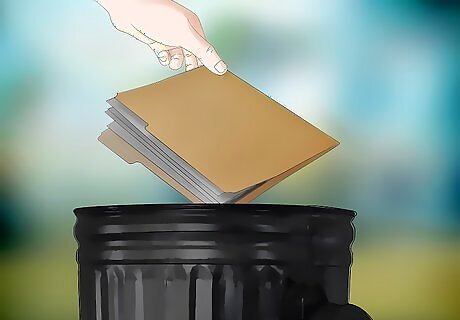
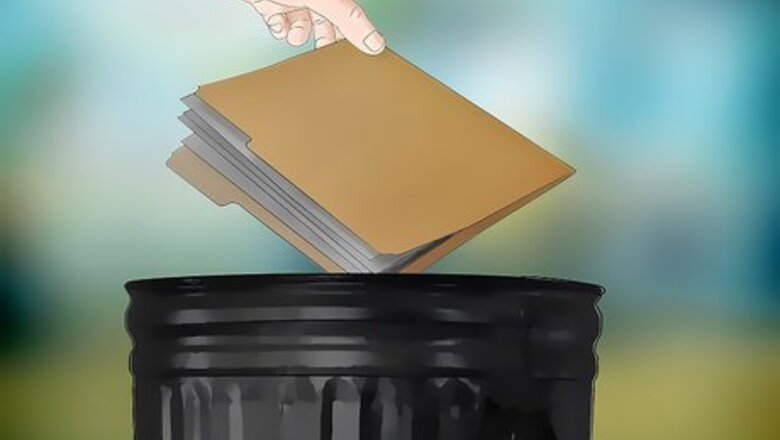
Place the documents in a large trashcan. You will want a container tall and wide enough to easily contain all of the documents and liquids you are pulping. Similarly, the material needs to be strong enough so that it won’t deteriorate or lose its form when in contact with bleach and water. Since you will be using roughly 22L of liquid to dissolve the documents, choose a trashcan that is greater than or equal to 30L. This will give you enough room to properly churn the documents. Plastic trashcans work well and can withstand the effects of diluted bleach. Large plastic trashcans are available at home improvement and construction stores, as well as general commodity stores like Kmart, Target, and Walmart. They are also available online. Remove the documents from any envelopes or packages.
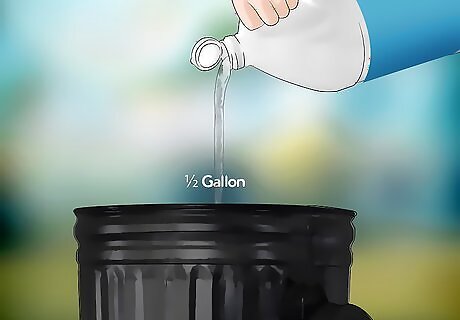
Pour in ½ Gallon (2L) of bleach. Many stores sell brand name and generic bleach with a 8.25% concentration; this is perfect for your purpose. Bleach is going to help break down the paper. Commonly used in the recycling of used paper, it will also destroy the colorants of ink. This will guarantee a more complete destruction of any secure information in your documents. Bleach is a hazardous chemical and can cause serious illness if not safely used. Avoid contact with your skin and eyes; do not ingest bleach. Only mix bleach with water. Combining with other chemicals – such as ammonia or toilet bowl cleaners – can produce toxic, potentially deadly fumes. It is advised to wear long sleeve clothing, pants, close toed shoes and an eye cover when working with bleach. In the case you accidentally swallow any of the solution, immediately drink a small glass of water or milk. Call poison control at 1-800-222-1222.
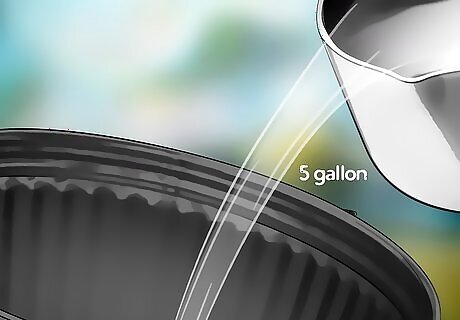
Add 5 Gallons (19L) of water. Although bleach is the more chemically harmful (and stronger) part of this mixture, simple water is doing a lot of the work. Once the paper is completely saturated, you’ll be able to reduce it to an unrecognizable pulp.
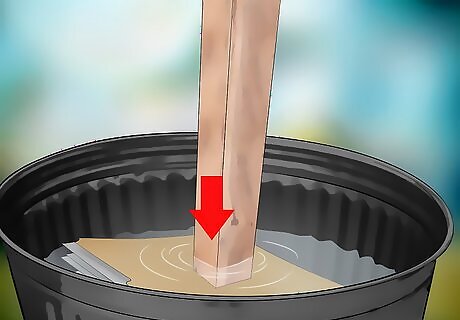
Push the documents down into the bleach water. All the documents need to be submerged so they are completely saturated and can be broken down. If you have more documents that liquids, then you can do one of two things: work in smaller batches, or work with a larger container. If you choose the latter, make sure you increase your proportions of water and bleach to match. Do not use your bare hands to push the documents down. This can cause great harm to your skin. Instead use the paint turbine mixer, a broom stick, or else wear long rubber gloves. For example, assume you have 30L plastic bin with 22L of liquid. If you have too many documents for this and purchase a 90L bin, you should be using 6L of bleach and 57L of water.

Let the documents sit for 24 hours. Sitting in the bleach-water solution for 24 hours will effectively break down the sensitive documents and make them easy to pulp. If this is an emergency situation, and/or the documents need to be destroyed more quickly, consider the other methods listed here.
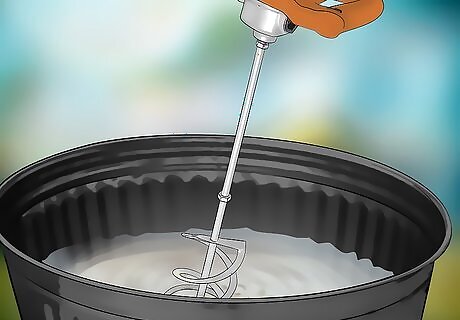
Blend the documents with a paint turbine mixer. After waiting 24 hours, the documents should be soft and discolored. Using an electric mixer, blend the paper until it becomes a soft, uniform mash. If at any point you reach into the pulp to check the contents, always wear rubber or nitrile gloves to prevent skin exposure. Broomsticks, canes, staffs and other long handled tools work as well. Anything that can reach deep into the container to churn and break apart the paper will succeed. Sift through the pulp looking for any large clumps. If there are pieces where you can still identify the information, break them apart by hand and then continue mixing.

Lay out in sunlight to dry. Putting the pulp directly into bags may lead to leakage and could possibly be rejected by the garbage men. Instead, lay out a large plastic tarp and pour the pulp evenly over the surface. Allow the pulp to dry completely before disposing of it. Some people decide to use this dried pulp as mulch for their yards. However, if you go this route, it’s advised to not use bleach during the pulping process.
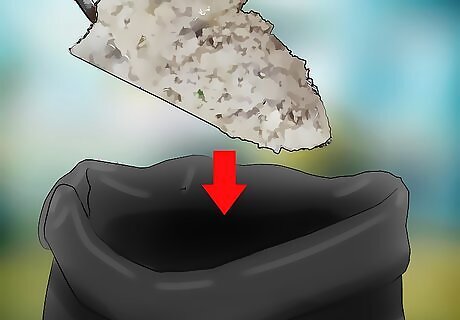
Dispose of the pulp. Place the dried remains in garbage bags and leave them out with the regular trash. Anyone who goes digging through your garbage – such as identity thieves – will be hard pressed to learn anything from your pulped documents. Pulp can also be composted.
Burning
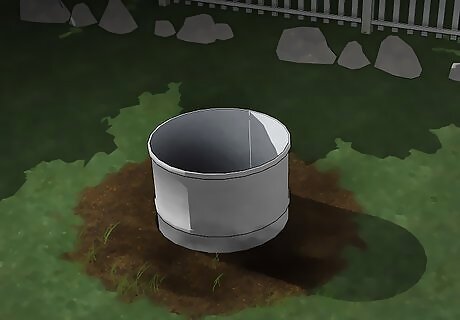
Set up an outdoor fire pit. Standard fire pits are ideal for burning documents because they stand off the ground and have top covers. This allows for better airflow, which leads to a more complete burn of your documents. Also, it somewhat prevents the escape of document fragments from the fire. Be advised that in most cases it is illegal to openly burn trash in residential areas and cities. In some cases you will need a permit. Check your city specific regulations by searching your state’s name and “open burn regulations”. Another excellent option is professional burn cages. These are metal cages that function as outdoor incinerators. Burn barrels are another option. Steel drum barrels of 55 gallons are the most common, and will do a better job of keeping document fragments within. However, it is not recommended to use as they produce harmful toxins, and their use is illegal in some states, such as Illinois. It may also be safer to burn the individual piece inside of a cast-iron bathtub. Make sure that there is nothing in the bottom, such as plastic foot grips. This way, if it does somehow manage to get out of control, you have the tub with a ready supply of water.
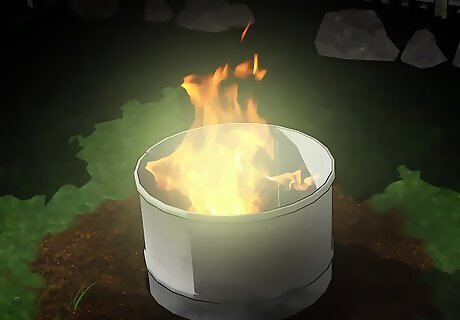
Start a fire. It is generally easier to start a fire if you begin with kindling (smaller pieces of wood that are easier to burn), and paper. You can even use the sensitive documents as fire starter. Once the kindling is lit, add progressively larger pieces of wood until you have a stable burn. For your safety, there should be no flammable shrubbery, paper, or material of any kind around the fire’s perimeter. To guarantee fires accidentally start and spread beyond the fire pit, pour sand around the perimeter. It is also advisable to place stones around the firepit. If you are having trouble getting the fire very strong, use lighter fluid. Be careful not to drop the bottle in the fire or spray too much at once. It is possible to create large explosions and bursts of flame that could injure you. Stand further away from the flame while spraying the lighter fluid to avoid singing your face, chest, and arms.
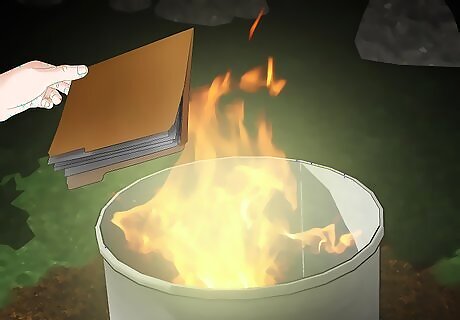
Place the sensitive documents in the fire. Don’t dump them all at once; this could cause small pieces of information to fall by the side. Burn individual pieces, holding them with metal tongs, to ensure they are completely burned. Once the fire has been burning for a while it may have a stable heart (center of hot embers). With a stable heart, you can place more of the documents in at once and allow them to burn, protected by the wood. When burning, proper ventilation is important, not only to avoid smoke inhalation but also to ensure a full and proper burn. The open grate of a fire pit allows for this ventilation; so does limiting the amount of paper you insert at once. Watch the make sure no document fragments are blown from the fire. Even small amounts of information could be the exact valuable pieces other people desire. Burn the sensitive documents along with other pieces of scrap paper. If by accident a part is not burnt, the remains of the scrap paper mixed in will help confuse anyone who tries to read your information.

Check the ashes. Once you think everything is burned and the fire is out, shift through the ashes and look for any unburned paper. The easiest to spot will be paper that somehow still has a white sheen. However, also be on the lookout for pieces that have turned grey, but still have legible text. Even these must be burnt more completely.

Burn any remaining pieces. Gather all the sensitive debris and store it in a safe, closed compartment until you have the fire burning again. Using protective fire gloves, or long metal tongs, securely place the document fragments in the fire’s center.
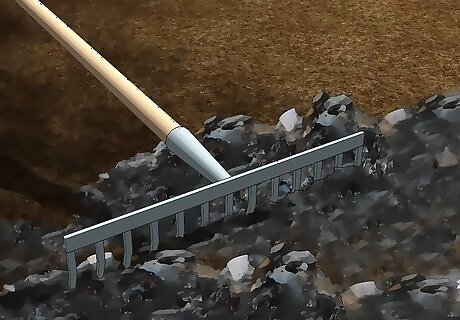
Scatter the ashes. Wait for the fire to go out, and for the ashes to cool to a safe temperature. Using a shovel, gather them in a bag that will not rip. If you have a yard, scatter the ashes evenly throughout your yard. It is also possible to use a small amount of ash in composting units (so long as you did not use lighter fluid to make the fire). Ashes spread around garden plants discourages slugs and snails. It is also beneficial to pour ash around the base of hardwood trees.
Shredding
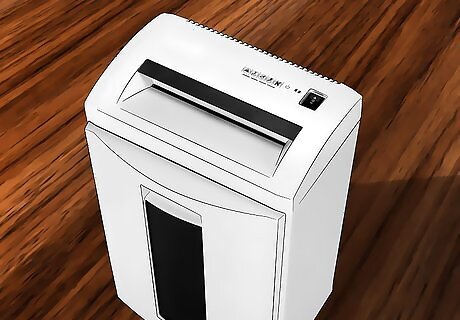
Gain access to a crosscut shredder. When shredding sensitive documents it is important to use a crosscut shredder (as opposed to a more basic strip-cut shredder), because it produces thinner strips of paper. This protects you from would-be thieves of this information from reconstructing the complete pages from the strips. Chose a machine that creates strips less than or equal to 1/32nd of an inch with a ½ inch crosscut. Paper shredders can be purchased at office supply stores and are classified into six security levels based on the thinness of cut. One is the widest cut; six is the thinnest and approved for Top Secret government documents. Anything less than a 4 (1/16 * 5/8”) is not recommended for sensitive documents. Most offices have paper shredders or record destruction services. Check with your office manager and see if you can bring in your own documents for destruction.
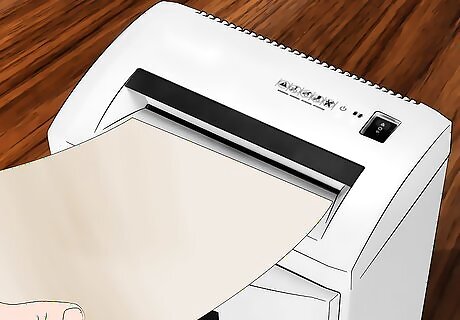
Shred the documents. Once you have a satisfactory shredder, begin sending all of your documents through the device’s mouth. Continue until all of your documents are done. If you have more documents than the machine can hold at one time, be sure to take the ribbons of paper out before continuing. Do not put your hand or fingers in direct contact with the shredder’s mouth. Hold the documents by the end so that there is distance between you and the mouth. Once the shredder has the paper within its grip, release the documents. Above all, protect the safety of your hands. Traditional shredders (that cut paper into strips) won't keep someone from putting it back together. Hand ripping isn't a good idea either, especially on small documents (it takes 2 centimeters to find out a person's Social Security Number).
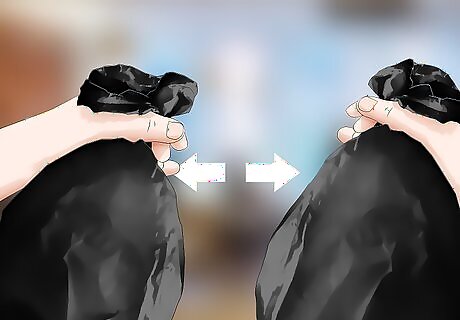
Separate the pieces into separate bags. Beyond reducing them to unrecognizable small pieces, this is one further security measure. Take a portion of each document and place them in separate bags. This way, any would be thieves cannot find matches within the same bag; they will have to sort through everything.

Dispose of them on the scheduled day. If garbage is picked up from your house/business on a Tuesday, don’t put this out on a Wednesday. You want to leave as little time as possible between when the garbage goes out and when it is collected. Ideally you will keep it inside until the day of collection, and bring it down just before the city employees arrive.
Destroying Digital Documents
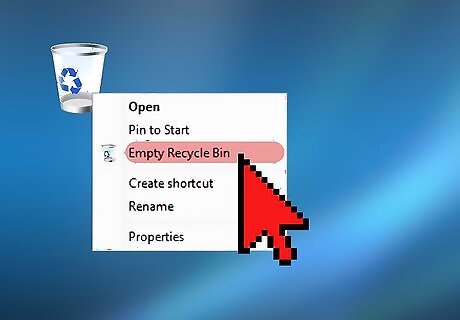
Delete the documents. Locate all the files on your hard drive containing sensitive data. Right click and send them to the trash. Empty your trash. If there is no risk that someone will use more advanced techniques to retrieve your data, this is an acceptable and simple method. However, it is fairly easy to recover “deleted” files, as there are a number of file recovery programs on the market. Do not use this method if there is a risk others will make an effort to recover the sensitive information. Do not use this method if the sensitive information could be used to cause you harm or distress.
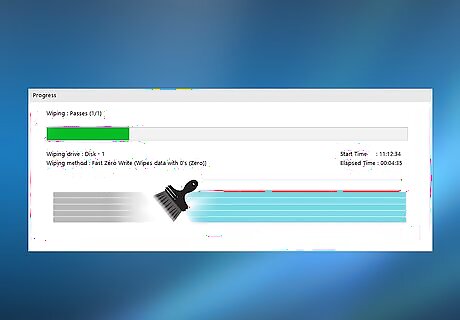
Overwrite the hard drive. All the information on your hard drive is represented in binary numbers: 1’s and 0’s. This is the computer’s language. Overwriting programs – available online – go through and replace all the information on your hard drive with random strings of 1’s and 0’s. If you decide to choose this method, be advised it is semi-permanent and it may be impossible to recover the data in question. Most overwriting programs do multiple “passes” of your data. Three passes are considered standard by U.S. government. Back up any information you wish to preserve on an external hard drive. There are also programs like Eraser that allow you to manually overwrite specific files.
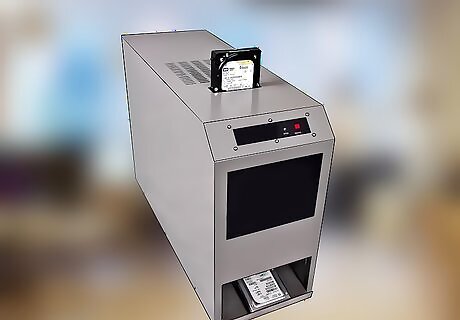
Degauss the hard drive. Degaussing refers to exposing magnet-based technology (e.g. hard drives) to a powerful magnetic field that destroys the data. Ideally it will entirely get rid of the device’s magnetic charge and make it impossible to use. Purchasing your own degausser can cost up to $4000. However it is possible to rent one or pay for the professional services of IT companies like Securis. Although overwriting can potentially be reversed, the degaussing process causes permanent damage, and none of the data can be recovered. Be sure to back up anything you want to preserve onto an external hard drive or cloud storage. Do not operate a degausser if you have a pace maker, as it can cause damage to this important medical equipment.
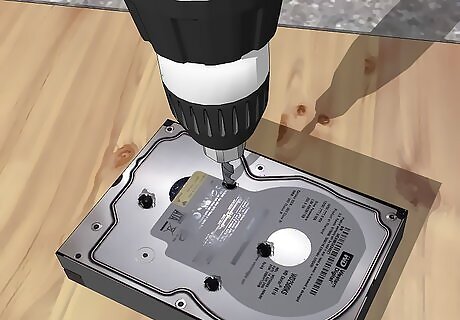
Physically destroy the hard drive. The most complete method available is physical destruction. Hammering, high heat, and drilling are all acceptable methods. Whatever method you choose, first remove the hard drive from any outer framework. If hammering, apply extreme force directly on top of the hard drive. If drilling, ensure that you punch several holes directly through the drive. If using heat (e.g. blow torch), completely melt through the hard drive. When using a blowtorch, wear heat resistant gloves, as well as a protective face shield. It is safest to work over dirt or sand to prevent fires or explosions. While working with a hammer or drill, wear protective gloves and a face shield to protect yourself from flying debris. It is also possible to shoot holes through the hard drive with a gun. Do not operate a firearm unless you are licensed to do so.
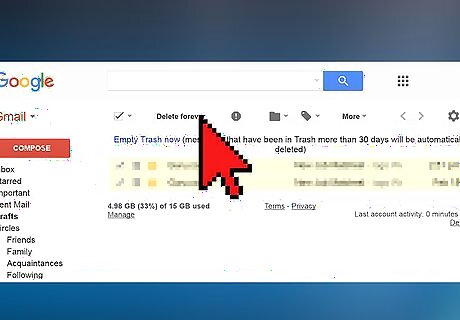
Permanently delete emails. Select all the emails containing sensitive information and then select “delete” or “trash” depending on the program. Many online mail services – such as Gmail – will hold onto “deleted” files for 30 days before rendering them unrecoverable to users. Once you’ve deleted the emails, go directly to the “Deleted Messages” and “Trash” sections to see if there are any recoverable versions of your email. If so, delete these too.
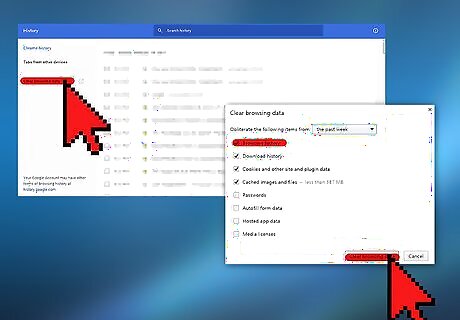
Clear your browser history. It’s possible you want to prevent others from knowing what websites you’ve been visiting. Many browsers like Chrome, Firefox, and Internet Explorer have this option. Go through the “menu” option to locate your history and delete any incriminating history.


Comments
0 comment