views
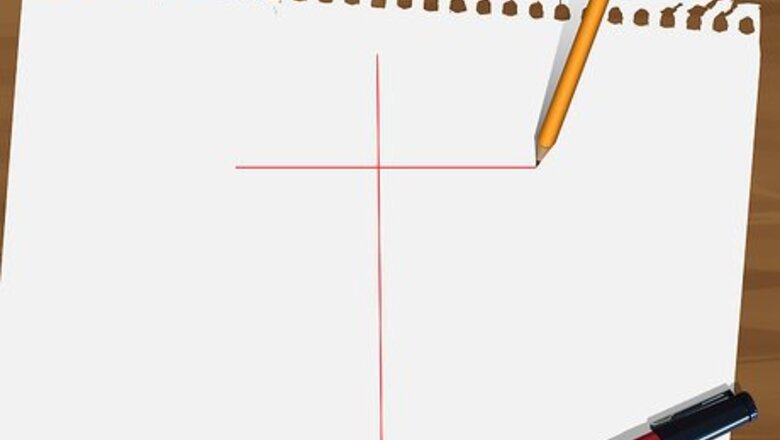
- Sketch out a cross as a guideline for the body.
- Outline the figure using ovals for the head and hands, and a rectangle for the body.
- Use long, flowing lines to create Jesus’s robes and hair, and fill in facial details.
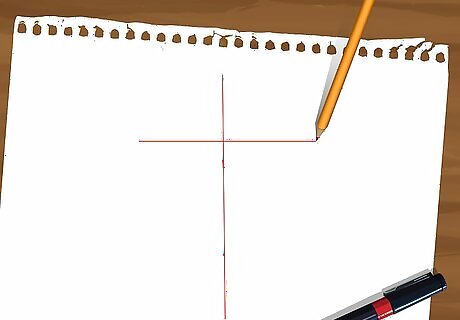
Determine the size of the figure. Before you start drawing Jesus, you must know the relative length of the figure you want. Accordingly, you may adjust the figure on any given sheet of paper. It should not happen that the paper is too large and the figure too small or that the figure is too large that it doesn't fit the full figure well. This is to maintain a balance between the drawing sheet and the actual drawing. Sketch out a cross. This will serve as a guideline when you draw the body. But make sure do it lightly so you can easily erase. The result after keeping the background and the foreground in mind will determine how the background and the foreground complement each other and shows your drawing at large.
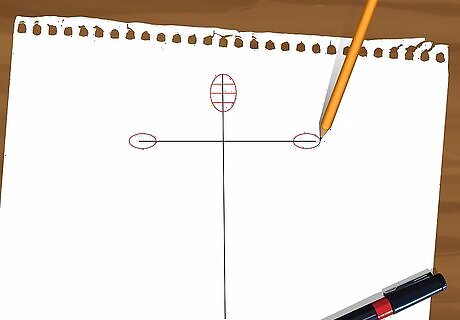
Figure out the space required for the arms. You must consider how much space the drawing will take vertically and horizontally. The drawing of Jesus must fit on the paper and you must not end up with lesser space for the arms. In this figure the arms are extended horizontally. Hence a good size of paper is required. Sketch the head and hands. On the top of the vertical line, draw an oval for the head. This oval is just for your reference as to how much space a part will take and within this space you must encapsulate the specific part. You may erase these ovals and lines when the actual parts are ready.
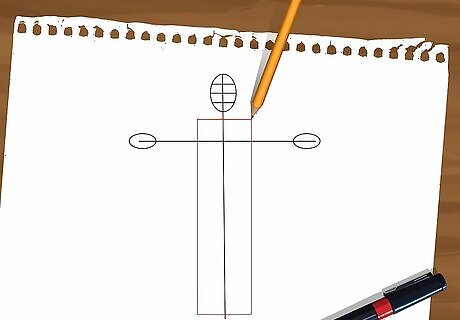
Draw a big rectangle. The drawing must fit in horizontally and vertically. This rectangle will act as a guiding area within which the torso must be drawn. With this you are ready to start with the features and detailing like the hair, eyes, nose, lips, beard and so on.
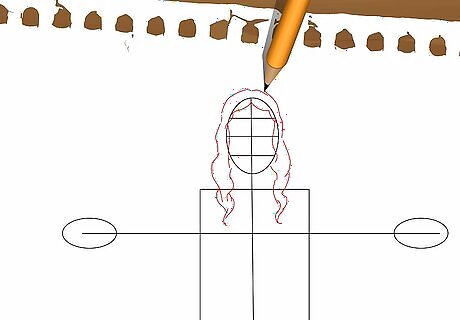
Start with the detailing. You may start drawing hair. For this draw wavy or straight lines beginning at the top of the head. Typically you must start at the very center partition as Jesus has almost all His portraits with center parting. Start at this partition and work it till the shoulders. Do not worry if the hair strands don't look even. Since it is hair, it will look all the more original if it is not very straight or proper Make the hair strands a little below the shoulders. Jesus's hair is a little longer than the shoulders.
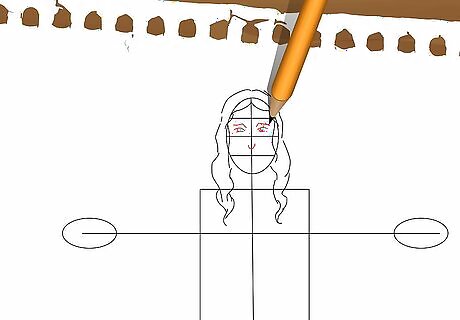
Start with the facial features. Make eyebrows a little below the forehead. Below the eyebrows you may start making the eyes. Add two stretched curvy lines which are pointed at both ends for the eyes. The top curvy line of the eyes can have another line. If there are two lines for the top line or the eye lid, it gives a more realistic appearance for the eyes. You may make guiding lines for the eyes, nose and mouth as per your convenience. Make 'u' shaped pupils inside. A perfect circle for the pupil gives the appearance of surprise or shock. A 'u' gives a calm appearance. Once you are done with the eyebrows and the eyes you may make a curved line for nose. There will be two curved lines at first. First will be the long line for the length of the nose and the second will be the smaller curve to complete the nose.
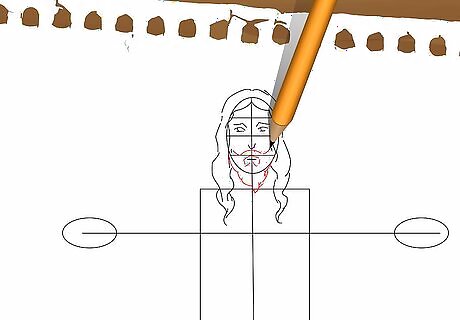
Mustache and Beard. Make small lips. The lips could be curved slightly upwards to show a smiling Jesus or you may leave it straight for a simple expression. Around the lips make the mustache and the beard but very lightly. The mustache could be shaded vertically while the beard could be done horizontally. The beard will start from the lips and extend to till the ears. Then you may draw the beard long. The beard appears like a triangle pointing down. But it is not a perfect triangle. Remember, a little difference in the features will not be a big problem if you are planning to outline the drawing later on. The outlined image looks different from the sketched one. The image changes appearance even after coloring it if you plan to color it later on. Also for the hands you may make two ovals at end of the arm. Later you could create fingers which will be curved upwards. Remember to make the fingers slightly pointed at the end and thicker where it starts.
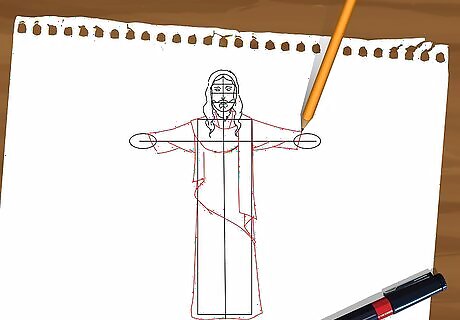
Make the robe. With long lines sketch the robe. Make the scarf on top accordingly. To make it look more appealing, draw extra lines on the clothing to show folds on the garment.
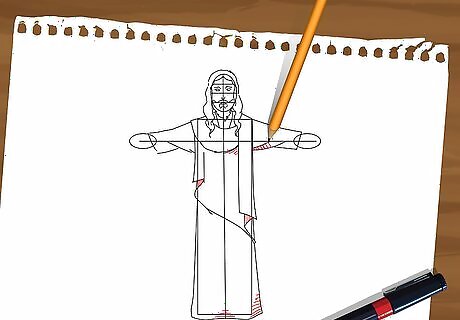
Do the shading. You may shade the drawing as you progress or after drawing the complete figure as per your comfort. The shading or the pencil strokes are darker and thicker when there is a fold. Eg. On the robe where it is folding. You may also shade darker at the end of each feature to make the features stand out. You may hold the pencil or color you are using gently while shading. This will help you in increasing and decreasing thickness and intensity of the color too.
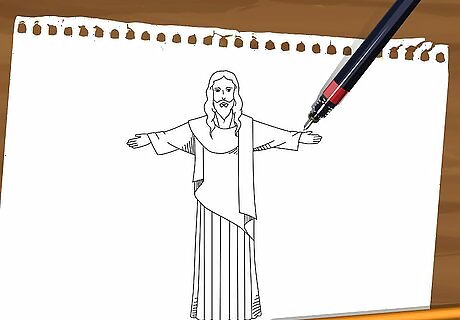
Outline the image. Outlining a drawing enhances its appearance and adds a finishing touch to it. Outlining determines how the drawing will look hence it is best to be careful and keep your hands steady. After you outline the complete drawing of Jesus you may erase all guidelines of the pencil.





Comments
0 comment