
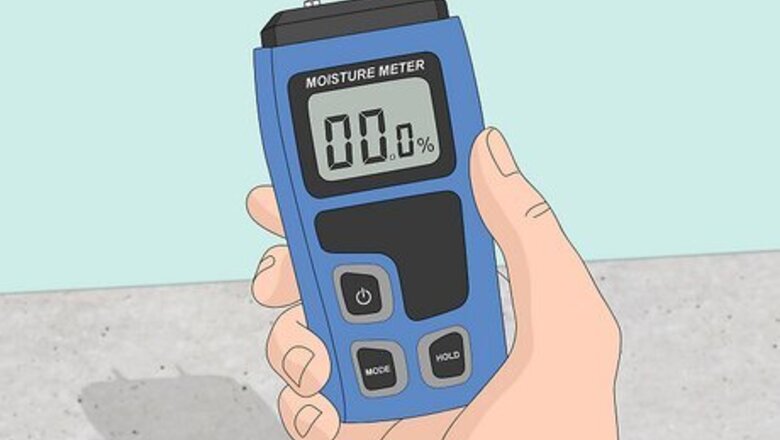
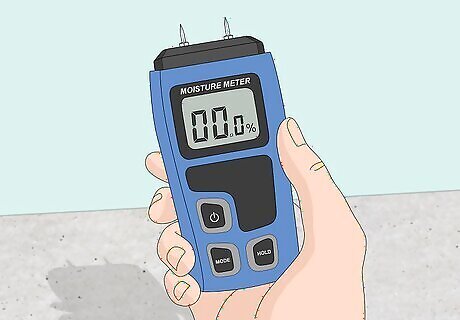
Purchase a moisture meter. There is no accurate visual or tactile test for determining a wood's moisture content. To be sure that your wood is dry enough for woodworking, you'll need a small handheld tool called a moisture meter. This tool has 2 small metal probes that are touched against the wood to produce a moisture readout expressed as a percentage of the wood's volume or weight.

Test the wood's moisture content. Use the moisture meter according to the manufacturer's directions. The acceptable moisture content for most woodworking projects is about 6 or 7 percent. If your wood gives a readout much higher than that, you'll know it needs to dry before being used.

Lay out a row of stickers on which to dry the wood. "Stickers" are simply 1" x 2" (25 x 50 mm) pieces of lumber that are used to provide airflow between the boards you are drying. Lay each sticker about 16 inches (40 cm) apart and line them up parallel to each other. You'll need enough stickers to support the entire length of the boards you are drying.
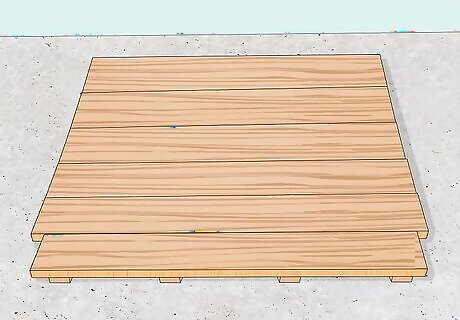
Stack the first layer of boards. Carefully set the first layer of wooden boards on top of the stickers, running them perpendicular to the stickers. Leave an inch or so of space between each board to allow for increased airflow.
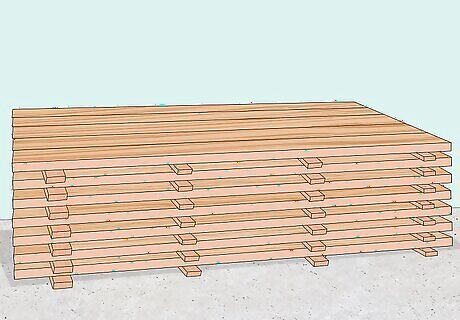
Continue stacking stickers and boards. Next, you'll place another row of stickers on top of the boards, lining them up directly with the previous set of stickers. Continue alternating stickers and boards until you've accommodated all of the wood you need to dry. You should now have a nice stack of wood boards that are separated from each other in all directions to provide circulation.
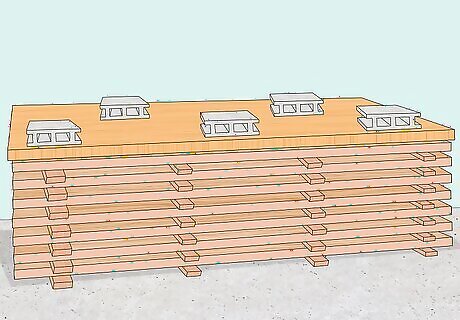
Position a heavy sheet of plywood over the stack. You'll need to apply some downward pressure to the stack to keep it from warping upwards as it dries. To do this, place a thick sheet of plywood on top of a final set of stickers. Stack a few concrete blocks or other heavy objects on top of the plywood for additional weight. This setup is also ideal for deflecting rain if you are drying the wood outdoors. Do not cover the drying wood with a tarp or other overhanging fabric, as this tends to prevent airflow and trap in moisture.

Wait for the wood to dry. Drying times vary widely based on temperature, humidity, and ventilation conditions, but of course you can continually check the wood with your moisture meter to determine its readiness. A general rule is that a year of drying time will be needed for each inch (25 mm) of board thickness.


Comments
0 comment