views
Bleaching Your Hair
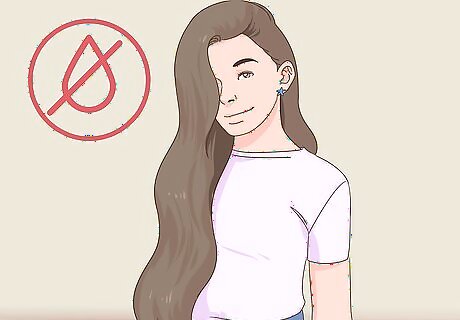
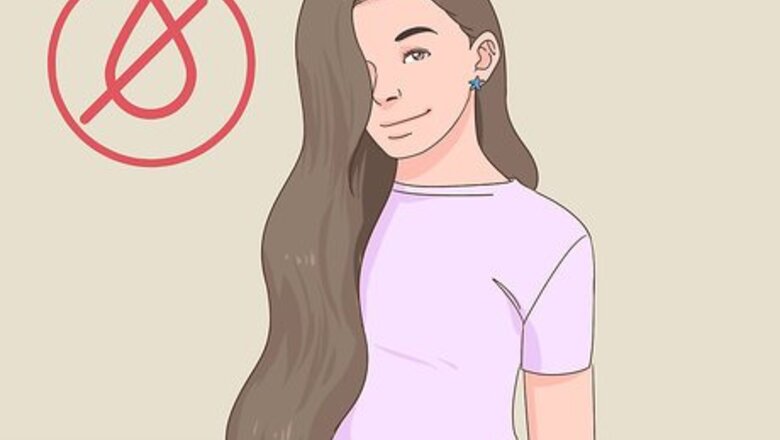
Start with healthy hair. Damaged hair will not take the dye very well. Also, the bleaching process will damage your hair to some extent, so you want it to be as healthy as possible. If you try to bleach hair that is already damaged, you'll only damage it further. If you have damaged hair but still want to dye your hair pink, consider going with an ombre instead. This way, you won't bleach all of your hair. It would be best if your hair hasn't been washed for a few days before you start bleaching it. This may sound gross, but the accumulated oils will help protect your hair.
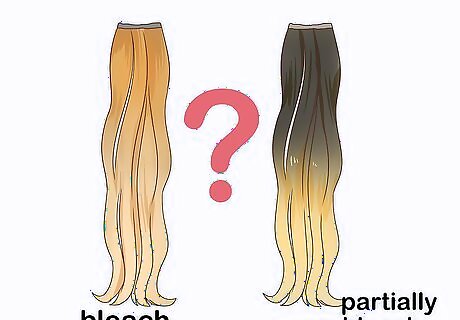
Decide between bleaching your hair all the way or partially. If you have red hair or blond hair, you can bleach all of your hair. If you have dark brown or black hair, however, consider getting an ombre instead. This way, you won't have to retouch your color as often, because the roots will be their natural color. It will be less damaging in the end. If you have light hair between levels 8 and 10, you may not need to bleach it at all. Speak to a stylist to find out what level your hair color is.
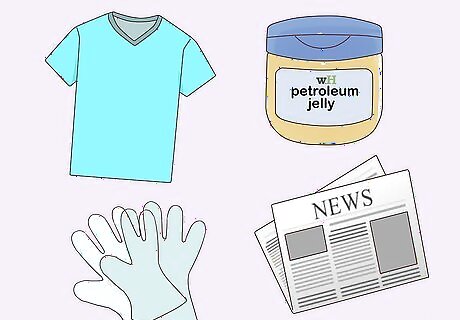
Protect your skin, clothing, and work surface. Put on an old shirt, or cover it with a dyeing cape or an old towel. Apply petroleum jelly to the skin around your hairline, nape, and ears. Cover your floor and counter with newspaper, then put on a pair of plastic hair dyeing gloves.
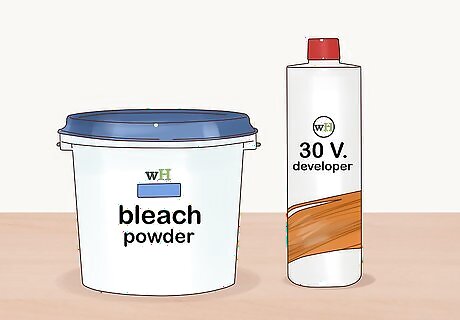
Prepare your bleach using the right developer. High levels of developer lighten the hair more quickly, but are also more damaging. In general, if you have light-colored hair, a 10 or 20 volume developer should be enough. If you have dark-colored hair, a 30 volume developer would be the better choice. Each increment of 10 with the volume developers can lighten your hair one more level. Avoid using a 40 volume developer. They act very fast and are very damaging.
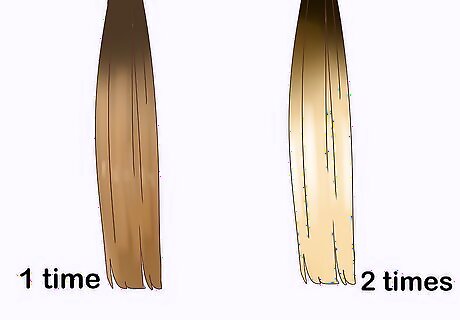
Perform a strand test. While not absolutely necessary, this is highly recommended. The times on the packaging are guidelines. This means that your hair may bleach faster than the time recommended for your starting hair color and desired lightness. Never go over the recommended bleaching time, however. Select a strand from an inconspicuous area, such as your nape or from behind your ear. If your hair is not light enough, you will need to do a second bleaching session. If it is healthy, you could do it the same day. If your hair is damaged, though, you should wait a couple of weeks before bleaching it again. You could also grab a small piece of hair from the back of your head—your hair is usually darker here.
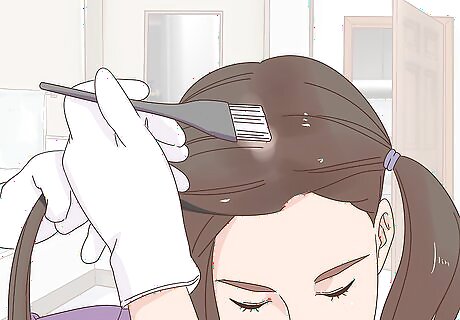
Bleach your hair while it is dry, starting from the ends. Divide your hair into 4 sections. Working 1 section at a time, apply the bleach to ⁄2–1 inch (1.3–2.5 cm) thin strands of hair, starting from the ends and finishing at the mid-lengths. Once you have applied the bleach to all your hair, go back through your hair and apply the bleach to the roots. The heat from your scalp will cause the bleach to process faster than the bleach on the ends of your hair. You must apply the bleach to your roots last. Be thorough when applying the bleach to each section. It can be especially easy to miss spots along the back of your hair, so pay close attention when bleaching the hair there. If you are going for pastel pink hair, aim to bleach your hair to a level 10, or platinum. Be careful when bleaching hair that has already been dyed. Your hair may not bleach evenly, and the dye may react with the bleach.
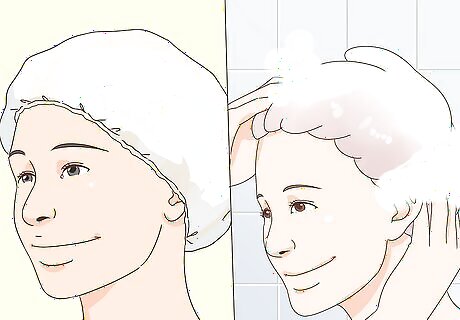
Allow your hair to bleach, then wash it with shampoo. Once again, everyone's hair reacts to bleach differently. Your hair may reach your desired lightness level sooner than the time written on the package. As soon as your hair hits that desired lightness, wash the bleach out with shampoo. If the time is up and your hair still hasn't turned the right color, wash the bleach out anyways and plan to do a second treatment. Check for signs of damage from the bleach, like excessive shedding or breakage. If you see these signs, wait a few weeks before bleaching your hair again.
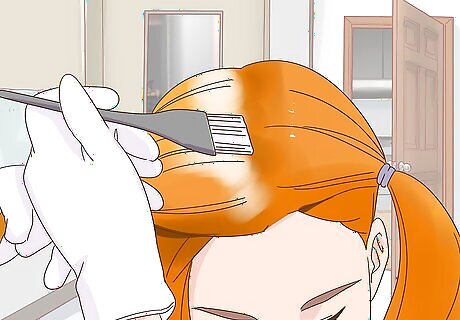
Bleach your hair a second time, if necessary. Sometimes, a single bleaching session is not enough to get your hair to the right level. If you have brown hair and wish to go pastel pink, you may need to bleach it a second time. Keep in mind however, that it may not be possible to bleach very dark hair to a pale blond; you may have to settle for a darker shade of pink. If your hair is healthy, you can bleach it again the same day. If it’s damaged, wait a week or 2 before bleaching it again.
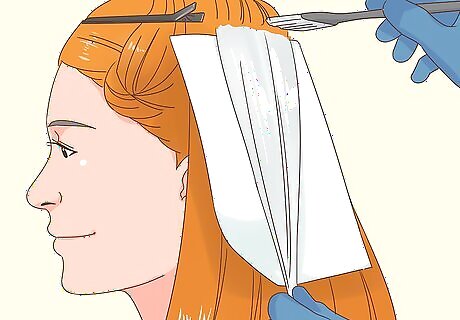
Get your hair bleached by a professional if it is dark. Bleaching is the most damaging part of the dyeing process. There's a lot that can go wrong, from patchy, uneven jobs to damaged, fried hair. While you can certainly bleach blonde and light brown hair at home with a kit, dark brown and black hair requires much more precision and care. If you have dark hair, it's best to get it done professionally. Listen to what the stylist tells you. If the stylist says that they can't bleach your hair any further, then don't attempt to do so.
Toning Your Hair
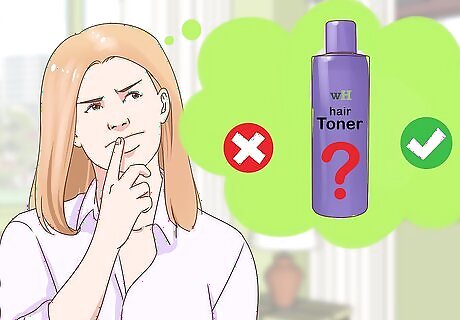
Determine whether or not your hair needs to be toned. Most hair will turn yellow or orange when it is bleached. If you are dyeing your hair a warm shade of pink, such as salmon, you do not need to tone it--just be aware that the pink will turn out warmer than what's on the bottle. If you want a cool or pastel shade of pink, however, you will need to tone your hair to get it as white/silver as possible. A cool pink is anything that includes blue or purple tones. How white or silver your hair turns after toning depends on how light you managed to bleach it. Orange hair will turn more silver, while yellow hair will turn more white.
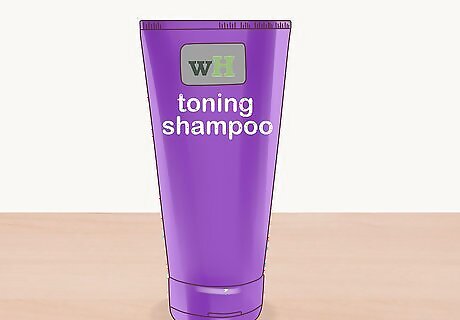
Get a bottle of toning shampoo. A toning shampoo is a special type of shampoo that cancels out the yellow or orange tones in your hair it more silver/neutral. You can also create your own toning shampoo by mixing some blue or purple hair dye into white-colored conditioner; you want a pale purple/pastel blue color. If your hair turned yellowish, get a purple-tinted toning shampoo. If your hair turned orangish, get a blue-tinted toning shampoo instead. Store-bought toning shampoo comes in different strengths, so you have to experiment. Making it yourself will allow you to adjust the proportions and get the right strength.
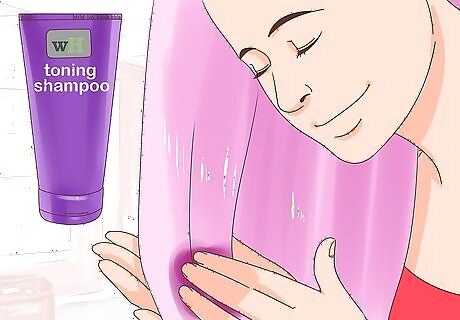
Apply the product to wet or damp hair in the shower. You can apply the shampoo to your hair as you normally would. Squeeze a small amount into your hands and gently work it through your hair from root to tips. Be sure that you completely saturate your hair.
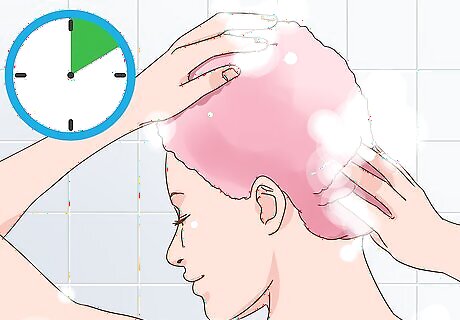
Leave the shampoo in your hair for the time recommended on the bottle. This can be anywhere from 5 to 10 minutes. If you made your own toner using hair dye and conditioner, leave it on for 2 to 5 minutes instead. Do not leave it on for too long, however, or your hair will turn out blue or purple.
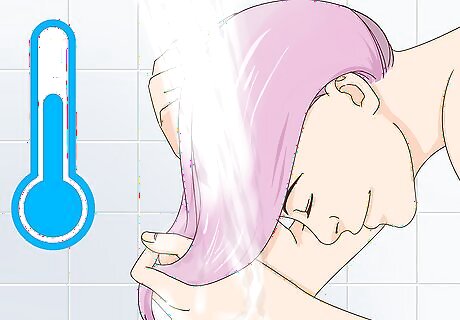
Wash the shampoo out with cool water. If there is any color residue left in your hair after this, follow up with a color-safe shampoo. Let your hair air dry completely, or speed the process up with a hair dryer. Toner can make your hair pinkish. If you like the color it turned, then you are done!
Dyeing Your Hair
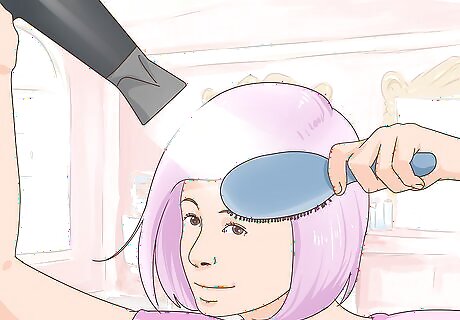
Start with clean, dry hair. Wash your hair with shampoo. Rinse it off, then dry it completely with a hairdryer or by air. Do not use any conditioner this time, as it will make it harder for the dye to adhere to your hair. It is best to wait a few days between bleaching and dyeing your hair. Both processes are harsh, so it would be a good idea to give your hair a few days' rest.
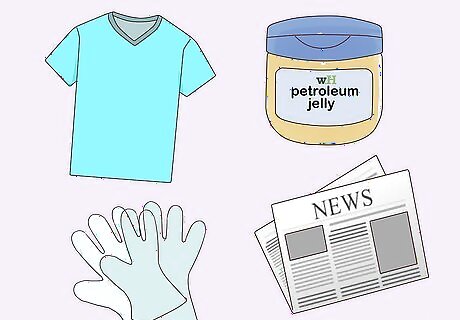
Protect your skin, clothing, and counter against stains. Put on an old shirt and drape a dyeing cape or an old towel around your shoulders. Cover your counter with newspaper or plastic bags. Apply some petroleum jelly around your ears and hairline, then pull on a pair of plastic dyeing gloves.
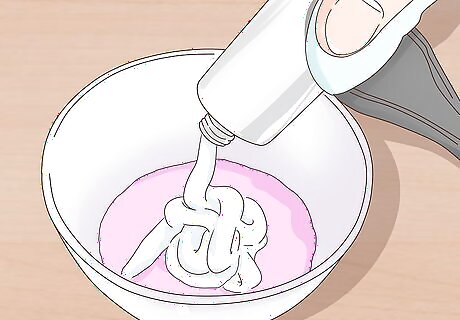
Mix pink dye with white-colored conditioner if the instructions say to do so. Pour enough white-colored conditioner to saturate your hair into a non-metal bowl. Add some pink hair dye, then stir it with a plastic spoon until the color is consistent. Keep adding dye/conditioner until you get your desired shade. The type of conditioner that you use does not matter, but it needs to be white. If you did not tone your hair, be careful of what shade of pink you start with. It will end up more yellow/orange. If you want extra dimension, prepare 2 to 3 different shades of pink in separate bowls. For example, you could prepare atomic pink, cupcake pink, and virgin rose dye.
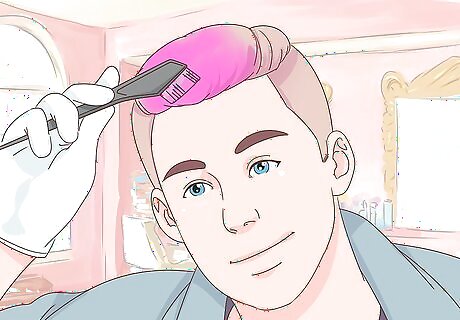
Apply the dye to your hair in sections. Divide your hair into 4 sections. Use a tinting brush to apply the dye, or dye and conditioner mix, to ⁄2–1 inch (1.3–2.5 cm) thin strands of hair. If you prepared multiple shades of pink, apply them randomly throughout your hair. You can also use the balayage technique instead to make your hair look more dimensional and realistic, and less wig-like. Follow your hair's natural light-and-dark patterns. Use darker pinks in the darker areas and lighter pinks in the lighter areas, especially around your face. Consider doing a strand test first. This will allow you to correct the color before committing to it. Tracey Cunningham Tracey Cunningham, World-Hair Colorist Dyeing your hair can be a great way to change your look and boost your confidence. But it's important to do your research and choose the right color and technique for your hair type. If you're not sure where to start, consult a professional hairstylist.
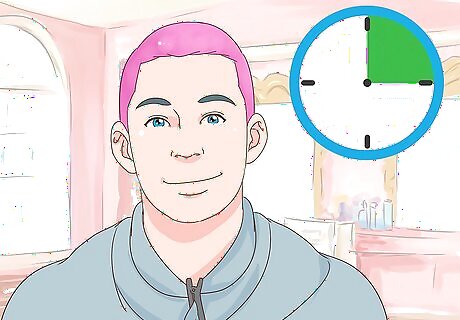
Leave the dye on for the time recommended on the package. In most cases, you will need to wait 15 to 20 minutes. Some types of gel-based dyes, such as Manic Panic, can be left on for up to 1 hour; this will result in a brighter color. Do not leave lightening dye or bleach-containing dye longer than the recommended time. Cover your hair with a plastic shower cap. This will help the dye develop better and keep your surroundings clean.
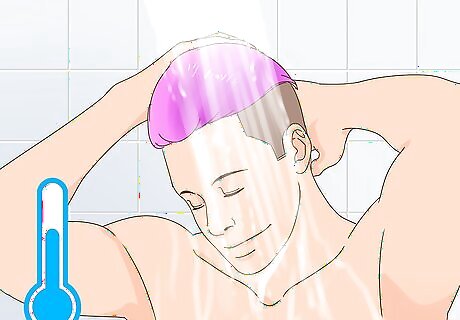
Rinse your hair with cool water, then follow up with conditioner. Rinse the dye from your hair using cool water. Once the water runs clear, apply conditioner to your hair. Wait 2 to 3 minutes, then rinse it out with cool water to seal the cuticle. Do not use any shampoo for at least 3 days. Follow up with a vinegar rinse to lock the color in and make your hair shine. Leave the vinegar in your hair for 2 to 3 minutes before rinsing it out. If your hair smells like vinegar, use a leave-in conditioner or other product to mask the scent.
Use a gloss if you want to give your hair extra shine. Choose a gloss with a pink tone, and apply it right after you rinse the dye from your hair. Let the gloss sit in your hair for 10 minutes, or the time recommended on the package, then rinse it out as well.
Maintaining Your Color

Use color-safe, sulfate-free products. Do not use products that contain sulfates. Sulfates are great at cleaning your hair, but they can also strip it of dye. If you want to make your color last longer, stick with color-safe, sulfate-free shampoos and conditioners. Most products will say on the label if they are color-safe or sulfate-free. If you are not sure, read the ingredient list on the back of the bottle. Avoid anything with the word "sulfate" in it. Add some of your dye to your bottle of conditioner. This will deposit a little bit of color into your hair each time that you wash it and help the color last longer.
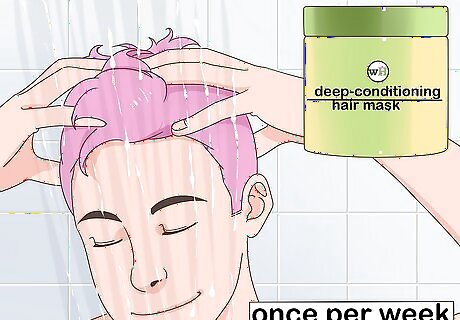
Deep-condition your hair once per week with a hair mask. Purchase a deep-conditioning mask meant for colored or chemically-treated hair. Apply the mask to damp hair, then tuck your hair under a plastic shower cap. Wait for the time on the package, then rinse the mask out. Most hair masks need to be left in your hair for 5 to 10 minutes, but some need to be left in for 15 to 20 minutes. Read the label, but don't panic if you leave the mask in too long.
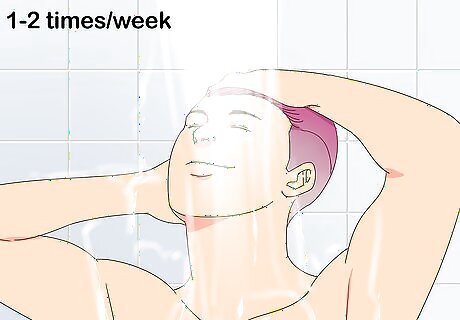
Wash your hair no more than once or twice a week. The more often you wash your hair, the faster it will fade--even with a sulfate-free, color-safe shampoo and conditioner. If your hair tends to get oily or greasy, consider using a dry shampoo between your washing sessions.
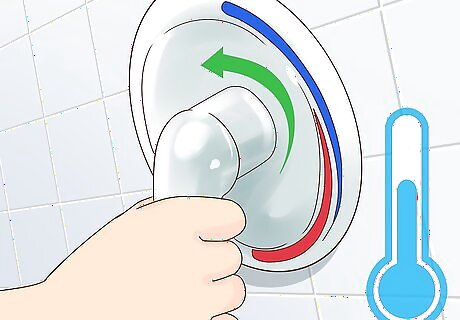
Use cool water when washing your hair. Much like heat styling, hot water can cause the dye to fade faster from your hair. It can also cause your hair to appear damaged. After you have finished shampooing and conditioning your hair, rinse your hair with cold water for 1 minute for extra smoothness and shine. If you can't handle cold water, use lukewarm water instead.
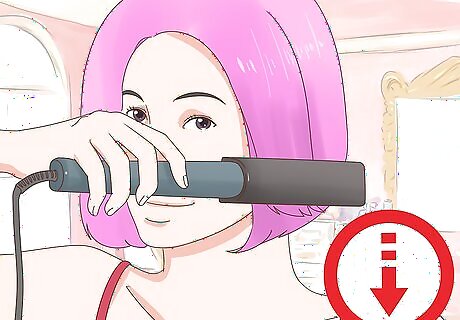
Limit the heat styling when possible. Unless it is freezing outside and you are running late for work or school, let your hair air dry. If you want to curl your hair, seek out a method that does not require any heat, such as foam hair rollers. Avoid straightening your hair, when possible. If you must use a flat iron or a curling iron, make sure that your hair is completely dry first. Apply a good heat protectant and use a lower heat setting. The sun can cause the color to fade as well. Wear hats, scarves, or hoods when going outside.
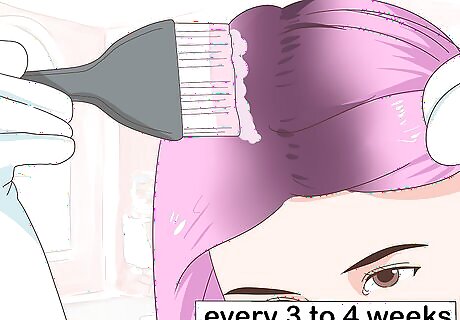
Touch up your hair every 3 to 4 weeks, or as needed. Much like red hair dye, pink hair dye fades fast. This means that you may have to re-bleach your roots when they start to show as well. If you don't want to re-bleach your roots, leave them natural and re-dye the ends for an ombre effect instead.. The brighter your pink is, the more noticeable the fading will be. Pastel pinks won't fade as quickly. Some people like the pastel shade that their pink dye fades to. If you like the shade that it fades to, then don't touch it up as often.
Choosing the Right Shade
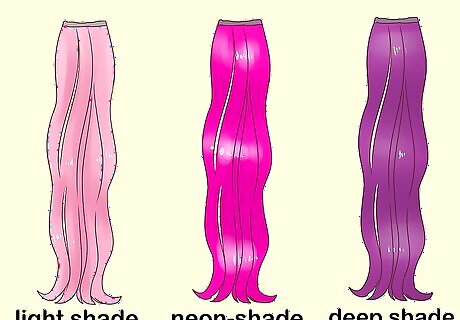
Decide how light or dark you want your hair to be. Pink comes in many different shades, ranging from very pale to very dark. Each shade has its own benefits and will do different things for your overall look. For example: Try a light shade if you want something that is easy to work with and maintain. Examples include: baby, cotton candy, pale, and pastel. Try a bright, neon-shade if you want a longer-lasting dye job. Examples include: atomic, carnation, cupcake, flamingo, magenta, and shocking. Stick with a deep shade if you have dark hair and can't bleach it light enough. Examples include: bordeaux, eggplant, violet gem, and virgin rose.
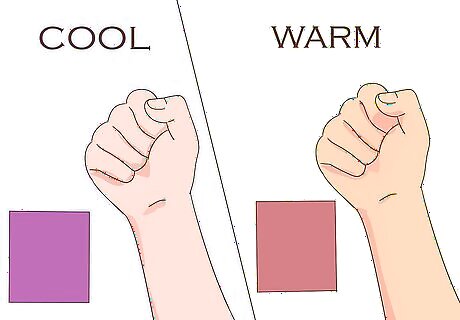
Choose a shade that flatters your skin's undertones. In most cases, you should match your hair's tone to your skin's undertone. For example, if your skin has warm (yellow) undertones, choose a warm shade of pink that has orange or yellow tints to it. If your skin has cool (pink) undertones, stick with a cool shade of pink with hints of violet or blue. If you can't decide on a color, go to a wig shop and try on wigs in various shades.
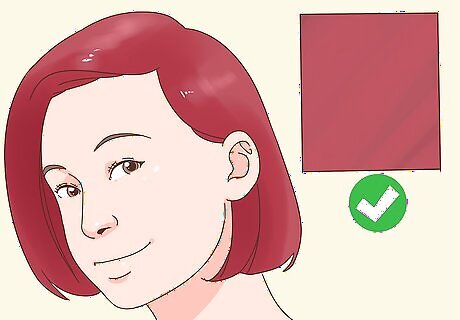
Be willing to compromise and choose a darker shade if you have dark hair. In most cases, you will need to bleach your hair. Keep in mind, however, that you can only bleach your hair so much. In these cases, you may have to settle for a darker shade of pink. For example, if you have dark brown or black hair, you may not be able to bleach it light enough in order to get a pastel pink shade. You may have to settle for a darker shade of pink instead. It's harder to lift color from dark hair than lighter hair, even with bleach.
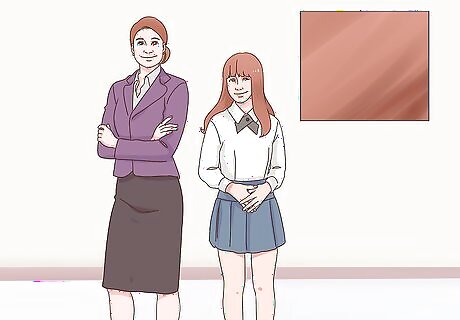
Select a shade that complies with your school or work dress code. If you work in a professional environment with a strict dress code, that bright shade of pink may not be the best choice and may earn you a citation--the same goes for schools. If you work in an environment that allows for creativity (i.e. an art studio or an art school), then you might look right at home with your hot pink locks. If your school or job has a strict dress code, consider a more natural shade of pink, such as rose gold. Ask your principal/employer if the color your want will be acceptable.


Comments
0 comment