
Backing Up Your iPhone to iCloud
Open Settings. It's a gray app with gears (⚙️) that's typically located on your home screen.
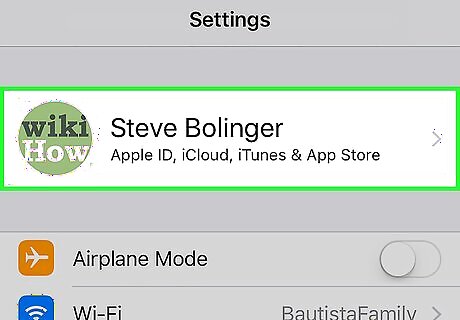
Tap your Apple ID. It's the section at the top of the menu that contains your name and image if you've added one. If you are not signed in, tap Sign in to your iPhone, enter your Apple ID and password, then tap Sign In. If you are running an older version of iOS, you may not need to do this step.
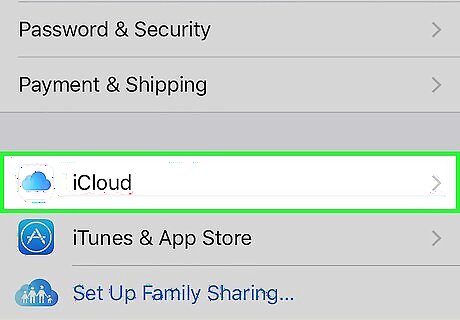
Tap iCloud. It's in the second section of the menu.
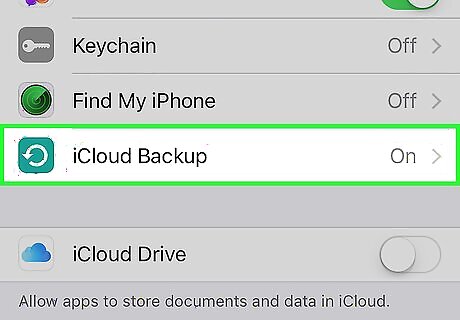
Scroll down and tap iCloud Backup. It's at the bottom of the "APPS USING ICLOUD" section. Slide iCloud Backup to the "On" (green) position, if it's not already.
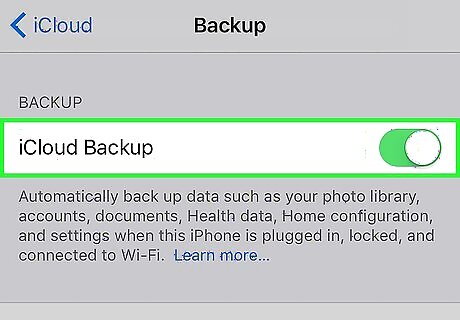
Tap Back Up Now. It's at the bottom of the screen. Wait until the backup is complete. You must be connected to a Wi-Fi network to back up your iPhone.
Resetting Your iPhone Locally

Open Settings. It's a gray app that contains an image of gears (⚙️) and is typically located on your home screen.

Scroll down and tap General. It's near the top of the menu, next to a gear (⚙️) icon.
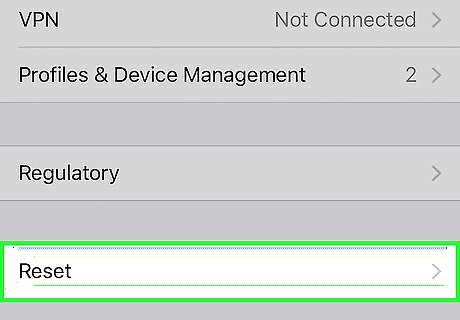
Scroll down and tap Reset. It's at the bottom of the menu.
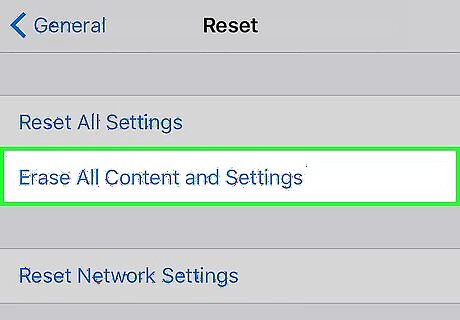
Tap Erase All Content and Settings. It's near the top of the menu. Erasing your iPhone is a good option if you are planning on getting rid of your phone and don't want someone else accessing your information. However, if you simply want to restore default settings without deleting any data or media, tap Reset All Settings.
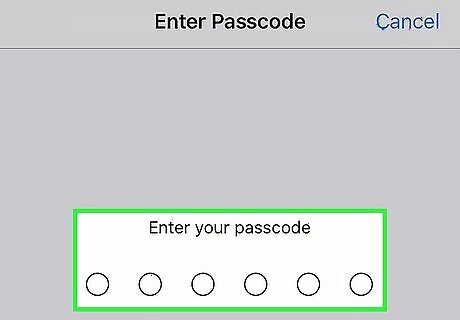
Enter your passcode. Enter the passcode you use to unlock your phone. If prompted, enter your "Restrictions" passcode.
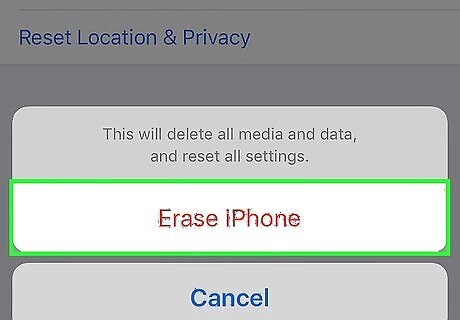
Tap Erase iPhone. Doing so will reset all settings, as well as erase the media and data on your iPhone. If you haven't backed up your iPhone to iCloud, you will permanently lose all the data and media on it. Your phone will show “Swipe to set up” after it's done deleting your content, as it did when it was first purchased. EXPERT TIP Mobile Kangaroo Mobile Kangaroo Computer & Phone Repair Specialists Mobile Kangaroo is a full service repair shop and Apple Authorized Service Provider headquartered in Mountain View, CA. Mobile Kangaroo has been repairing electronic devices such as computers, phones, and tablets, for over 19 years, with locations in over 20 cities. Mobile Kangaroo Mobile Kangaroo Computer & Phone Repair Specialists Resetting your iPhone through the 'Settings' menu clears all your data. You can return your phone to its clean factory state. You can also restore your phone by putting it in recovery mode and connecting it to a computer using iTunes. This method guarantees you are installing the latest software version from Apple.
Resetting Your iPhone Remotely
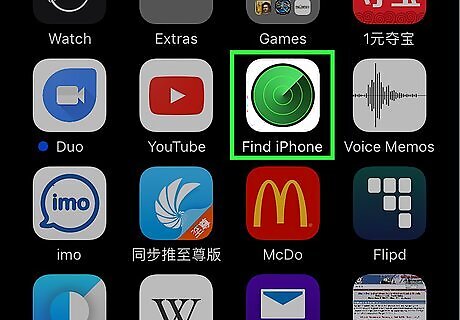
Open Find My iPhone on another device. Do so by launching the app on a mobile device or going to iCloud in a web browser. The "Find My iPhone" feature must be enabled on your iPhone and the device must be powered on and connected to the Internet in order to perform a remote reset.
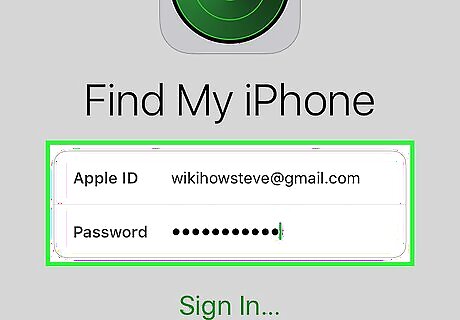
Sign in with your Apple ID. Use the Apple ID and password with which you signed into your iPhone. If the app is on a device that belongs to another person, you may need to tap Sign Out in the upper-right corner of the app screen in order to sign in with your own Apple ID.
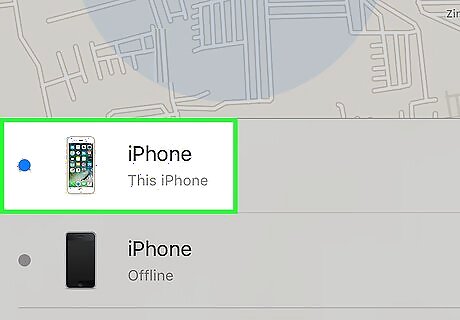
Tap your iPhone. It should appear in a list of devices below the map; it's location will be displayed on the map, which will zoom in when you select your iPhone. If the phone has been powered off, or the battery has died, it will show you the last known location of your phone, but will not be able to show you the current address.
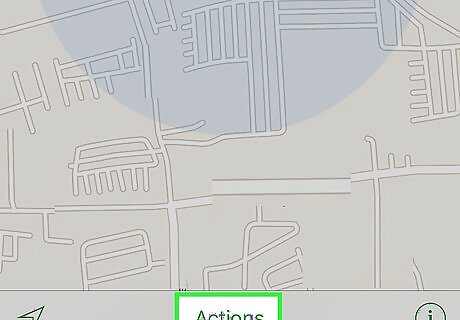
Tap Actions. It's at the bottom-center of the screen.
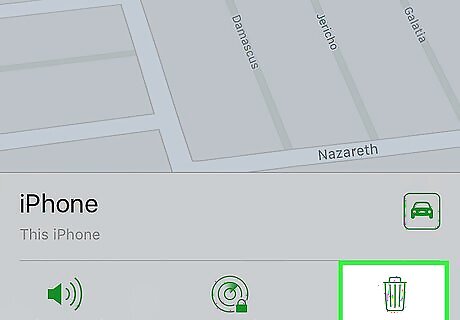
Tap Erase iPhone. It's in the lower-right corner of the screen. This action erases all the data on your iPhone, which also means that you'll no longer be able to use Find My iPhone to locate your device. Regularly back up your iPhone to iCloud or iTunes in case you ever need to restore erased data.


Comments
0 comment