views
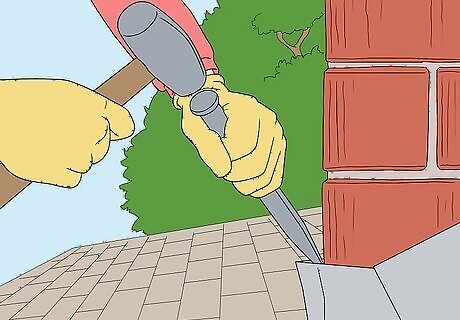
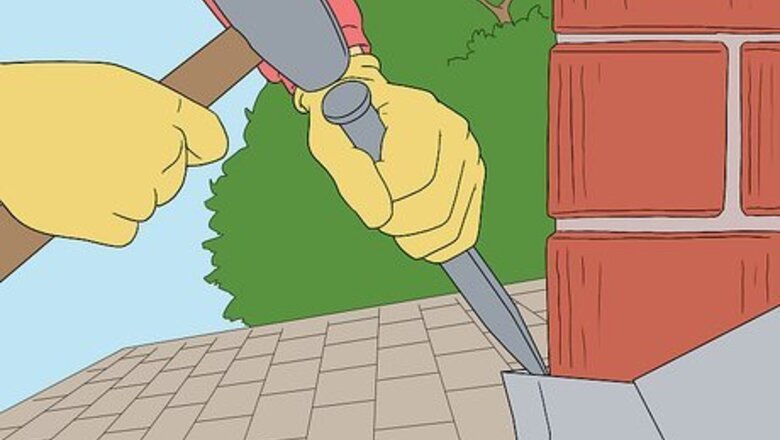
Take off the old flashing. Scrape away old flashing and cement with a hammer and chisel.
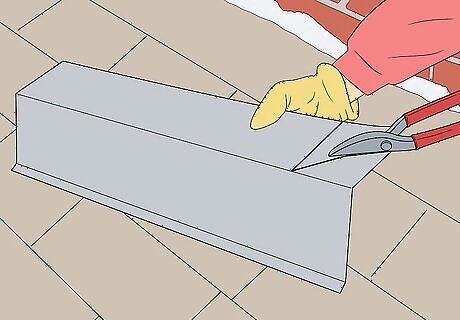
Cut the base flashing. Use tin snips to cut the bent base flashing that you ordered from the sheet metal shop. Cut the flashing to fit along the chimney's front. Bend 1 side of the flashing around 1 edge of the chimney.
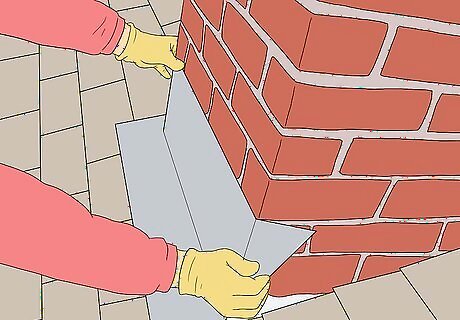
Secure the base flashing. Fit the flashing up against the front of the chimney. The part of the flashing that lies flush with the roof should overlap the roofing shingles. The bent edge should fit around 1 corner of the chimney. Use tin snips to clip the flashing at the point where the other side of the chimney lies against the flashing. Bend the clipped flashing around the chimney. Hammer 4 galvanized roofing nails into the part of the flashing lying against the roof. Ensure that the nails are spaced evenly.
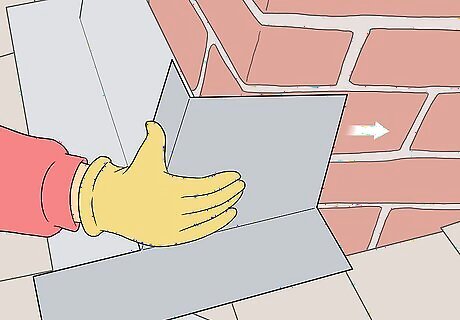
Attach the corner and step flashing. Fit an 8-inch (20.3-cm) piece of square step flashing over the chimney's front corner. Set the flashing aside. Place a small drop of caulk where the roof and chimney meet at the chimney corner. Place the step flashing over the caulk and onto the chimney. Hammer 2 roofing nails into the flashing and roof. Secure a shingle over the corner flashing using a hammer and roofing nail. Place a second piece of 8-inch (20.3-cm) flashing against the chimney. The flashing should partially overlap the shingle that covers the first piece of flashing. Secure a shingle over the second piece of flashing with a nail. Repeat the process until you have gone all the way around the chimney.
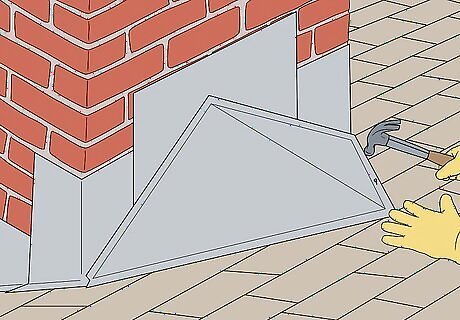
Secure the chimney saddle. Fit the chimney saddle around the back of the chimney. Use a hammer and roofing nails to attach the saddle to the roof. Insert roofing nails into the saddle and roof every 6 inches (15.2 cm). Place shingles over the flat part of the saddle. Nail the shingles and saddle into the roof.
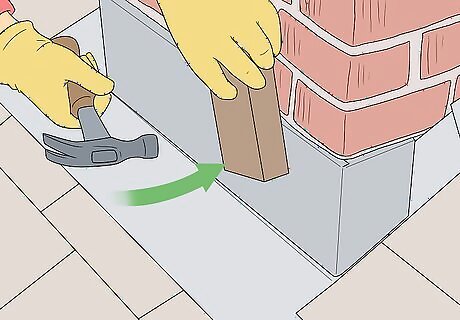
Install the cap flashing. Use a circular saw to saw grooves into the mortar joints. The grooves should be 1 inch (2.5 cm) deep. Saw as high as the height of the cap flashing. Fit the front cap flashing around the front of the chimney. Bend the cap flashing around the front of the chimney. Secure the cap flashing by inserting the flashing's flange all the way into the mortar. Drill a hole on each side of the chimney front. Hammer the plastic anchors into the holes. Repeat the procedure around each side of the chimney. Ensure that each new piece of cap flashing overlaps the previous one. Place caulking along the mortar joints to seal the flashing.





Comments
0 comment