views
Preparing the Cherries for Storage
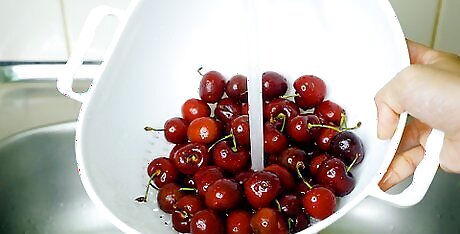
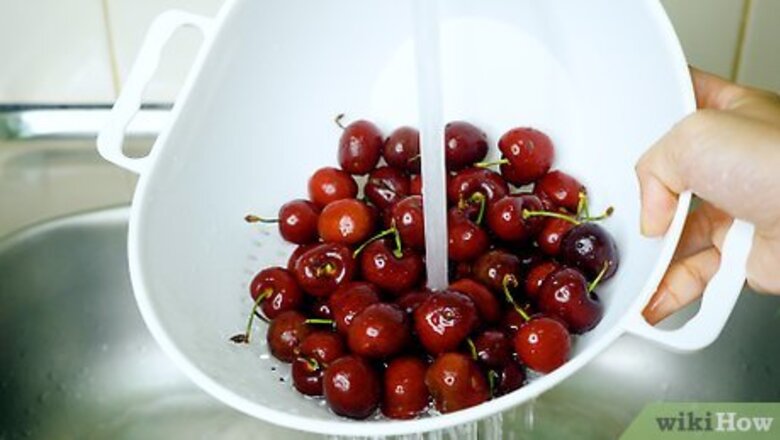
Rinse the cherries with cool water. Set the fruit in a colander and place it under running water. Try to circle the colander around as you rinse, so all of the cherries can be rinsed off evenly. Let any excess water drain out before you place the fruit in another container. Soak Rainier cherries in a bowl of 0.25 cups (59 mL) lemon juice and water instead of just rinsing them. This prevents the fruit from discoloring later.
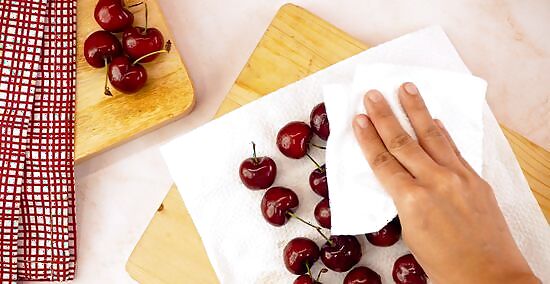
Dry off the fruit with a paper towel. Use a dry sheet of paper towel to blot any excess water from the rinsing process. Don’t worry about drying each individual piece of fruit—just make sure that none of them are dripping wet when they go in the freezer. You can also use a clean towel or dishrag, if you want. If you have more time on your hands, you can let the cherries air-dry on a paper towel.

Take the pits out of each cherry. Use a knife to remove the pits from the cherries. Insert the tool on the stem side of the fruit, and set aside the pits as you go. If you’d rather not use a knife, try placing a straw in the center of the fruit and pushing down. To avoid making a mess, try placing the cherry on the open end of a plastic water bottle when you insert the straw. Feel free to dispose of the pits, since you won’t be preserving them.
Storing Frozen Fruit in Bags
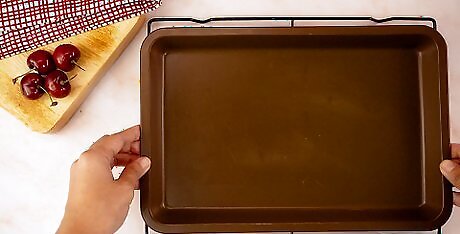
Set a rack on the bottom of a cookie sheet. Take a low-lying metal rack and set it at the bottom of a cookie sheet. Try to center the rack so that it remains steady whenever you transport the baking sheet. While this step isn’t required, the rack will help keep the cherries from moving around too much on the baking sheet.Did you know? You can’t freeze cherries directly in a bag, or the fruit will freeze unevenly. The cherries on the top will harden first and squish the fruit on the bottom.
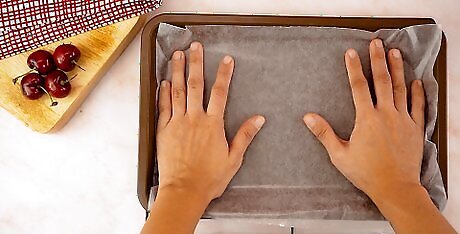
Place a sheet of parchment paper over the rack. Cut off a long piece of parchment paper and stretch it over the rack. Try and roughly match the dimensions of the cookie sheet so the rack is covered completely. If your parchment paper container comes in a box with a cutter built in, unroll it over the baking sheet so you can measure it as you go. If you don’t have parchment paper on hand, try using wax paper instead.

Take the stems out of each cherry. Pinch the stem on the top of each fruit and twist it. Do this in a quick, fluid motion so you can remove the stems quickly and carefully. Since you’ll be eating or cooking with these cherries later, you want to have the stems removed before you freeze them. Toss out the stems once you’re done with them. It might be easier to remove the pits after you’ve done this.
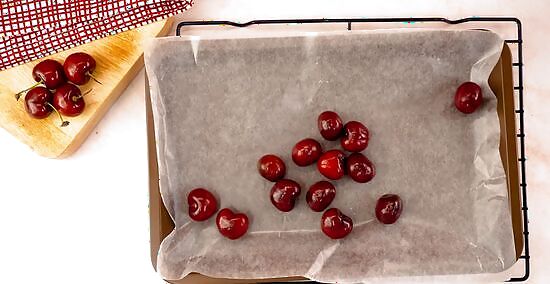
Arrange the cherries onto the parchment paper. Place the cherries side-by-side on the tray until they fill up the entire sheet. Try not to stack the cherries on top of one another. If you have extra fruit, try laying a second piece of parchment paper on top of the first layer of cherries, then layering more fruit on top. Depending on how many cherries you have, you may have to freeze the fruit in batches.
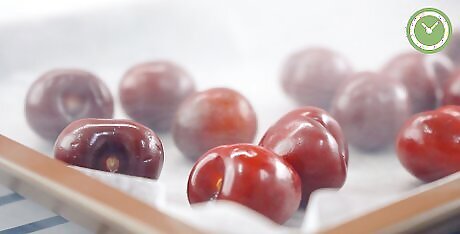
Let the fruit freeze overnight. Place the baking sheet in an empty shelf or corner of your freezer where the fruit won’t get crushed. Leave the cherries in the freezer overnight, or for at least 4-6 hours. If you’re in a rush, check on the cherries every 4 hours or so to see if they’re firm.
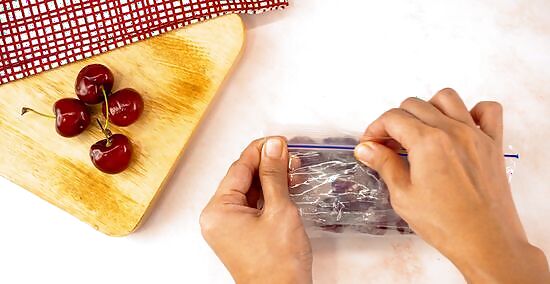
Bag the cherries and freeze them for 6 months. Remove the baking sheet from the freezer and pour the cherries into a freezer-safe plastic bag. Label the bag with the current date, and place the bag back in the freezer. For maximum freshness, try to use the cherries within a half year.
Preserving the Cherries in Syrup or Juice

Remove the stems from 6 cups (1350 g) of cherries. Tug the stems out of each cherry to get them ready for storage. To get rid of the stems as quickly as possible, pinch and twist them off in a quick motion. As you remove the stems, be sure to set them aside so they don’t get mixed in with the cherries.
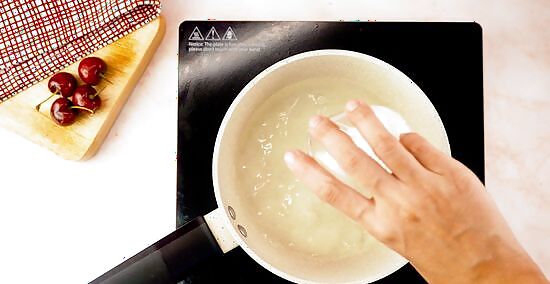
Stir some sugar into 4 cups (950 mL) of water to make the syrup. Set a medium saucepan on high heat and pour in a large amount of water. If you’re trying to make sour cherries, stir 2½ cups (500 g) of white sugar into the water. If you’re aiming to make sweeter cherries, add 1¼ cups (250 g) of sugar into the pot. Continue stirring until the sugar is dissolved and the mixture has a thick consistency. This recipe works best for large quantities of cherries.
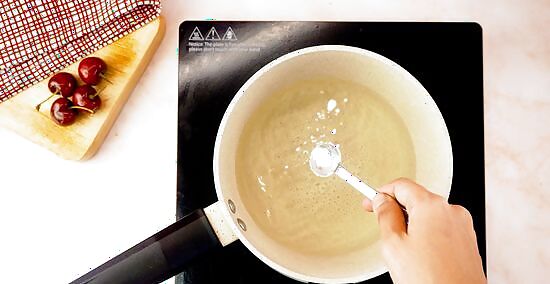
Add 0.5 teaspoons (2.5 mL) of ascorbic acid to the syrup. Pour a small amount of ascorbic acid into each 1.5 pounds (680 g) and stir it in thoroughly. While you don’t have to include this ingredient, you can use it to help your cherries look as fresh as possible while they’re drenched in syrup. Check online or in your local grocery store to purchase this.
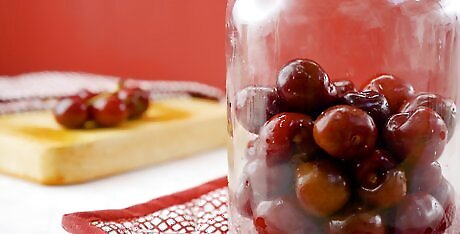
Place cherries in a freezer-safe jar or bag. Pour your washed and pitted cherries into a storage bag or glass jar, leaving at least 1 inch (2.5 cm) at the top for the syrup. If you don’t, there might not be enough room for the syrup to cover all of the cherries.
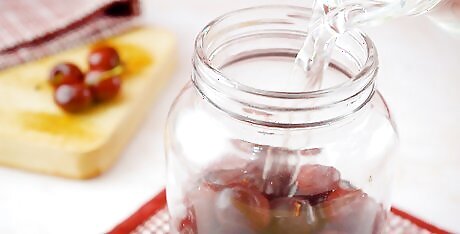
Pour the cooled syrup into the bag so all of the cherries are covered. Wait for the syrup to cool before adding it to the cherries. Once you’ve opened the bag or jar, pour the syrup into the container so that all of the fruit is completely drenched and the bag is almost completely filled with syrup. Leave about 0.5 to 1 inch (1.3 to 2.5 cm) of space at the top of the container so you can seal it without any syrup spilling over. Be sure to seal the bag or jar so that no air or moisture can get in.

Freeze and use the cherries within 12 months. Place a label on the storage container before placing it in the freezer so you can remember how fresh the fruit is. While you don’t have to use the cherries right away, try and eat them within a year. If you wait too long, the fruit might not be as fresh. Use freezer-safe tape to label your cherry containers.
Packing the Cherries in Sugar
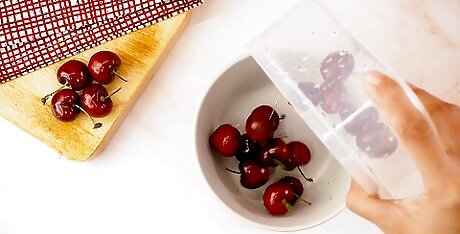
Place 1.5 pounds (680 g) of cherries into a large bowl. Take your washed cherries and set them in a container so you can pour in additional ingredients more easily. If you’re preparing a large amount of cherries at once, consider preparing them in batches. Make sure you know what type of cherries you’re preserving, as the process for sweet and sour fruit is slightly different.
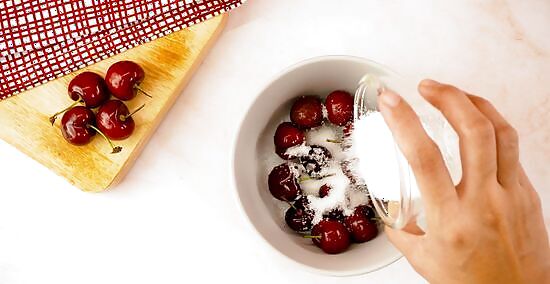
Add sugar to the cherries and let it dissolve. If you’re looking to preserve 1.5 pounds (680 g) of sour cherries, take ⅔ cup (132 g) of white sugar and pour it into the bowl. For those looking to store sweet cherries, use ⅓ cup (66 g) of white sugar per 1.5 pounds (680 g). Stir the sugar into the fruit until it begins dissolving into cherries. The sugar should dissolve due to the lingering moisture from the rinsing process. Don’t worry if some sugar is visible when you go to pack the cherries, as it might not end up dissolving all the way.
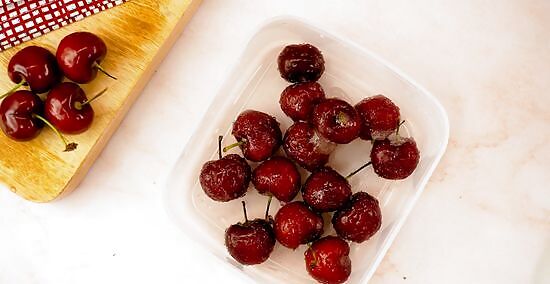
Pour the cherries into a separate container. Arrange the sugar-soaked cherries into a freezer-safe bag or container, leaving 0.5 to 1 inch (1.3 to 2.5 cm) of space on top so the bag to be comfortably sealed off. If you place too many cherries in 1 bag, then you might not be able to get a proper seal on the storage container. Don’t worry about dumping any excess sugar into the bag, since it won’t be dissolving when it’s in the freezer.Tip: As a general rule of thumb, pack smaller batches of cherries with 0.5 inches (1.3 cm) of extra space and larger batches with 1 inch (2.5 cm) of extra space.
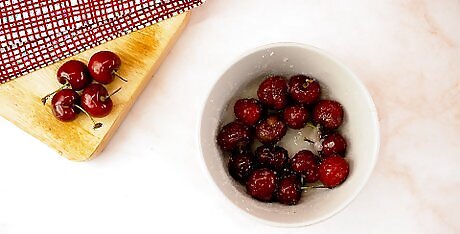
Use the cherries within 1 year for optimal freshness. Label the bag or jar with the type of cherry you’ve preserved, as well as the current date. As you label the fruit, be sure to mention that you preserved them in a dry sugar pack. Set the container(s) in your freezer for the time being, and try to use them within 1 year. Use freezer-safe tape to add labels to your cherries.


Comments
0 comment