
X
Research source
Using a Freezer
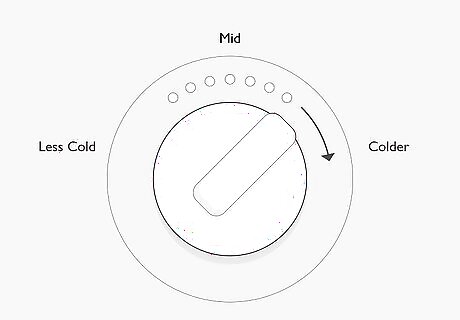
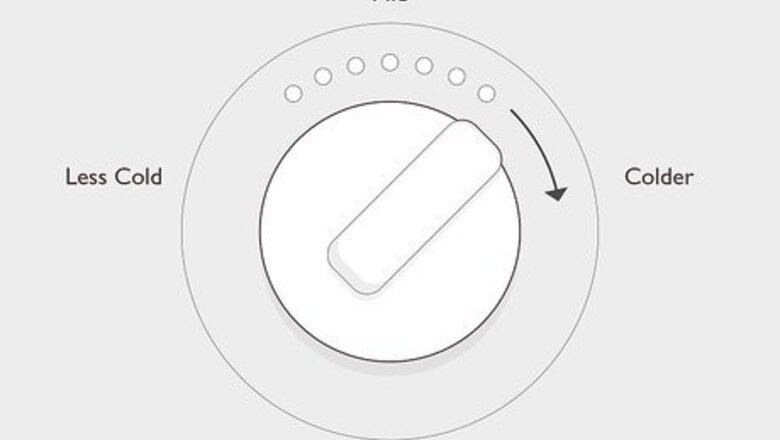
Set your freezer to the lowest temperature 24 hours before freeze drying. If you have a deep freezer, make sure the temperature is set to around -30°F (-34°C). If you’re using your regular home freezer, set it to the lowest temperature possible, which is typically -10°F (-23°C). Most freezers are already set to 0°F (-18°C). If your freezer doesn’t go lower than that, that’s okay, it will just take longer to dry the food. Use a freezer thermometer to test the temperature if your freezer doesn’t already have a dial.

Choose the foods you want to freeze dry. Fruits and vegetables with a high water content are the easiest to freeze dry, so start with things like apples, berries, potatoes, carrots, and other veggies. You can also freeze dry cooked pasta noodles and meat. Freeze-drying dairy like cheese and yogurt is possible, but it won’t have the same creamy taste and texture. Make sure to cook the meat before you freeze dry it. It’s best to freeze dry it that same day (after letting it cool in the fridge for a few hours) but you can freeze dry meat that’s been stored in the refrigerator for up to 2 days. You can freeze dry chicken, deli meats, steak, ground beef, fish, and shrimp. Whole meals, desserts, soups, herbs, and instant coffee can be freeze dried as well!

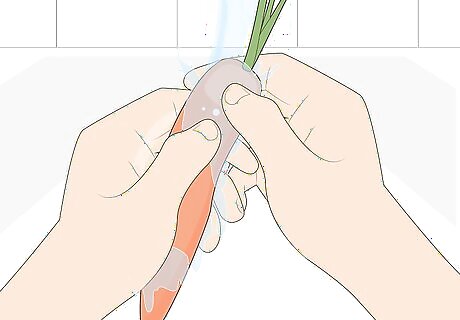
Wash and dry the produce before freeze drying. Wash fruit and vegetables you want to dry under cool running water, then pat them dry with a paper towel or clean cloth. Washing them prior to drying will save you the hassle of having to wash them after you thaw them out. Use a vegetable brush or towel to scrub away stubborn bits of dirt from small crevices.
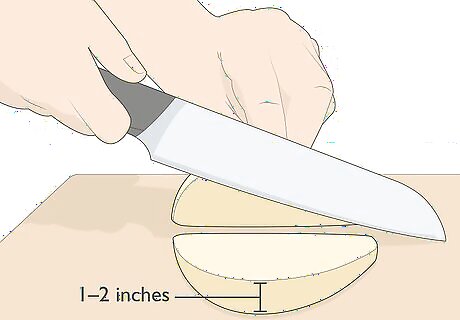
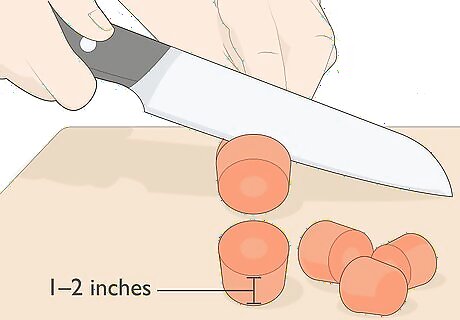
Chop produce into pieces about 1–2 inches (2.5–5.1 cm) in size. Cutting them into slices or chunks about 1 inch (2.5 cm) to 2 inches (5.1 cm) across and less than 1 inch (2.5 cm) thick will help them dry out faster. Try to make each piece about the same size so they dry at the same rate. If you’re freeze drying small berries like blueberries, blackberries, or raspberries, there’s no need to slice them. But when it comes to large strawberries, slice them into even chunks or slivers. If you want to freeze dry meat, cook the meat first and then slice it into strips about ⁄2 inch (1.3 cm) thick. For pre-sliced deli meats, it may help to cut the slices into even strips.
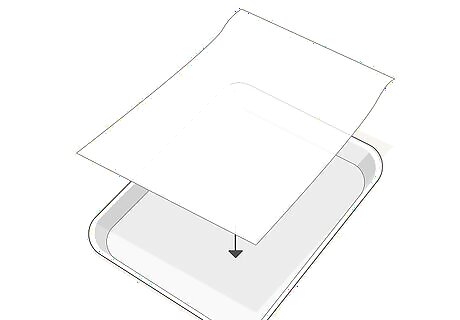
Line a baking sheet with parchment paper. Cut a sheet of parchment paper large enough to cover the entire baking sheet with some overhanging edges on the sides. This will save you the headache of battling to remove each piece that’s frozen to the baking sheet. You can also use wax paper or plastic wrap, but these are flimsier and might tear when you pick them up.

Place the pieces so that each one has ⁄2 inch (1.3 cm) of free space. Arranging the pieces on the baking sheet with at least ⁄2 inch (1.3 cm) of room between each piece will ensure that they don’t get stuck together and that they dry evenly. Spread them into a single layer and make sure there’s no overlapping. If you’re freezing different types of food at one time, like potatoes and berries, put them on 2 separate baking sheets because they’ll dry at different rates.

Place the loaded baking tray into the freezer for 7 to 10 days. Put the tray on a shelf where it won’t be disturbed for 7 to 10 days. It’s best to have the freezer as empty as possible, but it’s okay if there are other items in there as well. Do a little reorganizing so the baking sheet can sit on a level surface.

Test for doneness after 7 days. Take a piece out of the freezer and let it sit at room temperature for a few hours or until it’s thawed. When it comes to produce, you should see no changes in color. If the piece turns black, that’s a sign that the batch needs more time in the freezer. Discard the black tester piece. To test meat, take a piece out, let it warm up for about 5 to 10 minutes, and bend it in half. If you see any moisture coming out of the meat, it’s not done yet. Discard that piece and check on the rest of the batch in 1 or 2 days. Depending on the temperature of your freezer, the entire process can take anywhere from 1 week to 8 or 10 days.
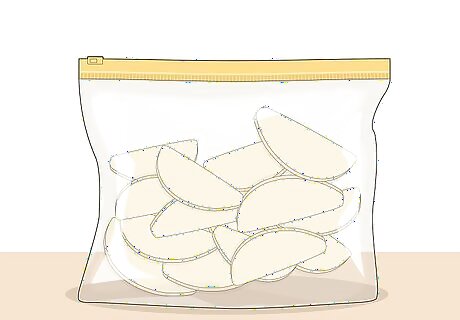
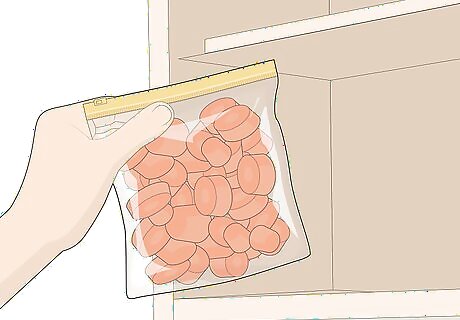
Remove the tray from the freezer and place the pieces into a freezer bag. Lift both ends of the parchment paper to loosen the pieces. Then, transfer the pieces into a freezer bag and push as much air out the bag as possible before sealing it. Use a rolling pin to gently roll as much air out the bag as possible.

Store the bag in a cool, dry place at or below 75°F (24°C). Store the freeze-dried pieces in your pantry, camping pack, or emergency preparedness kit. Make sure the bags aren’t exposed to moisture or direct sunlight. Freeze-dried food will stay good for up to 25 years! You can eat any of your freeze-dried foods dry or rehydrate them by letting the pieces sit in a small amount of water.
Freeze Drying with Dry Ice
Wash the produce you want to freeze dry and cook any meat. Wash fruit and vegetables under cool running water before patting each item dry with a paper towel. If you’re drying poultry, beef, or fish, make sure to cook them first. Pasta noodles should be cooked as well. You don’t need to wash cheeses before you freeze dry them.
Slice larger items into chunks about 1–2 inches (2.5–5.1 cm) across. Use a sharp knife to slice larger fruit and vegetables into small chunks about 1 inch (2.5 cm) to 2 inches (5.1 cm) across. If you’re freeze drying cooked meat, slice it into slivers less than 1 inch (2.5 cm) thick. Try to make each piece the same size so they freeze dry at the same rate. Small fruits like blueberries, raspberries, and blackberries can be freeze dried whole. Slice larger pieces of produce like potatoes, apples, and pears into smaller chunks. If you’re freeze drying a loaf of bread, use a serrated knife to cut it into slices about ⁄2 inch (1.3 cm) thick.

Put the chopped food chunks into freezer bags and seal the bags. Put the sliced chunks into freezer bags. Be sure to put only 1 type of food per bag rather than mixing different kinds of foods together. Then, push out all of the air from the bags with your hands or by rolling the air out (toward the opening) with a rolling pin. Pushing out the air will ensure that no ice crystals form on the food.
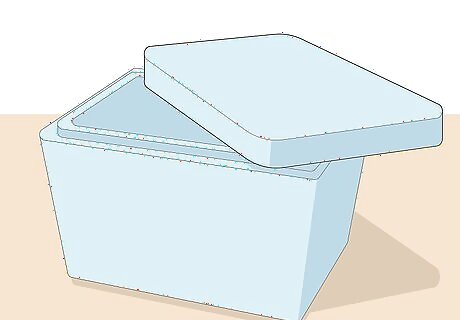
Choose a storage box large enough that the bags only fill it half way. A large styrofoam cooler or large plastic container with a lid will work nicely. Note that the box will have to fit inside of your freezer, so if you have a small freezer, you may only be able to freeze dry small quantities of food at a time. Pick a plastic container you don’t plan to use for other purposes because you’ll need to put holes in the lid.
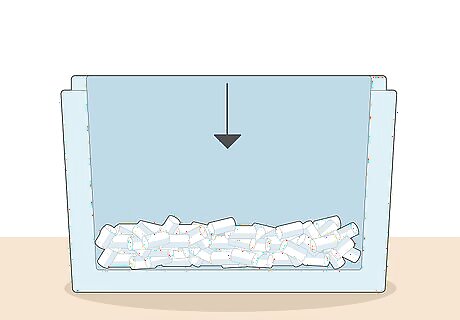
Pour 1 pound (0.45 kg) of dry ice into the bottom of the box. Put on heavy duty gloves like leather or work gloves to pour dry ice over into the bottom of the box until it forms an even layer. The amount of dry ice you need to use is equal to the weight of the food. So if you’re freezing 5 pounds (2.3 kg) of food, you’ll need about 5 pounds (2.3 kg) of dry ice. If it doesn’t cover the entire bottom of the box, add another 1 pound (0.45 kg) until it does. Depending on the width and length of the box, 5 pounds (2.3 kg) of dry ice should be enough for up to 4 layers of food. Don’t touch the dry ice with your bare hands—it will burn your skin! If you don’t have heavy duty or leather gloves, use oven mitts or thick kitchen towels. Purchase dry ice cubes online or at your local grocery store or supermarket.
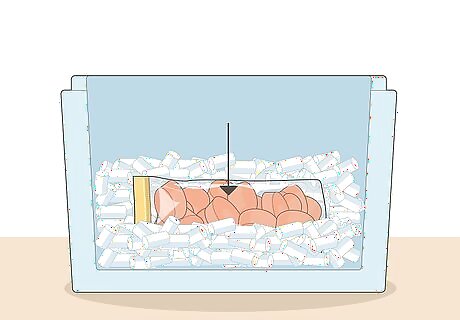
Sandwich the food bags between layers of dry ice. Layer the bags on top of the bottom level of dry ice and then pour in another 1 pound (0.45 kg) to 2 pounds (0.91 kg) of dry ice to completely cover the bags. Make sure not to stack two bags directly on top of each other. You may need to rearrange the pieces of dry ice so that the bags are fully covered. Make sure each bag lays as flat as possible and that there’s no overlapping.
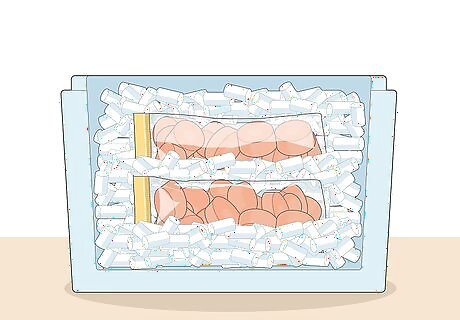
Add a final layer of dry ice on top of the food bags. Depending on the size of the box and the number of bags you have, you may need to do a few alternating layers of dry ice and food bags. Each layer of food should have dry ice on top of and underneath it.
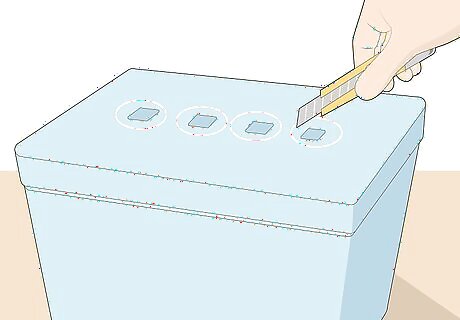
Poke a few holes into the lid and attach it to the box. Use a box cutter or sharp knife to cut 3 to 4 holes into the top of the box. These holes allow gas and moisture to escape, which is necessary for the dry ice to dissipate and for the food to fully dry. Avoid poking too many holes into the lid. The idea is to allow the gas to escape at a relatively slow rate.

Place the box into the freezer for at least 24 hours. The food is done freezer drying when all of the dry ice has disappeared. This could take 24 hours or more depending on how many layers of food you’re freeze drying (and how much dry ice you’ve used to cover it). Wear gloves to remove the lid of the box and look into the container. If you don’t see any dry ice on top, shuffle the bags around with a gloved hand to check for dry ice on the bottom. If it’s all gone, the food is ready for storage. If you see any chunks of dry ice, reattach the lid, reinsert the box into the freezer, and wait for 3 to 6 hours before checking again.
Store freeze-dried foods in freezer bags at room temperature. Since the foods are already in freezer bags, you can just take them out and put them in your pantry or anywhere that’s at or below room temperature. The freeze-dried food will stay good for up to 25 years. Eat the freeze-dried chunks as is or rehydrate them by placing them in a small amount of water.


Comments
0 comment